views
Refolding the Plane
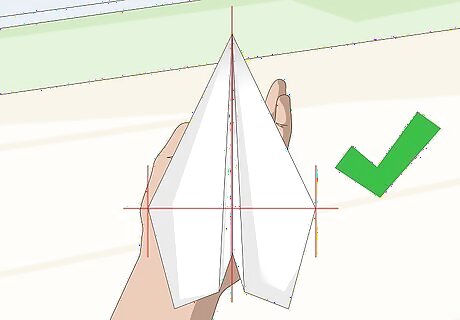
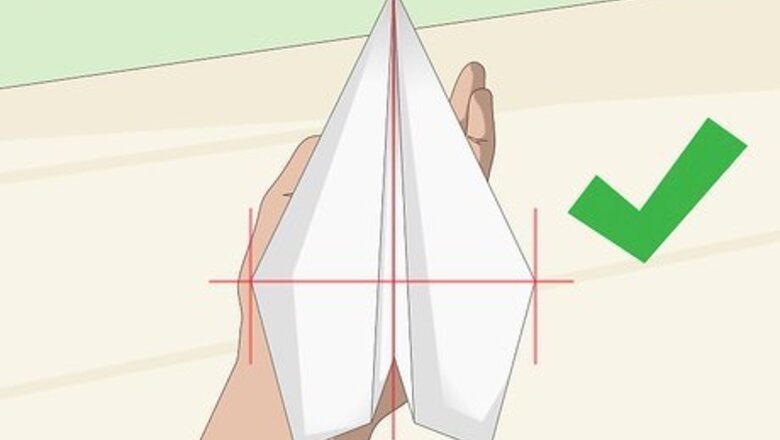
Make sure the wings are symmetrical. Often, during the process of making folds, you crease the page, make the wing length uneven, and so on. Unfold your plane and refold it again. If there’s an extra crease on one side, add it to the other. That way, the wind will hit the plane the same way on both sides. You can also cut off uneven and excess bits of paper, but this is risky since you won’t be able to go back.
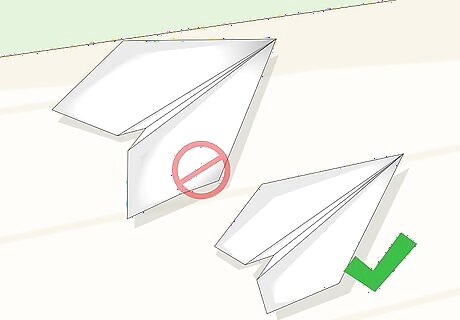
Make the wings shorter. The aspect ratio of the wings affect flight. Long, wide wings are good for gliding but have to be thrown gently. Short, stubby wings are usually better because you can throw the plane faster and angle it more upwards. Refold the wings according to your needs.
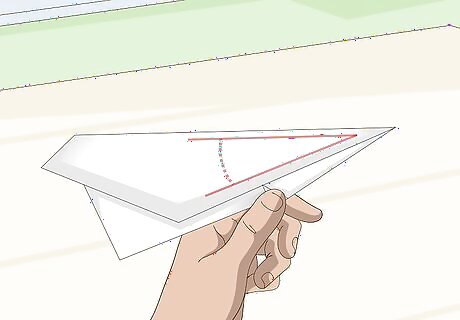
Angle the wings. A standard airplane needs wings that point upwards. If your wings are flat or upside down, redo them. Wings angled upwards are called “dihedral” and give your plane stability. Lift the wings upwards so that the wing tips are above the rest of the plane.
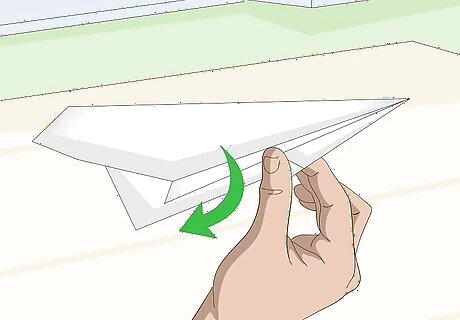
Add fins to complicated designs. Fins are small folds you make on the wings. The paper doubles over itself when you do this. Take the edges of the wings and fold them downwards and over. This is the fin, and the fold should be parallel to the length of the plane. These fins can help stabilize and strengthen some planes. Fins are useful in more complicated designs. For standard dart planes, they should be avoided since they will slow the plane.
Improving Flight Stability
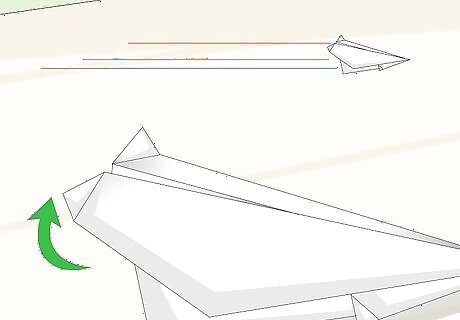
Bend the back end of nosediving planes upwards. Stable paper airplanes fly farther and faster. Paper airplanes typically benefit from adding what’s known as up elevator. Take the back end of the airplane, which on a standard dart-shaped plane is the wing tips, and use your finger to bend them upwards a little. This counterbalances the weight in the nose of your plane.
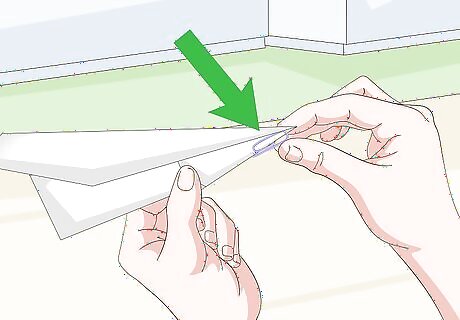
Weigh down the nose on stalling planes. Most planes also benefit from a little weight in the nose. This helps balance the plane so it doesn’t have a tendency to fly straight up. Cover the nose in a layer or two of tape or add a paper clip. Test out out the plane and make adjustments as necessary. Most airplanes are better off being slightly nose heavy rather than slightly tail heavy. Heavier planes are better at withstanding outdoor flight.
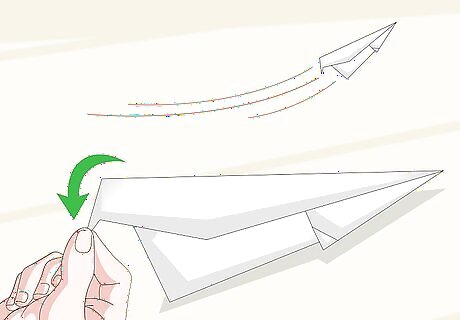
Bend the back ends downwards on stalling planes. Bending the wing tips downwards is only useful for planes that try to fly upwards when launched. Use your fingers to bend them down slightly. Try throwing the plane again. If this isn’t enough to balance it, you can try adding more weight to the nose of the plane.
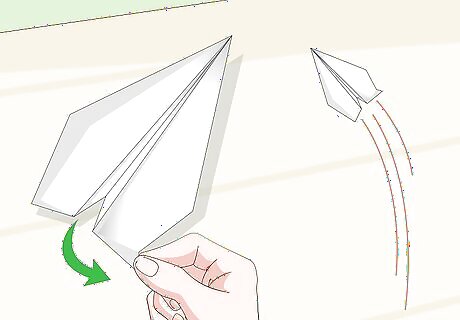
Bend right-leaning planes to the left. Slightly bend the end of the tail to the left. If your tail has two sides, bend the left side up and the right side down. When the air hits the bends, the plane will change the plane’s direction.
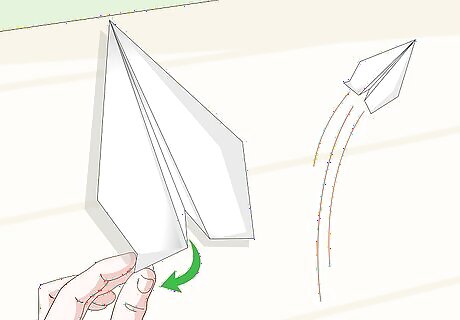
Bend left-leaning planes to the right. If your plane has a single, vertical edge for a tail, bend it to the right. Otherwise, pull the right side up and the left side down. These bends will correct the airflow to cause a more stable flight.
Adjusting Your Throw
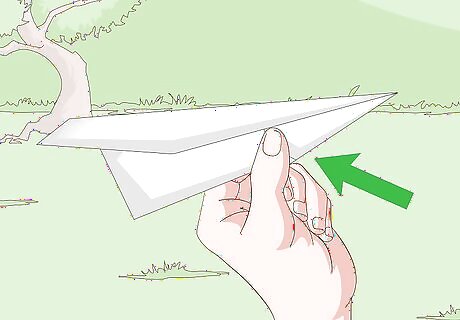
Hold the fuselage. The fuselage is the bottom part of the plane. In most paper airplanes, this is where the fold separates the two sides. You’ve worked to balance your plane, so grip the center of the fuselage with your fingertips. This is where the plane gets a lot of its stability.
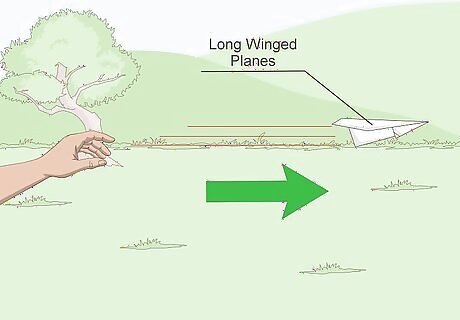
Throw thin, long-winged planes gently. More delicate planes are better gliders. A rough launch will damage them and ruin their flight trajectory. Bring your wrist forward in a pushing motion. Keep the plane level with the ground.
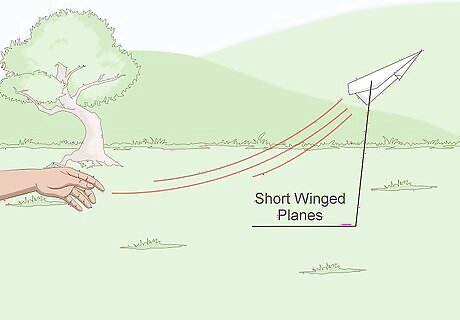
Throw short, stout planes upwards. Planes with short wings function better with a hard launch. Angle your plane upwards. Use the same pushing motion with your hand, but apply more force. If the plane is a dart, it will stabilize as it descends. Non-dart glider planes should be throw upwards gently with a pushing motion.


Comments
0 comment