views
Using Dry Ice
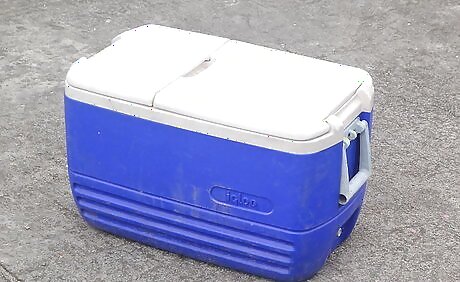
Buy about 10–20 pounds (4.5–9.1 kg) for a 40 quarts (38 L) ice chest. You can buy dry ice at most grocery stores for about $1.00-$3.00 USD per pound (0.45kg). Dry ice evaporates at a rate of about 5–10 pounds (2.3–4.5 kg) a day, so if you get it too far in advance, there won’t be any left. Dry ice usually comes in 10 by 2 inches (25.4 cm × 5.1 cm) squares weighing about 10 pounds (4.5 kg). You'll need one square for every 15 inches (38 cm) of cooler length. You can make your own dry ice by spraying a CO2 fire extinguisher into a pillowcase for 2-3 seconds. Wear gloves, closed-toe shoes, and other protective gear if you try this yourself.
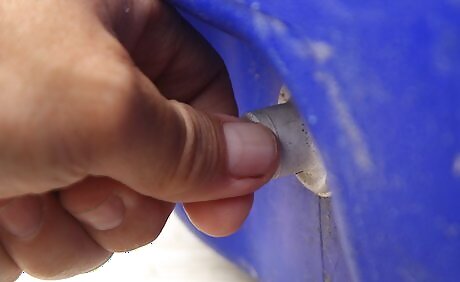
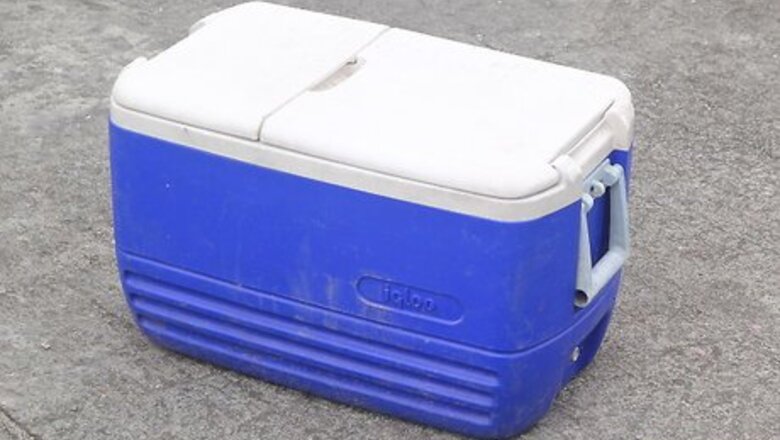
Choose an insulated cooler with an air vent. Since dry ice creates vapor, make sure your cooler has an air vent or a valve that allows the gas to escape. If your cooler is completely airtight, the vapor will cause pressure to build up, which can lead to an explosion. If your cooler doesn't have a valve, leave the top open slightly. Plastic and styrofoam coolers are common options for storing dry ice.
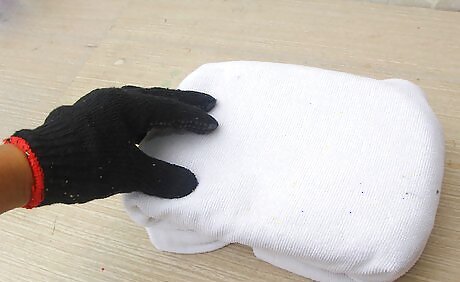
Use thick gloves to handle dry ice. Dry ice can “burn” your hands — although at temperatures of −109 °F (−78 °C), the burns are actually severe frostbite. Either way, don’t let your bare skin come into contact with the block of dry ice when you’re getting your ice cream out of the cooler!
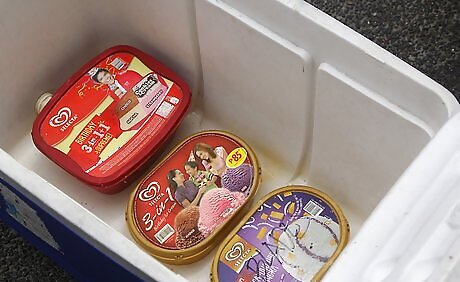
Place your ice cream on the bottom of the cooler. Since cold air sinks, dry ice works best when it’s placed on top of the items that it needs to keep cool. If it’s possible, you should put your dry ice on the top of the other items in the cooler.
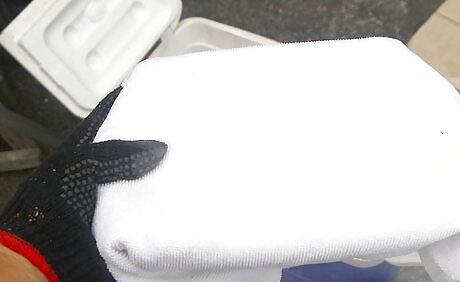
Wrap your dry ice in a towel and place it in the cooler. This will insulate the dry ice and keep it cooler longer. It will also help protect anything in the cooler from being damaged by the dry ice.

Keep drinks and other snacks in a separate cooler so they don’t freeze. Dry ice is powerful enough to freeze anything beneath it. Keeping drinks and snacks in a separate cooler from your ice cream will help ensure they don’t freeze, and it will also help prolong the life of your dry ice.
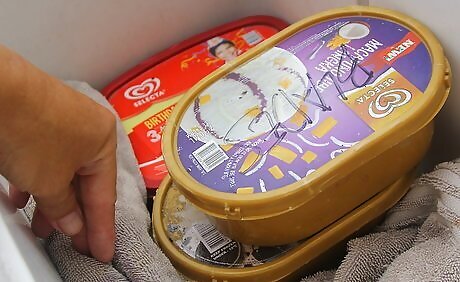
Fill up all of the extra space in the cooler. Empty space in the cooler will cause the dry ice to evaporate more quickly. If you don’t have enough food to place into the cooler, you can fill the cooler with regular ice or you can use fillers like towels or crumpled-up newspaper. Or just buy more ice cream! Close the lid securely after filling the cooler.

Store your cooler in the trunk if you’ll be taking your ice cream on the road. As dry ice evaporates, it turns into carbon dioxide. In a small, closed-in space like a vehicle, the carbon dioxide buildup can cause you to become light-headed and even pass out. If you don’t have room in your trunk, make sure you roll down your windows or set your air conditioner to circulate fresh air from outside.
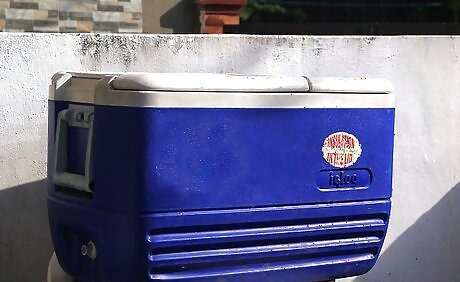
Keep the cooler out of direct sunlight. Your dry ice will stay cold longer if you keep it in the shade.
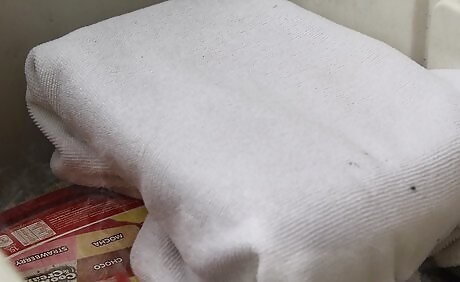
Leave the dry ice at room temperature when you’re finished with it. Cleaning up dry ice is a breeze! Once you’ve finished your ice cream, just open your cooler and leave it in a well-ventilated place. The dry ice will convert to carbon dioxide and will simply dissipate into the air. Never dispose of dry ice in a sewer, sink, toilet, or garbage disposal. It can freeze and rupture the pipes, and may even lead to an explosion if the dry ice expands too quickly.
Using Regular Ice
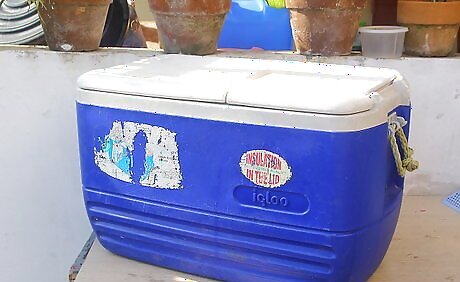
Choose a high-quality insulated cooler. Not all coolers are created equal! Different brands use their own methods of insulation. A quality cooler from a brand like Yeti or Coleman is going to keep your ice cream from melting much more efficiently than a disposable styrofoam cooler.
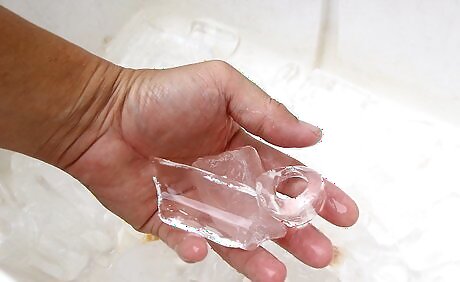
Chill the cooler before you fill it up. You definitely don’t want to add your ice cream to a warm cooler. Bring your cooler inside to let it cool down. If you need to, pour a bucket of ice into the cooler to chill it. When you’re ready to pack your ice cream, pour the ice out and refill the cooler with fresh ice.
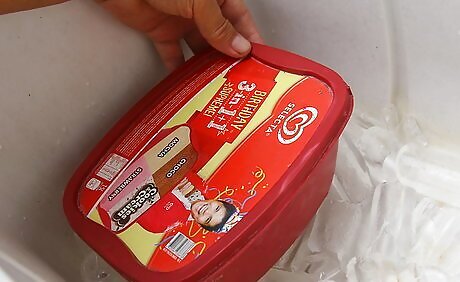
Put the ice cream on the bottom of your cooler. The items on the bottom of the cooler will stay the coldest. Items which don’t need to stay frozen can go on the top of the cooler. Don’t put anything that’s warm into the cooler with your ice cream, since you need it to stay as cold as possible!
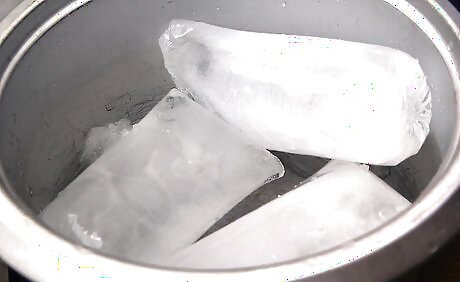
Freeze a large block of ice to slow the melting process. Use a large pan or a casserole dish to create a bigger block of ice. The bigger the piece of ice, the longer it will stay frozen — and the longer your ice cream will take to melt!
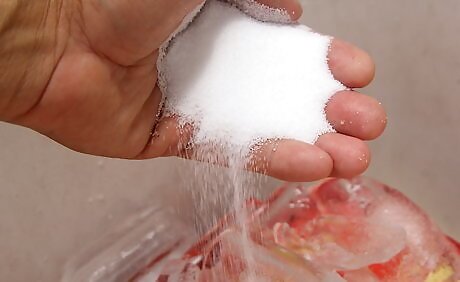
Add a layer of rock salt to your ice to slow down the melting process. Rock salt helps slow the melting rate of ice. In fact, rock salt was used for making old-fashioned ice cream! Scatter a handful or two of rock salt directly on top of the ice.
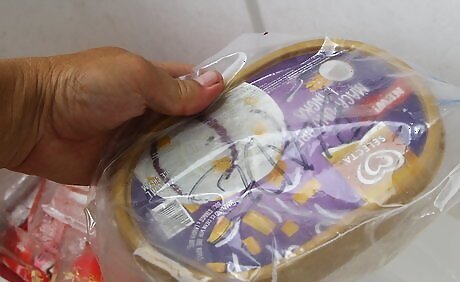
Put the ice cream in freezer bags inside the cooler for added insulation. Reusable thermal freezer bags are often used at grocery stores to keep hot foods hot and cold foods cold. Try placing your ice cream container into one of these bags, then place the bag into your cooler and surround it with ice.In addition, this will prevent the container from getting wet when the ice melts.
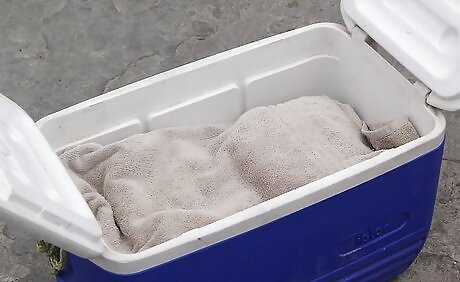
Fill any empty space in your cooler. Empty space will cause the ice in your cooler to melt more quickly. If you need to, pack the cooler with towels to fill it up completely.
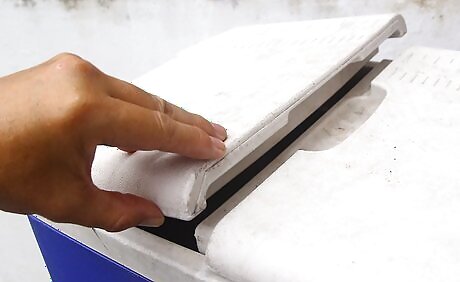
Keep your cooler shut as much as possible. The more you open your cooler, the faster the ice inside will melt. You may want to keep your drinks in a separate cooler, since people usually need to grab these more often.
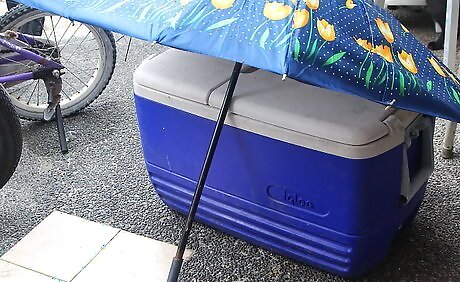
Try to keep your cooler out of direct sunlight. This might be hard if you’re in a place without any shade, but try to put the cooler behind a chair or under an umbrella to keep it cool.


Comments
0 comment