views
Creating Your Cordage
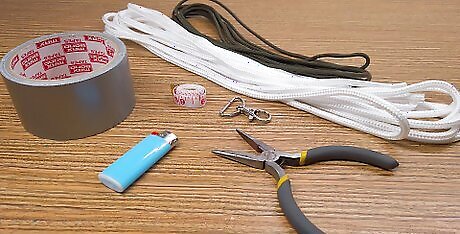
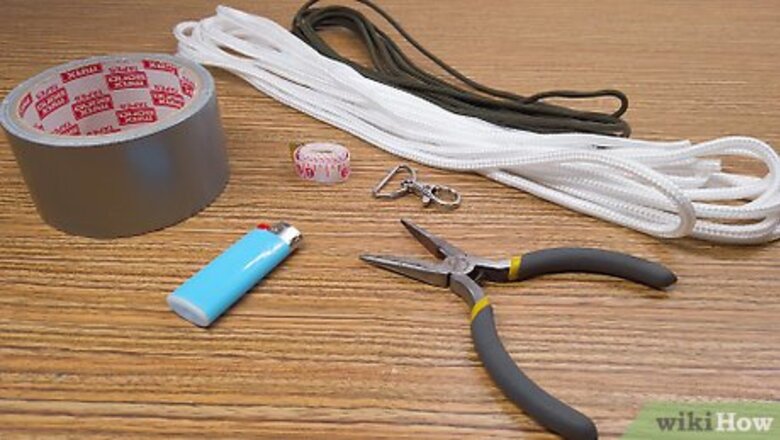
Gather your supplies. This project will yield an average length dog leash, which is about 6 ft (1.8 m). Shorter and longer leashes can be made with the same technique and a longer or shorter starting length of cordage. The following supplies for this project should be available at your local hardware store: Collar clip Lighter (or hot hobby knife) Scissors Small pliers, sturdy tweezers, or forceps String, durable tape (electrical, duct), or rubber bands Tape measure (or ruler) 38 ft (11.6 m) of cordage (like nylon or paracord)

Measure and cut the cordage into strands. By weaving strands of your cordage into a single braid, you’ll make a stronger leash than a single strand one. Measure and cut your cordage into four equal lengths of 9½ ft (2.9 m). Fuse the ends of the strands with a lighter or hot hobby knife. Where you have cut the cord, pass the flame of a lighter briefly until the ends melt and fuse. When you cut your cordage, the ends loosen, causing it to unravel. Fusing the ends of cut cords with a lighter or hot hobby knife will prevent unraveling.
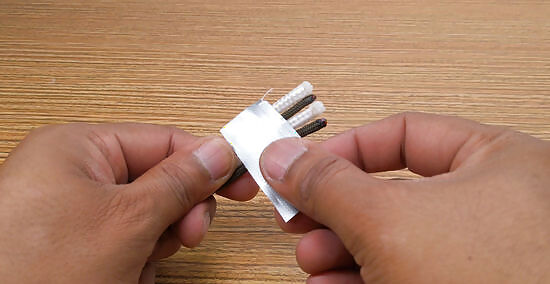
Align and secure the strands. Line up each of your strands of rope so their ends are even. Shortly before one end of the strands, tie a simple knot with string. Alternatively, you can fasten the end firmly with a suitable rubber band or durable tape, like duct or electrical tape. To keep your strands stable while weaving, you may want to firmly tape the fastened end of your strands to a sturdy object, like a work bench. So long as your strands are evenly aligned, you can forego knotting off one end and instead tie strands to a sturdy object, like a table or desk.
Braiding the Leash
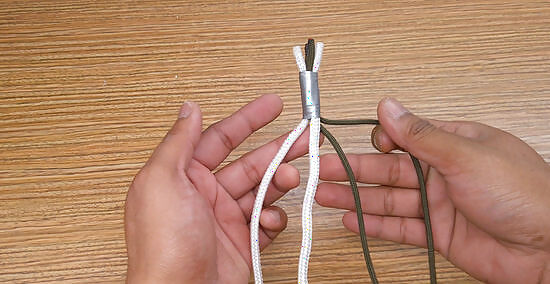
Separate strands and weave the rightmost strand to the left. Separate the strands into leftmost, middle-left, middle-right, and rightmost. Pass the rightmost strand under the two middle strands and over the leftmost. Take the new rightmost strand and pass it over the middle two and under the leftmost.
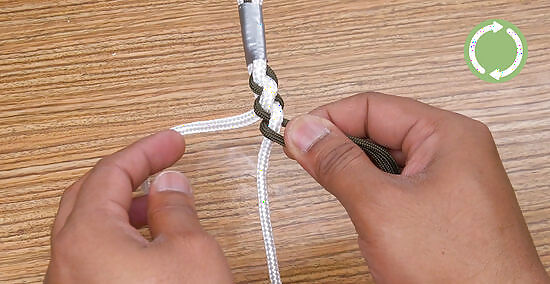
Repeat this motion to continue braiding. In the same fashion as the previous step, continue braiding. Take the outermost right strand and alternate between passing it under the middle two and over the leftmost, and over the middle two and under the leftmost. Continue until 7 in (17.8 cm) of strands remain.
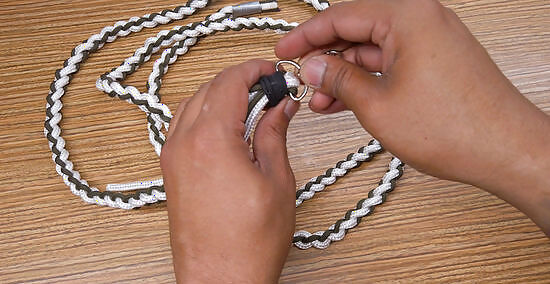
Add the collar clip. Slide the strands through the metal loop of your collar clip so the clip is positioned over the point where the braiding transitions to separate strands. Fold the strand end up around the outside of the metal loop toward the braided section to encircle the loop. Fasten the strand end to the main braid just above the metal loop with string, durable tape, or rubber bands. The cordage will form a little loop around the metal loop of the collar clip. Keep the cordage snug so the collar clip isn’t loose. Feel free to use a plastic collar clip in place of a metal one. The plastic clip, however, will likely degrade faster and require a future replacement.
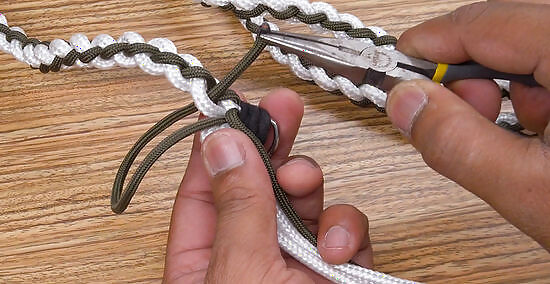
Splice strands into the braided section. Splicing is the practice of weaving separate strands together. Starting as close to the collar clip as possible, loosen braided strands slightly with your pliers, forceps, or sturdy tweezers. Slide the tool through the gap in the loosened braid. Grip a single strand and pull it through.
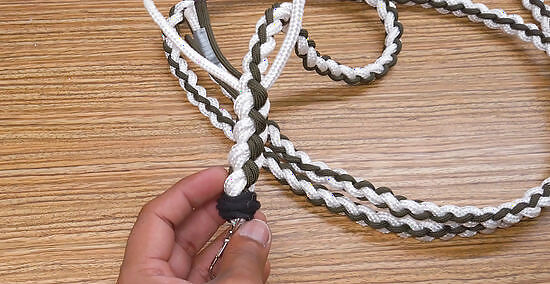
Splice all the loose strands into the main braid. Continue to splice until the loose strands are about 3 in (7.6 cm) long. Spliced strands should alternate their weavings. A strand pulled through will move up the braided section to be pushed through the same strand further up the braiding. If you’ve decided to use different colored strands to make a more colorful leash, match and splice same colored strands for a uniform appearance.
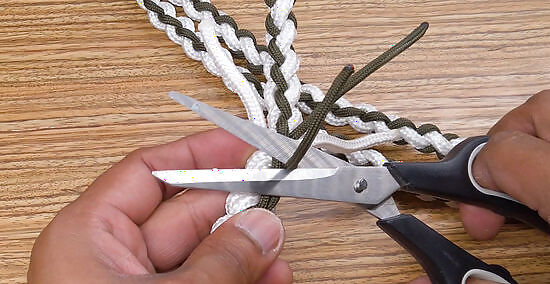
Cut and fuse loose ends in the now-spliced rope. Pull on the loose ends to tighten the braid. Remove the string or rubber bands fastening the now spliced strand end to the main braid directly above the metal loop of the collar clip. Use your scissors to cut the loose ends close to the braiding. Pass the flame of a lighter or a hot hobby knife over the ends to melt and fuse them closed. Failing to do so could result in your braided leash unraveling or having a frayed appearance.
Adding the Handle

Measure and tape the non-clip end. Remove your cordage from the sturdy object it was fastened to while braiding, if necessary. Measure 7 in (17.8 cm) from the non-clip end of the rope. Fasten this point with string and a simple knot, rubber bands, or durable tape.
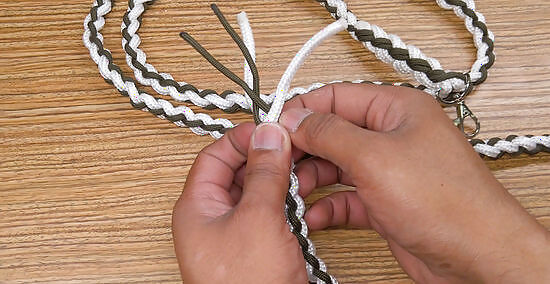
Unbraid the strands up to the fastener. If the braid is difficult to loosen with your fingers, insert a tool into the windings, like a small pair of pliers or a screwdriver. Work the tool back and forth until the braid loosens, or simply use the pliers to pull apart the braided strands.

Create a loop in your cordage. Starting at the fastener, measure out 18 in (45.7 cm) of braided cordage. Fasten this point in the same fashion you did the previously, with string, rubber bands, or durable tape. Align the two fasteners so they are directly next to each other.
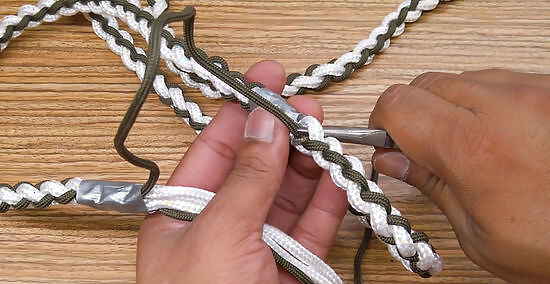
Splice strands into the braided rope. From this point on, you’ll be splicing the loosened strands to the main braiding in the same fashion you did for the collar clip. Weave loose strands back and forth into the main braid after the second fastener.
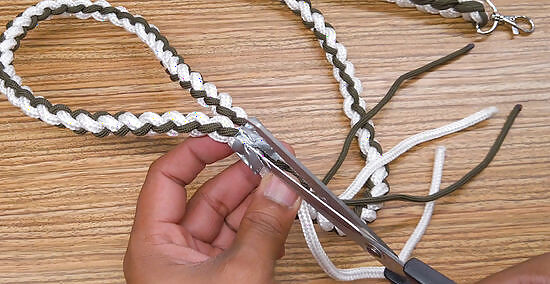
Remove the fasteners and tighten your spliced strands. Splice the stands into the main braid for several windings apiece. Remove your two fasteners on the cordage and discard them or save them for later. Pull on the loose strands to tighten the braiding.

Continue splicing, then cut and fuse the strands. Splice your loose strands up the main braid until there is perhaps around 3 in (7.6 cm) remaining, or until it becomes difficult to braid due to shortness. Cut the loose ends free with your scissors. Fuse these ends with your lighter or hot hobby knife. Enjoy walking your dog on your new leash.


Comments
0 comment