
Making the dough

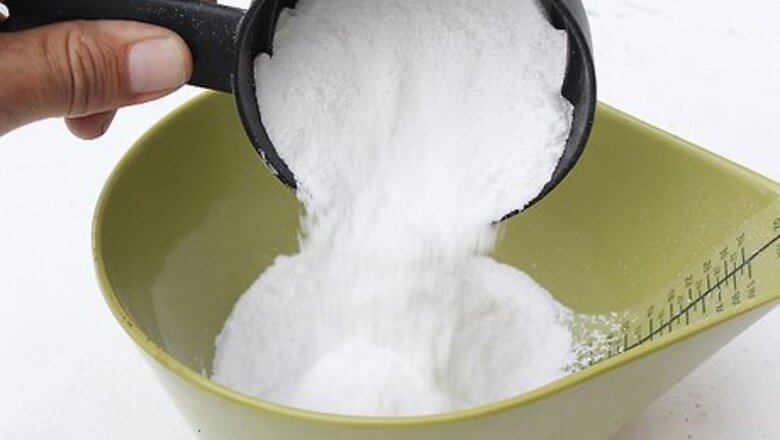
Place the flour, salt, and water into a mixing bowl.

Stir the ingredients together using the mixing spoon.
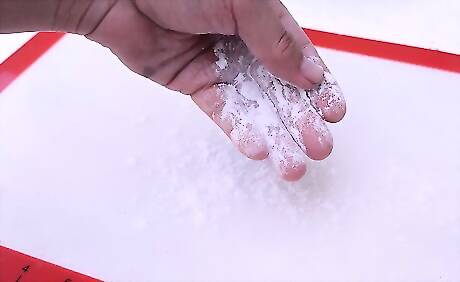
Sprinkle flour over your work surface so the mixture doesn't stick when kneading.
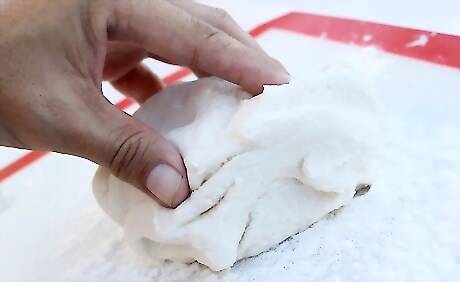
Knead the dough. When the dough forms a ball during mixing, take it out of the bowl. Place it on the floured surface and knead it for 5 minutes. Knead until it is smooth and not sticky to handle.
Shaping the basket
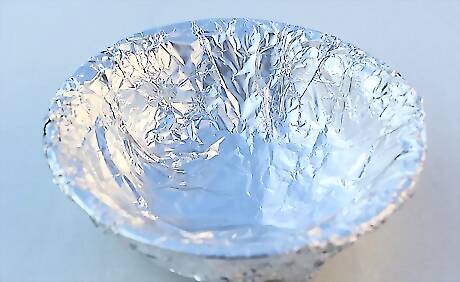
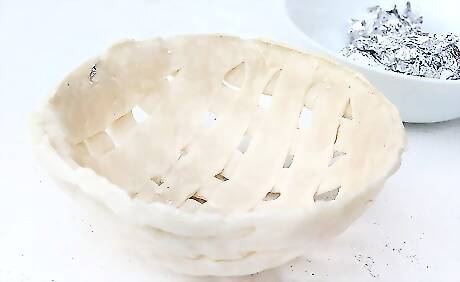
Prepare the oven proof bowl that will form the mold for the basket. Cover it completely with aluminum (kitchen) foil.
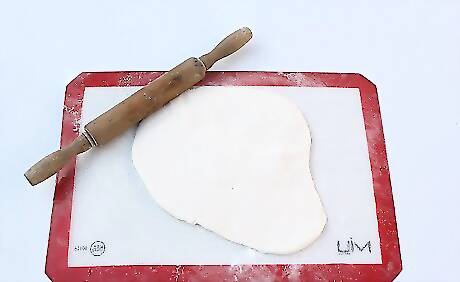
Roll the dough out on another flour-covered platform.

Cut the flattened dough into 1 inch (2.5cm) wide strips. These strips will be used to form the dough basket.

Weave the strips on top of the bowl. Line them across the bowl one way, then weave in the remaining pieces up and over the already added pieces. For any leftover pieces, just tuck them underneath the lip of the bowl and press in firmly to create a smooth join.
Baking the basket
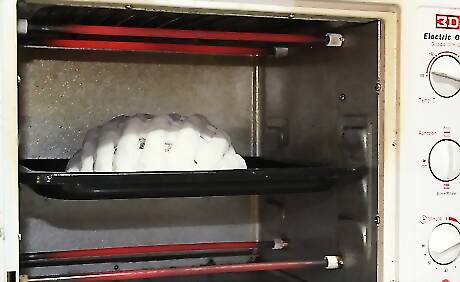
Bake the basket. Bake for 4 hours at 275 °F (135 °C), or until it is completely dried up and hardened.
Remove the baked basket. When the bowl is baked sufficiently, take it out of the oven. Place on a wire rack to cool.

Paint and varnish the basket. Painting the basket is optional––if preferred, just leave it the color of the baked dough. Or, paint it any preferred color, perhaps to match your kitchen décor. Finish with a layer or two of varnish. This protects the basket from wear and tear and stops the dough from breaking down. Use food-safe paint and varnish if the basket is to be used to store food, to ensure that any food you put into the bowl is good to eat. For extra decoration, you might like use clay to sculpt something, such as a cherry. For a cherry, shape it from the clay or spare dough and bake or air dry as needed. Stick a little wire in the top, then paint the cherry red.
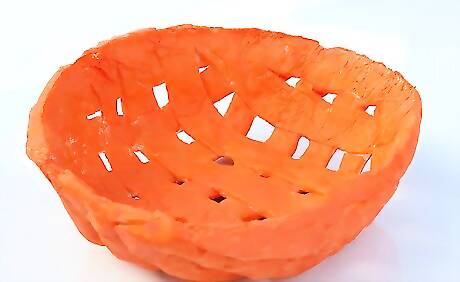
Done. The bread dough basket is now ready for use. It can now be used to hold fruit, vegetables, bread, bits and pieces, cellphones, whatever you like.


Comments
0 comment