views
X
Research source
To make a flexagon you only need some paper, a template, scissors, and glue. With careful folding, you can make your own flexagon and impress your friends with your new geometric toy. Making flexagons is not only educational, but rather fun as well.
- Print a flexagon template online for a simple and easy option.
- Fold along the center of your template and then score each of triangles to make them easy to fold.
- Use glue to secure your triangles to one another and let the glue dry before folding and unfolding the flexagon.
- You can create your own flexagon by printing a blank template out and coloring it yourself.
Making a Flexagon
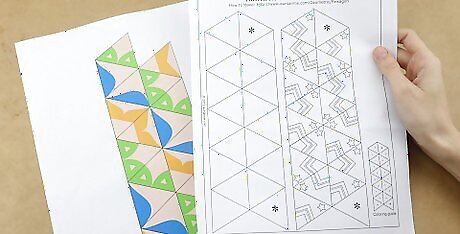
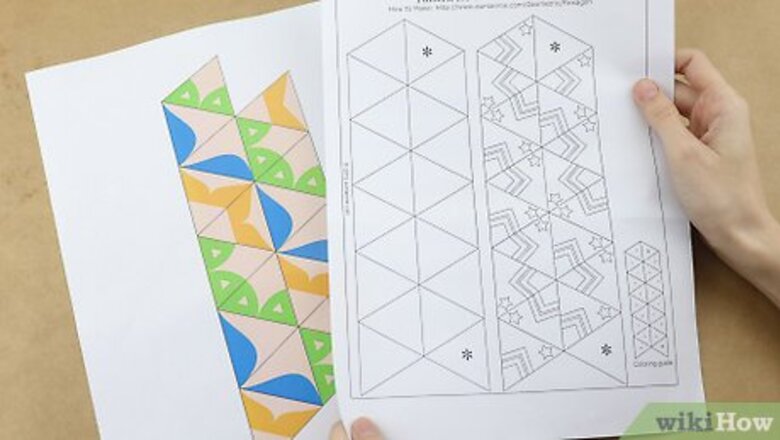
Print a template. Search online for “flexagon”, “hexaflexagon”, or “tri-hexaflexagon” templates. Any of these searches should yield many patterned templates to choose from. Pick the patterns that you like the best and then print out the template. You can also print a blank template and color it the way you would like.
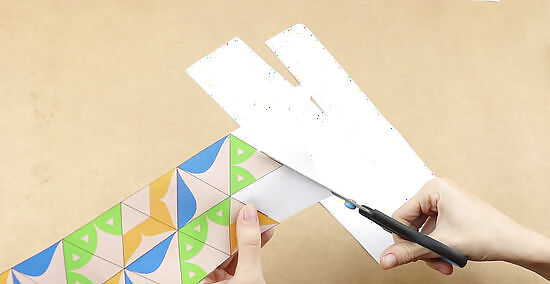
Cut out the template. Using scissors, carefully cut along the outside lines of the pattern. Try to cut as straight as possible and directly on the lines. Precision in the cuts is important to make the correct folds. Adult supervision is recommended while using the scissors.
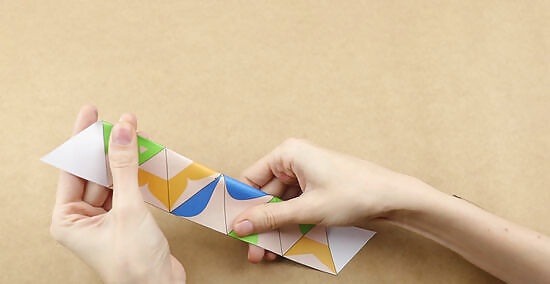
Score and fold along the centerline lengthwise. Once the template has been cut out, you will make a series of specific folds to complete the flexagon. The first fold is along the centerline of the template. Score the centerline with an empty ballpoint pen by aligning a ruler on the line and running the pen along it. Scoring makes it easier to fold. Fold the template so that the pattern is facing up. Once the fold has been made, run the ruler along the fold to make the edge sharp. Glue along the shorter half of the template with a glue stick to stick it down to the longer half.
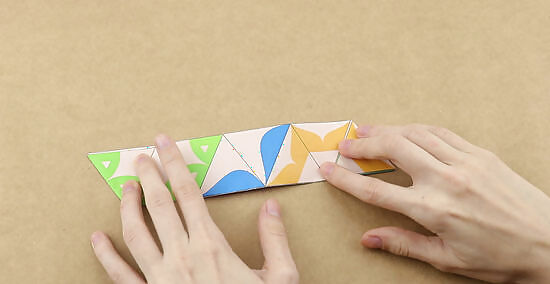
Score and fold along the edge of each triangle. When the two sides have been glued together, score the edge of each triangle. Fold back and forth along each edge of solid black lines. Having the edges pre-folded will make the rest of the assembly easier.
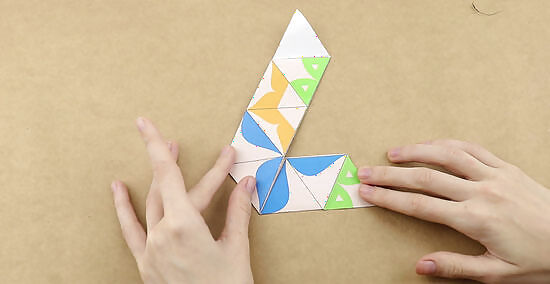
Make a fold four triangles from the right. At this point, you should have the smaller side facing upright. You should see two white triangles at either end with eight patterned triangles in between. Count four triangles from the right side of the paper and fold along the far edge of the fourth triangle (this is actually the third patterned triangle because there is a blank triangle on the end). Make the fold downward so that the crease of the fold points upward.
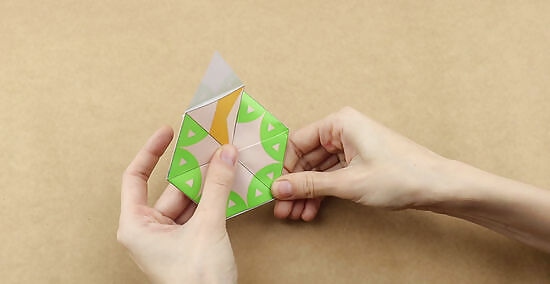
Make another fold four triangles from the other side. Flip the entire paper over and count four triangles from the left side of the template. Fold the paper up so that it begins to resemble a hexagon. If you have done the fold correctly so far, you should see only one pattern making the hexagon with one extra triangle flap sticking out. If you have misfolded at a step, simply unfold what you have done and begin again.
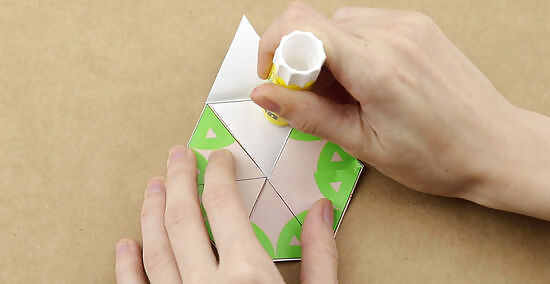
Fold and glue the remaining flap into the hexagon. Take the blank flap that sticks out and fold it over the other blank triangle. You should now see a hexagon with six identical faces. Glue the flap in place. If you flip the flexagon over you should see another pattern with six identical faces on it. The third pattern is hidden on the back sides of the two visible patterns. When you “flex” the flexagon, you will see the third pattern.
Using the Flexagon
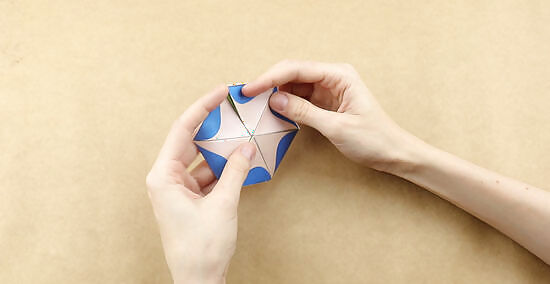
Fold and unfold along all three diagonals. Manipulating the flexagon takes a little bit of practice, but is made much easier if you fold and unfold the creases a few times. Make folds along all three diagonals of the hexagon and fold them back and forth a few times. You don’t absolutely have to do this step, but it makes it much easier to play with the flexagon if you do.
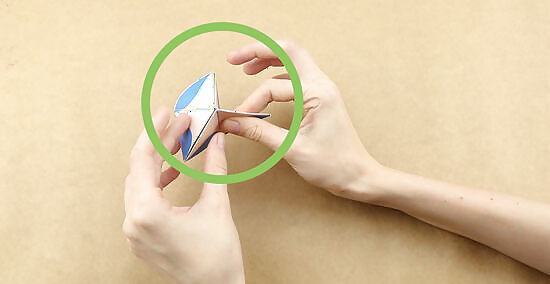
Pinch together two adjacent triangles. Fold two triangles together so that the fold goes toward the inside of the flexagon. The other two sides should flatten against each other. The more you play with the flexagon, the easier it will be to manipulate.
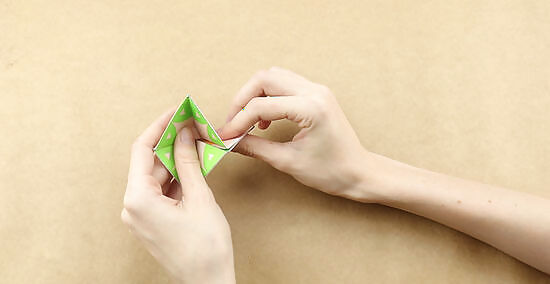
Unfold the new pattern of the flexagon. With the two triangles pinched towards the center, the flexagon should almost fall open into a new pattern. Grab the top corners in the center of the flexagon and pull them open, revealing the new pattern. Practice flipping the flexagon and see if you can see all three patterns.
Making Your Own Design
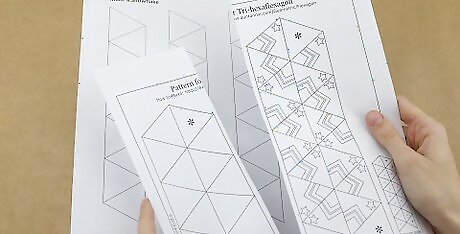
Print a blank flexagon template. Make sure the template is numbered to indicate which triangles will make up the same pattern. The template will have a series of triangles that are numbered according to the side with which they correspond. A tri-hexaflexagon will have triangles numbered 1, 2, and 3. A hexa-hexaflexgon will have triangles numbered 1-6 because there are six different patterns that will form.
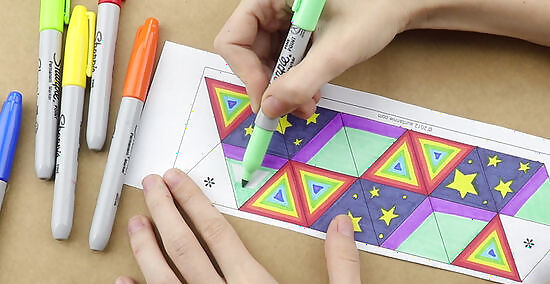
Decorate the template according to the numbered patterns. You can decorate the template however you would like. Make sure you color each triangle with the same number in the same way. You can also print a patterned picture and cut it into triangles then glue them on the template. For example: All triangles numbered 1 get colored red, all triangles numbered 2 get colored green, and all triangles numbered 3 get colored blue.
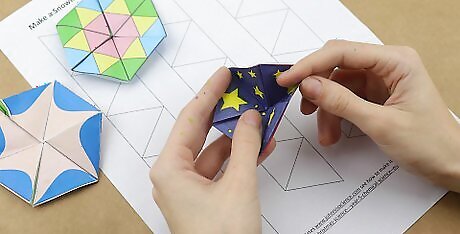
Try different shape variations. There are many different types of flexagons that can be made. You can make flexagons with different numbers of sides and patterns. Describing all of the possible shapes is beyond the scope of this article, but you can make any shape a flexagon by printing out a template and folding it correctly. Pentaflexagons, kite hexaflexagons, square tetraflexagons, and heptaflexagons are all fun shapes to make and play with.


Comments
0 comment