views
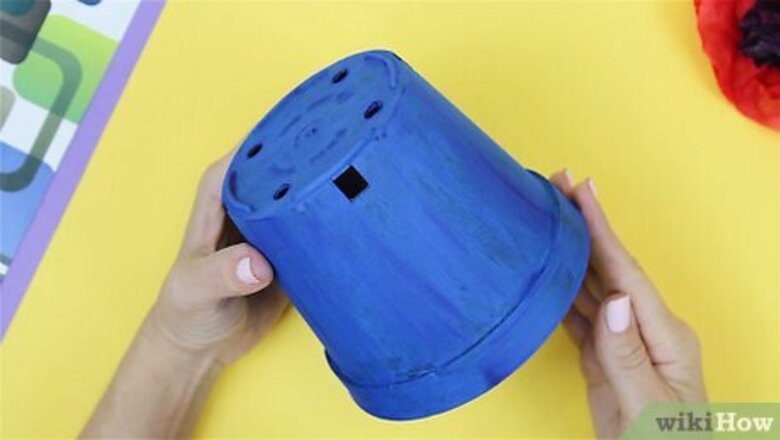
- Find a glass jar to use as a crater, and super glue it to an overturned soda bottle bottom for a base. Place them in a tray.
- Mix your papier mâché and tear up plenty of 1 in (2.5 cm) wide strips of newspaper.
- Dip the strips in papier mâché mix, then drape and wrap them around your volcano crater and base.
Building the Base
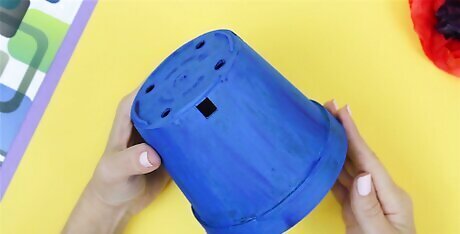
Create a base. You can build the base out of papier mâché, if you like, but it helps to start with some sort of prefabricated platform. You can use practically anything to make a base, depending on the shape of the volcano you need. Paper products are generally cheap, disposable, and reasonably sturdy. An overturned paper or plastic bowl makes for a simple, solid base. This will make a short but functional volcano. For a taller and more pointed volcano, attach a toilet paper tube to the top of the bowl. Surround it with tissue paper and masking tape to make the general shape of your volcano. The toilet paper tube also provides a ready-made mouth or "crater" for your volcano. If you need a wider base, you can set the main part of the volcano onto a paper plate or platter. This may also come in handy for containing the spillage when the volcano "erupts".
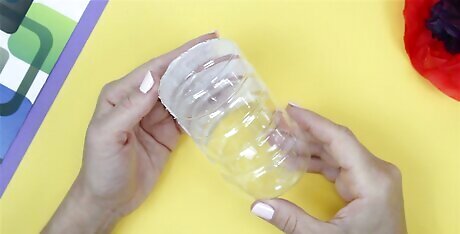
Get a small bottle, about 6cm high. This will become the "crater" of the volcano: the chamber into which you mix the baking soda and vinegar. Make sure that the bottle is made from a non-permeable material that will hold the vinegar without leaking. Ideally, pick a bottle with a relatively narrow neck so that the eruption is focused rather than wide. For a small volcano, try using a film canister or a single-serving yogurt bottle. For a larger volcano, use a 12-ounce plastic bottle so that you can hold more of the reactive ingredients. If you plan to use the volcano more than once—or if you think you might need to replace the bottle—consider covering the bottle with a plastic bag so that the papier -mâché doesn't stick to its surface. This may come in handy, for instance, if you want to be able to replace the crater with a fresh Diet Coke bottle each time you make the volcano erupt.
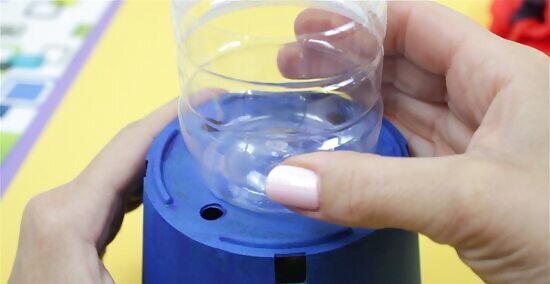
Superglue the bottle "crater" to the center of the base. Make sure that the mouth faces upward, so that you can eventually fill it with vinegar and baking soda. Try to glue the bottle so that it's level and sturdy. This is the core of your volcano, so it's important that you set a strong precedent for the rest of the sculpture.
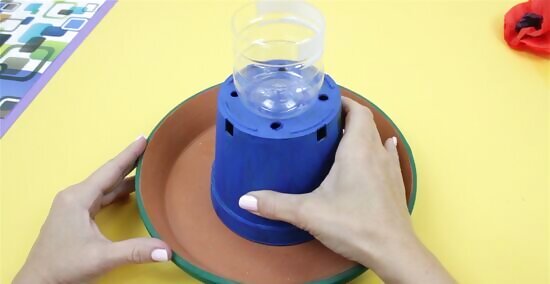
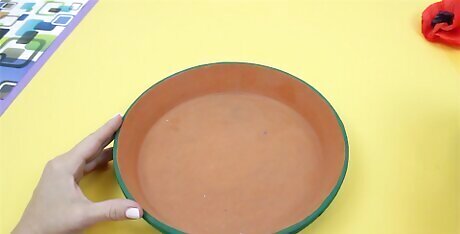
Include a tray to catch spills. If you plan to make your papier mâché volcano erupt, you'll end up making a mess from the foamy results of mixing baking soda and vinegar. Consider building your volcano into a cardboard box (with the sides cut away, save a short lip to stop running vinegar) or a flat cardboard base. You can glue or tape the "base" and core of the volcano onto the tray, or you can simply place the completed volcano into its protective berth once it's time to erupt. Trying using a plastic food tray; a sheet of wood; an old Frisbee. Place your volcano atop any surface that isn't valuable or irreplaceable. Alternately, you may set up your volcano in a space where the vinegar-and-baking-soda runoff can easily drain. Set up the volcano outside in the dirt, in a sink or bathtub, or on a concrete patio.
Building the Volcano
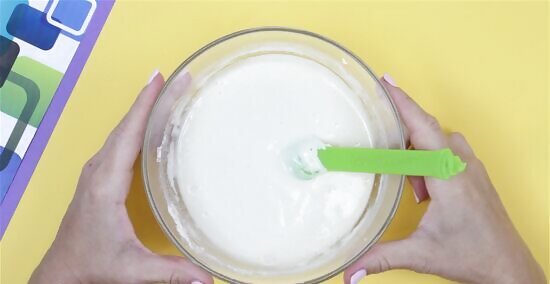
Make your paste mix. The paste mix is an integral part of making any papier mâché project. There are several different mixes you can make, although the main ingredients you can use are water, flour, and sometimes glue. A good ratio is 1:6 for flour and water, respectively. You may add one or two tablespoons of glue or paste to make your mix a little stronger, but it isn't necessary.
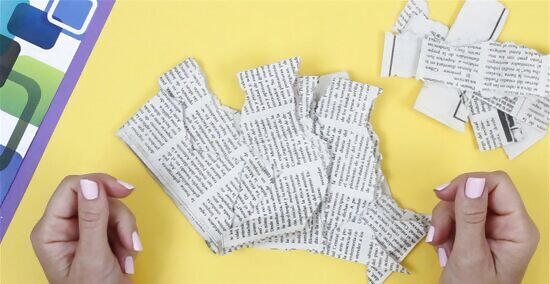
Prepare your paper strips. Newspaper or paper towels work best for papier mâché. They absorb the paste mix best, and they're more pliable than copy paper or construction paper – though the latter are viable options as well. Tear the paper into strips about one inch wide and six inches long. They don't need to be precise. Bear in mind that the wider, shorter pieces are easier to work with for optimum coverage.
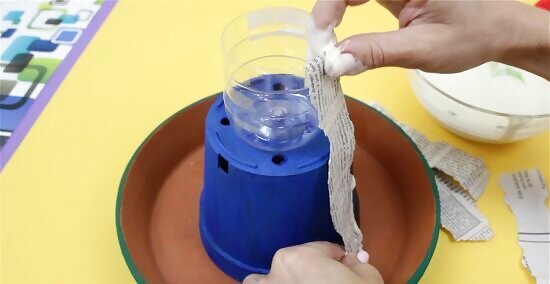
Make a base layer of paper over your base. Dip a paper strip in the paste mix, and squeegee off any extra paste by running the paper between two fingers. Lay the strip over your base. It is a good idea to lay the strips in a random pattern; if you lay them all vertically or all horizontally it is more likely that your volcano will have unsightly raised edges or even cracks when it is dry. Continue laying strips of paper over the base until it is completely covered. Keep some old rags or cloths on hand to wipe hands. The papier mâché can stick to hands and make it difficult to do other things. If you're helping kids make a volcano, they might wipe the gluey mixture on themselves, each other, or their surroundings.
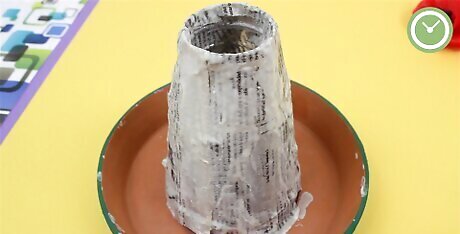
Allow the volcano to dry between each step. If the base layer, or any following layers, are not thoroughly dry before you add another layer, the entire volcano will take longer to dry when it is complete. The more layers of paper, paste, and then paint you add, the more moisture will be caught inside. This may cause your entire volcano to crack, collapse, or grow mold – and the paint may not dry properly, either, which can lead to a cracked exterior.
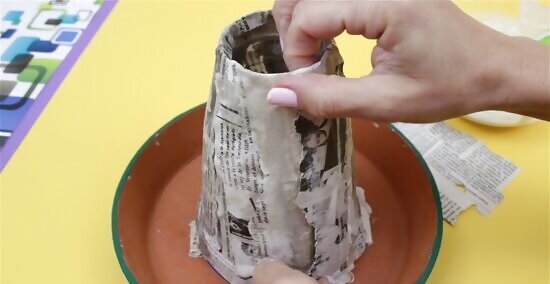
Add more layers. Once the base layer is dry, continue adding pasted strips around your volcano core until it is built up to the thickness that you want. If you don't want a particular thickness, it's a good idea to wrap at least three layers of paper around your base. To soften the mouth of your volcano, you can secure one end of a strip to the inside of the toilet paper tube, then secure the other end to the outside of the volcano.
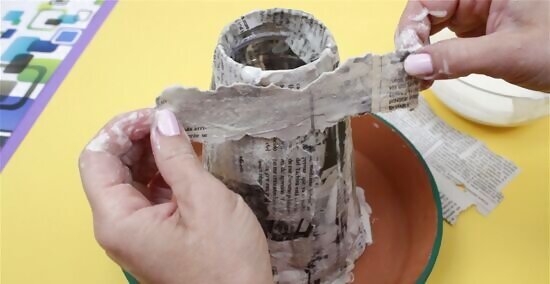
Add the final layer and allow the full piece to dry completely. The final layer of papier mâché does not need to be laid smoothly over the base. As a matter of fact, it's better if it isn't! The previous layers of paper should be relatively smooth, giving the volcano a solid structure. With your final layer, you are mainly shaping the appearance. Lay your pasted strip of paper over the volcano and pinch the strip in the middle. This will create a ridge in the paper, which makes your end result look more like a stone mountain!
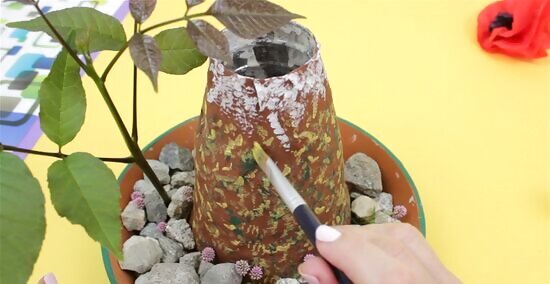
Paint the volcano. Once the papier mâché is dry, paint the form to look like a volcano! Use acrylic paints to make the volcano look realistic; other paints work as well, but acrylic works best with papier mâché. Greys and browns stippled with black can give the appearance of stone for an active volcano, while greens can give the appearance of a grass-covered dormant volcano. If you're confident in your painting skills, spill red and yellow paint from the mouth down the sides to show the magma from an erupting volcano!
Triggering an Eruption
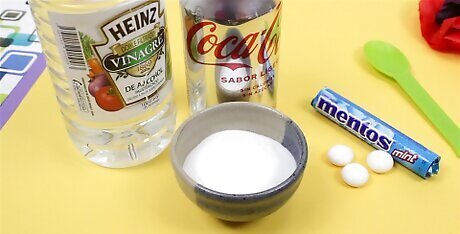
Prepare your volcano to explode. The "explosion" is the result of a chemical reaction between two substances – usually baking soda and vinegar. You'll need up to a cup of vinegar and two tablespoons of baking soda, though these increments will vary depending on how large your volcano and crater are. Alternately, try using Diet Coke and Mentos to make your volcano explode for a twist on a classic method. You'll need a 12-ounce bottle of Diet Coke and three mint Mentos.
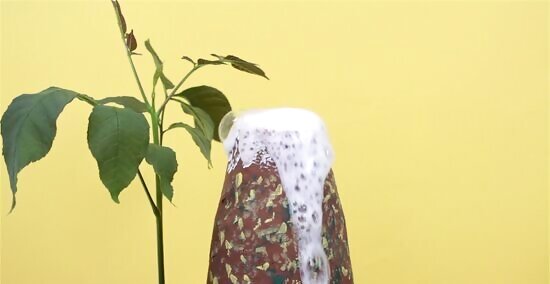
Erupt with baking soda and vinegar. Use 1/4 cup of vinegar (or up to a cup) and two tablespoons of baking soda. You can either fill the "crater" of the volcano with vinegar, and then add baking soda to trigger the reaction – or you can add the baking soda first, then the vinegar. You don't need to use any specific brand of baking soda or vinegar, although white vinegar is best. Consider adding red food coloring or cherry jello mix to the vinegar/baking soda combination so that it looks more like lava. Add the baking soda first, then the vinegar. Shake two tablespoons of baking soda into the bottom of your "crater" bottle. Make sure that you're ready to manage the spillage. When you are ready to erupt, pour 1/4 cup to 1 cup of vinegar over the baking soda. The volcano burst with foam as the "lava" spills over the rim of the crater and down the papier mâché mountainsides. Add the vinegar first, then the baking soda. Pour up to a cup of vinegar into the crater, depending on how large of a bottle you used. Mix in any food coloring or jello granules. When you are ready, dump the baking soda into the vinegar with one swift motion. Watch your volcano erupt!
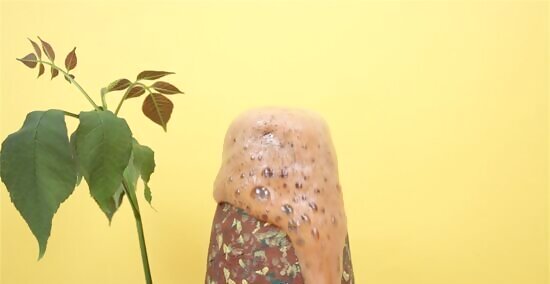
Explode with Diet Coke and Mentos. Ideally, use an unopened Diet Coke bottle as the "crater" of the volcano – although you may also crack a fresh soda open and pour it into the crater just before eruption time. Either way, you should have an open bottle full of bubbling Diet Coke in the center of your volcano model. Get all the Mentos into the bottle as quickly as possible for a smooth and powerful eruption. One way that works quite well is to drill a small hole in the center of each mint and hang all three by a string. When ready for the erupting volcano, hold the string with all three Mentos centered over the bottle hole and let go. Flavored versions of Diet Coke (Vanilla, Cherry, etc.) don't react as well as the original, nor do flavored Mentos work as well as the classic mint flavor. Original for both is best.
Clean up. If any of the "erupted" material spilled onto the floor, the counter, or any other surface, clean it up before it dries. This is especially important with Diet Coke, which will become sticky when dry. Use a sponge to wipe down surfaces. If you intend to use the volcano again, wipe down the surface before it becomes completely saturated with foam and liquid. Once the model dries, it should be ready to use again!


Comments
0 comment