
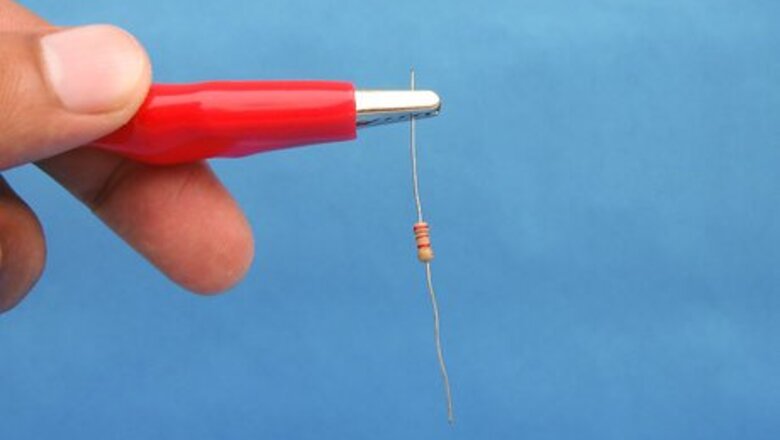
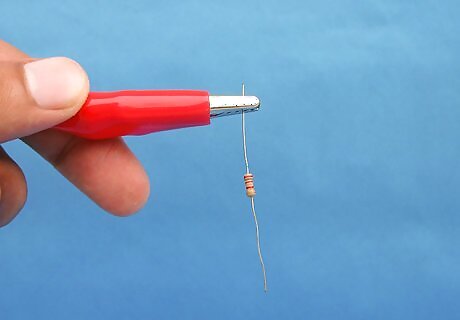
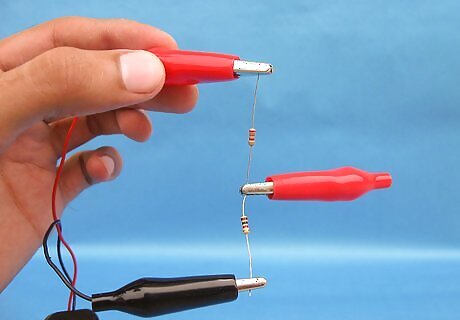
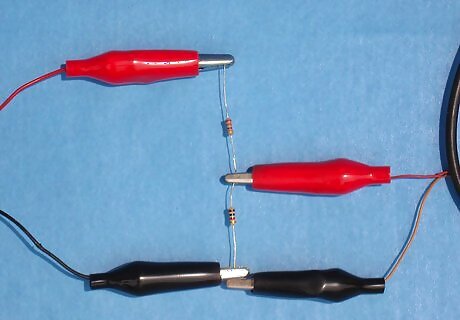
Connect one lead of the 20-ohm resistor to the exposed part of the red lead of the 9V battery snap-on connector using an alligator clamp.
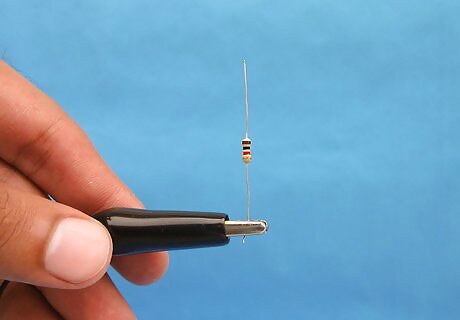
Repeat Step 1 to connect the black lead of the snap-on connector to one lead of the 10-ohm resistor.
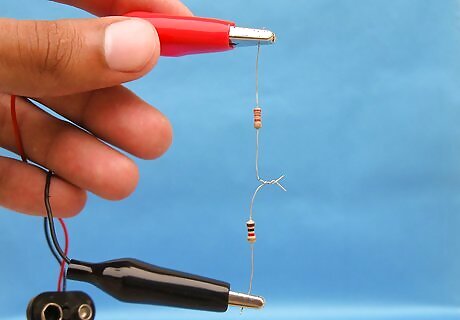
Twist together the free end of each resistor. This will be the easiest way to make sure that there is a solid connection between the resistors.
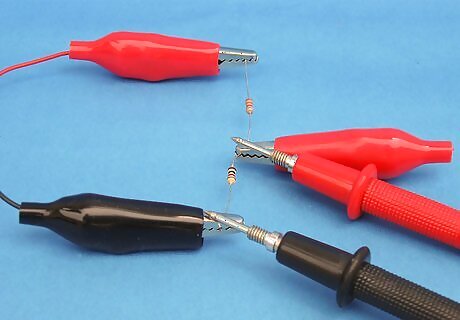
Clamp the last alligator clamp over the twisted leads of the resistors to ensure they stay in place.
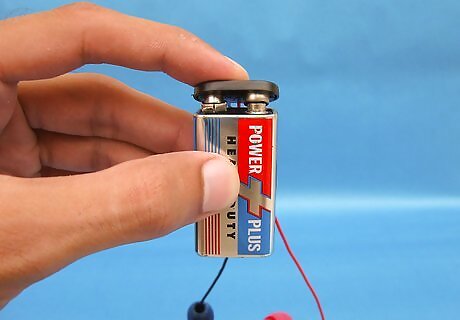
Connect the snap-on connector to the 9V battery so that the red wire is connected to the positive (+) terminal and the black wire is connected to the negative (-) terminal.
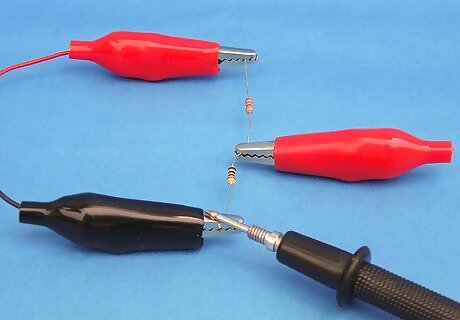
Hold the negative (black) lead of the voltmeter against the alligator clamp touching the negative (black) lead of the snap-on connector.
Hold the positive (red) lead of the voltmeter against the alligator clamp holding the twisted resistor leads in place.
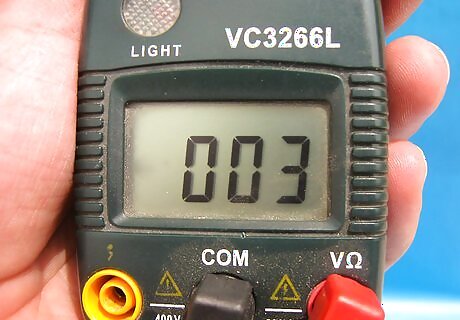
Turn on the voltmeter. The screen should read 3V.
Use the connection where the twisted resistor leads are located as the positive voltage terminal for your circuit. The negative terminal of the battery will still be your negative source for the circuit. You now have a voltage divider for your 9V battery.


Comments
0 comment