views
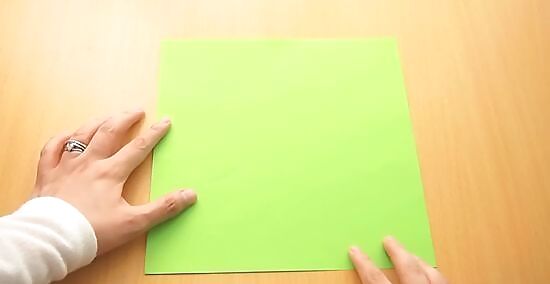
Start with a square sheet of paper.
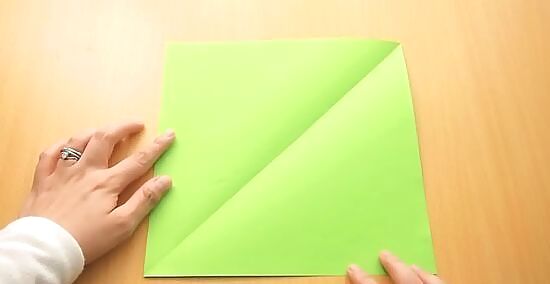
Fold it across one diagonal, and unfold it again.
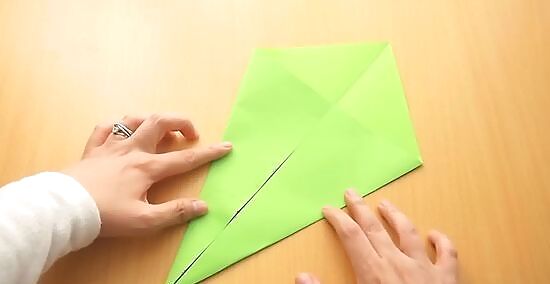
Fold one side of the square to meet the line made by the diagonal fold. Repeat this for the adjacent side of the square.
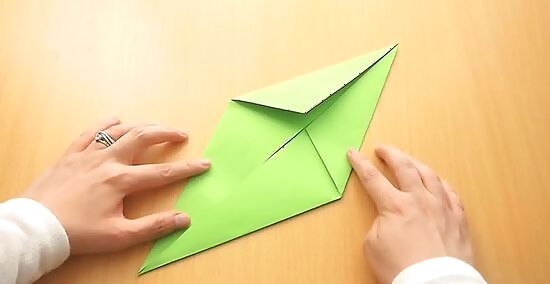
Repeat the previous two steps for the remaining sides of the square without unfolding anything.
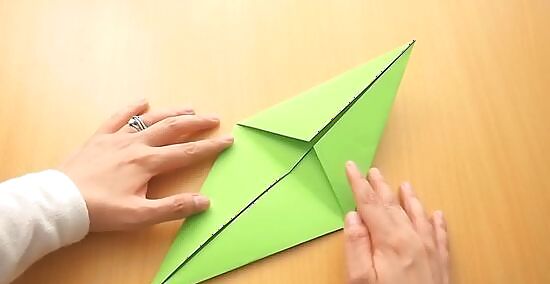
Fold it in half, from point to point, as shown, and then unfold it.
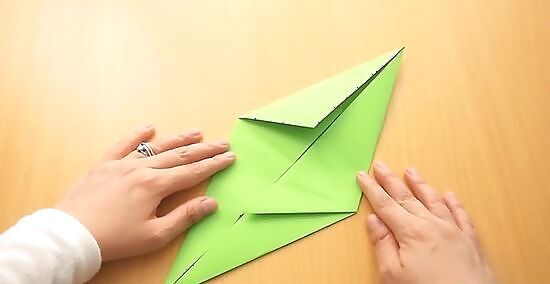
Put your finger in one of the flaps and pull out the point, using the previous fold as a template, and press it down.
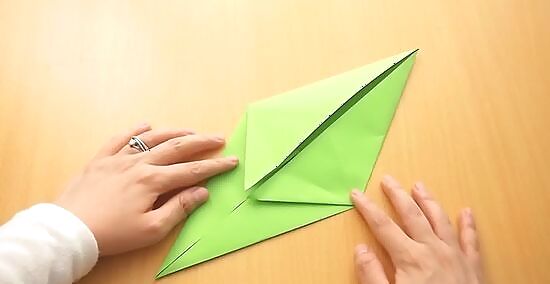
Repeat the previous two steps for the other flap.
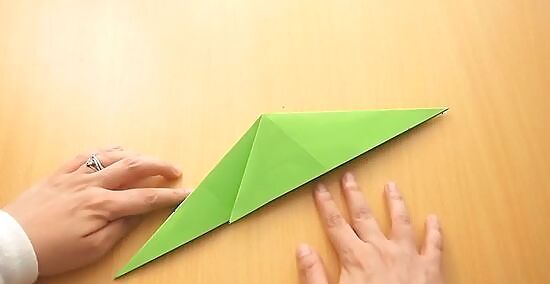
Fold it in half along its length as shown.
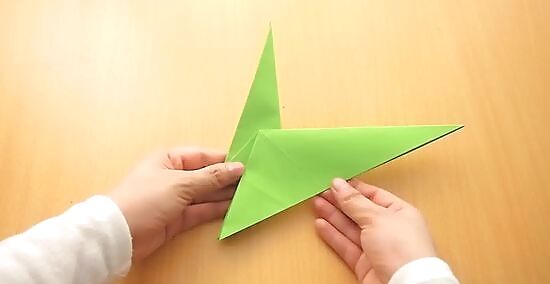
Pull the point that the flaps point towards back into the middle in a reverse fold. Flatten it down to construct the neck.
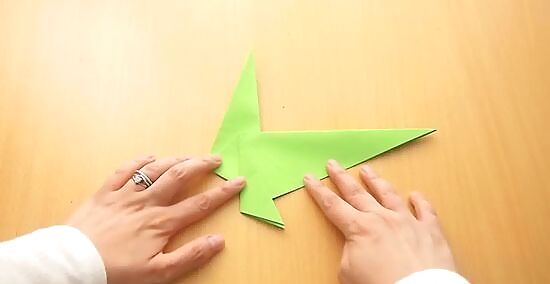
Fold both of the flaps back as shown. These are your reindeer's front legs.
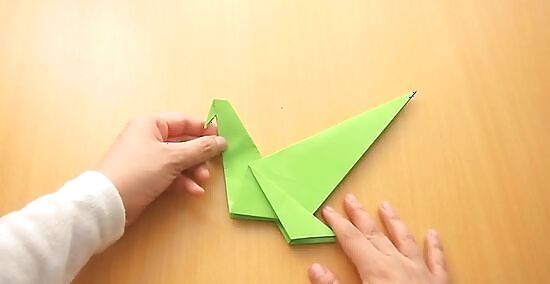
Make a reverse fold at the top of the neck, beginning the formation of the head.
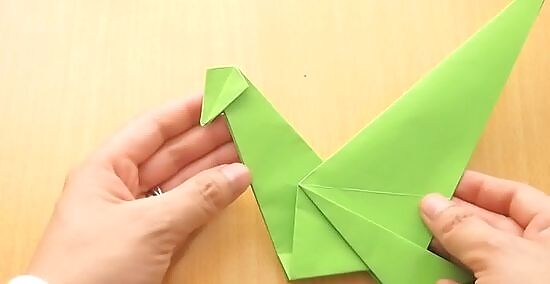
Unfold the head as shown.
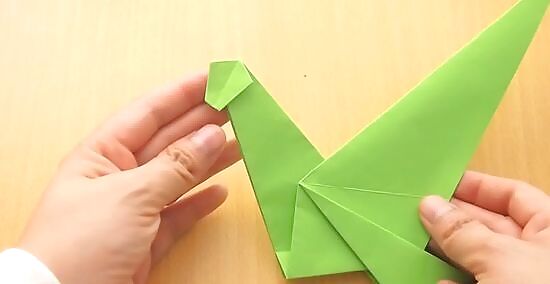
Fold the point underneath to make the nose more flat.
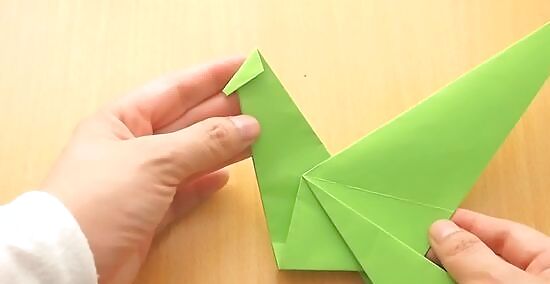
Fold the top of the head in half over to the opposite side as shown.
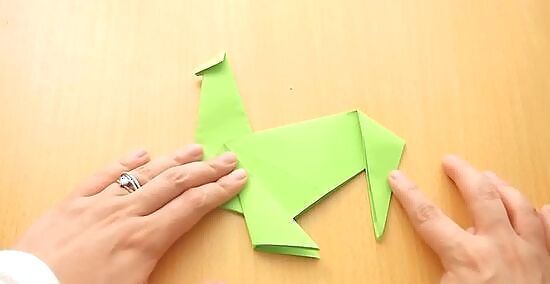
Make a reverse fold and flatten as shown to create the beginnings of the hind legs.
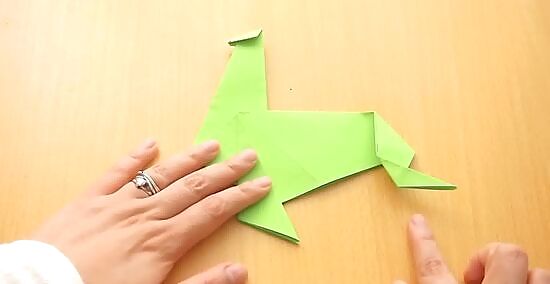
Make another reverse fold about halfway down the hind legs and flatten it to see the fully formed hind legs.
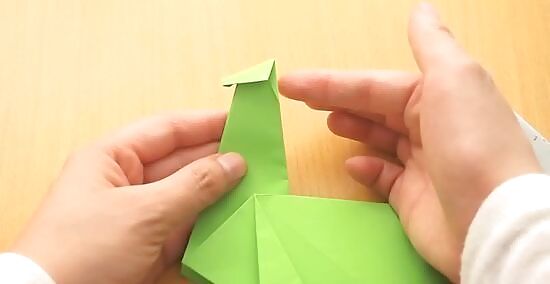
Cut up the back of the neck as shown, without actually completely cutting off any part of the reindeer.
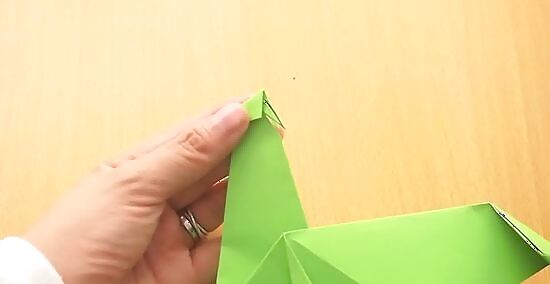
Split the middle of this flap right up the back of the reindeer's neck. You'll end up with four little prongs.
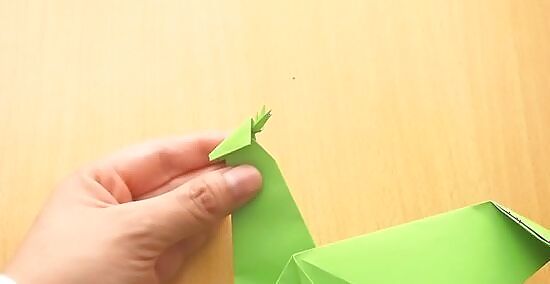
Fold the prongs upwards to form antlers and complete the reindeer.
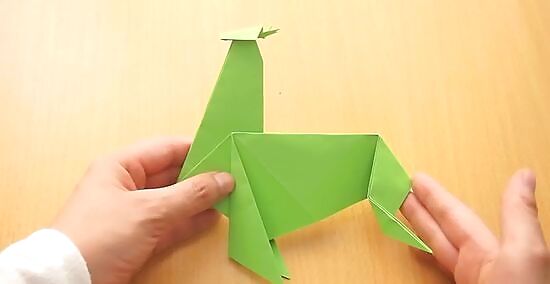
Done.


Comments
0 comment