
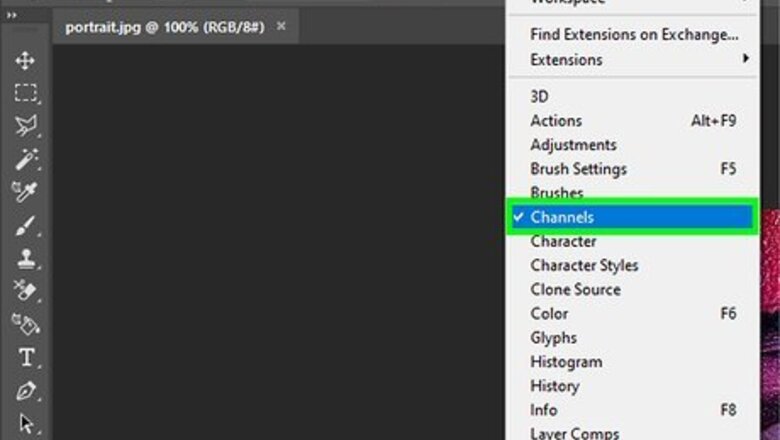
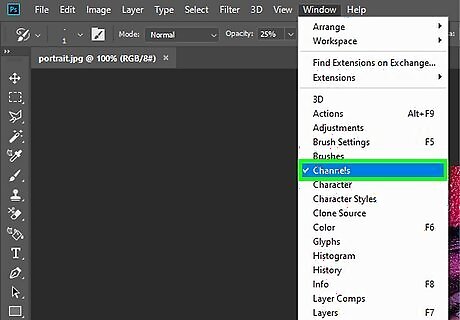
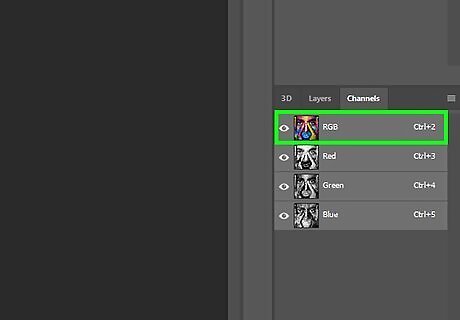
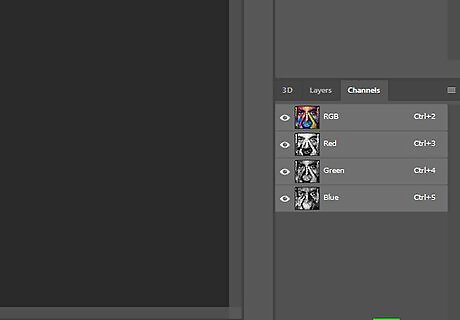
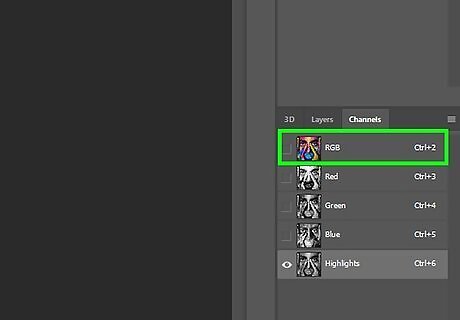
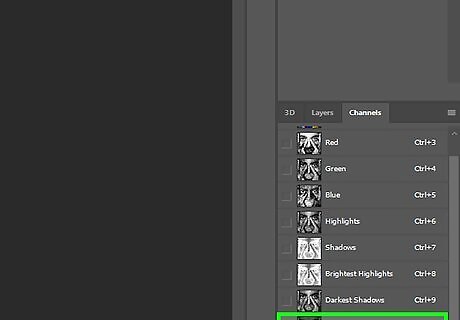
Go to the Channels tab after opening your image in Photoshop. If you don't see it, go to Windows >> Channels. This will bring it up so that you can see it.
Hold down Ctrl and click on the RGB channel. This selects the brightest parts of the image.
Click on the mask icon to create a mask and rename it Highlights.
Hold down Ctrl and click on the RGB channel. Then press ⇧ ShiftCtrl I to invert it.
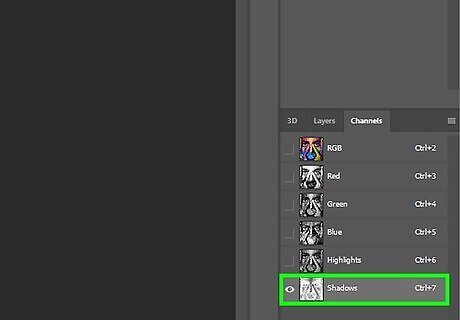
Click on the mask icon and rename it Shadows.

Press Ctrl and click on the Highlights channel that you created. Press ⇧ ShiftCtrlAlt and click on the Highlights channel again. This selects the Brightest Highlights.
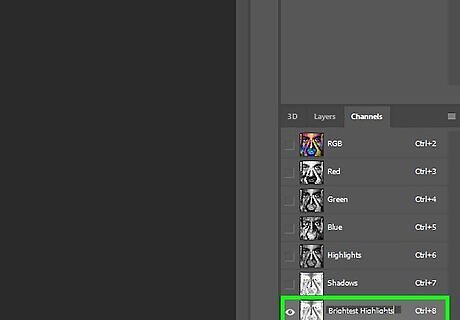
Click on the mask icon to create a mask and rename it Brightest Highlights.
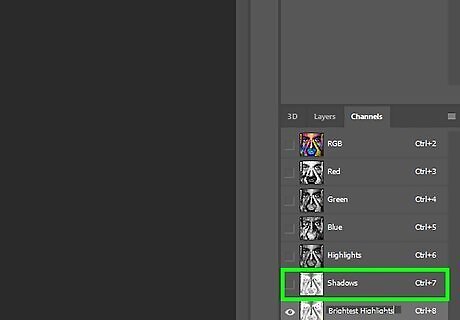
Press Ctrl and click on the Shadows channel that you created. Press ⇧ ShiftCtrlAlt and click on the Shadows channel again. This selects the Darkest Shadows.
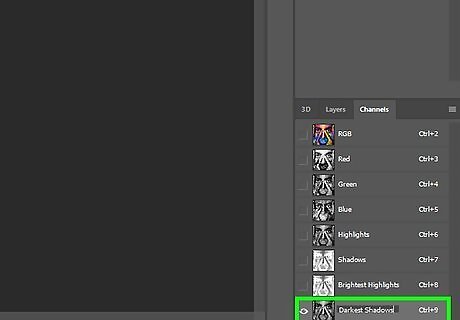
Click on the mask icon to create a mask and rename it Darkest Shadows.
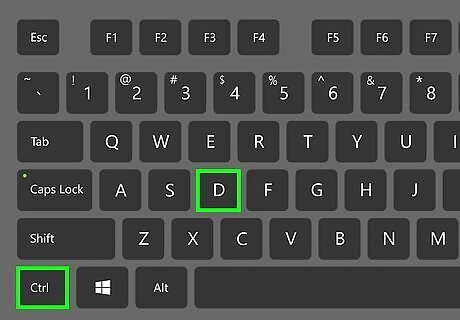
Press CtrlD to deselect everything.
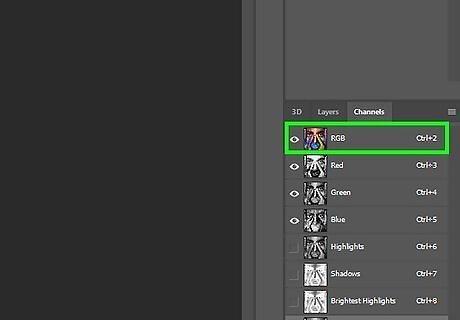
Be sure that the eyes that you see beside the channels are only beside the RGB channels. Click on the RGB channel.
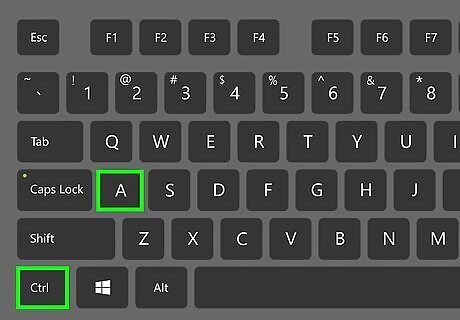
Press Ctrl A to select your entire image. You should still be in the Channels tab in Photoshop.

Press CtrlAlt and click on the Brightest Highlights.

Press CtrlAlt and click on the Darkest Shadows. This will select your midtones only.
Create a mask and rename it Midtones. This will leave you with 5 masks to help you adjust the colors of your photograph.

Press Ctrl and click on the channel that has the mask that you want to use.
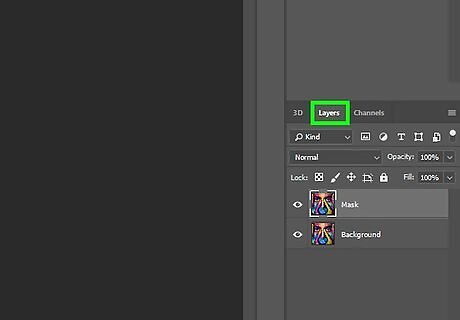
Go back to the Layers tab. Choose the type of adjustment layer that you would like to use. The mask that appears with the adjustment layer is the mask that you will use to fine-tune your adjustments.


Comments
0 comment