
Below processes demonstrates various steps in customizing an Ethernet cable and interconnecting two laptops using this network cable. Here we use a cross over Ethernet cable for setting up this network. By using a customized Ethernet cable, users can obtain cables of appropriate length that suites their needs.
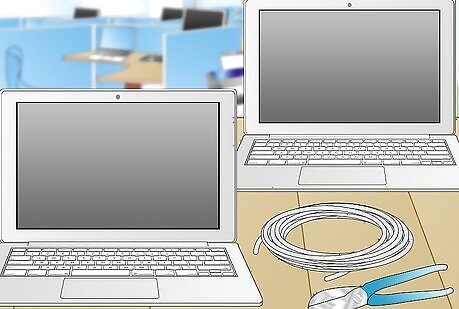
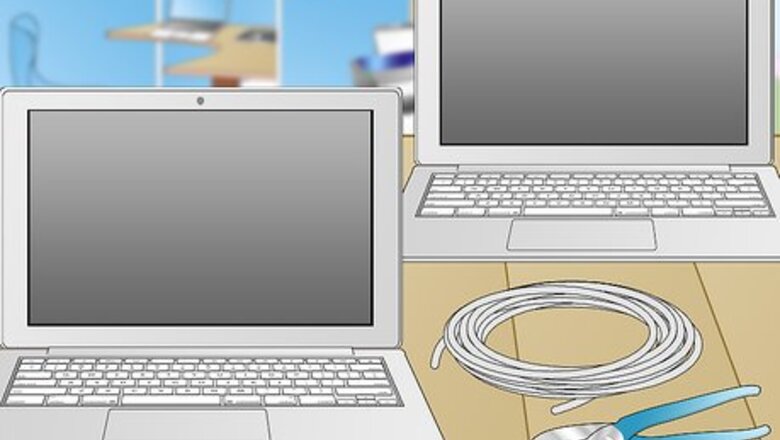
Collect the necessary components as shown in the “Things you will need” section.

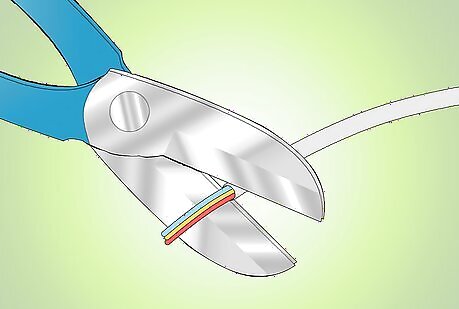
Determine your cable length. Measure the length of the cable that is appropriate for this task and cut the wire by using a wire cutter tool. Make sure your cable is the correct length before cutting.
Remove out shielding and untwist the pairs. Remove carefully one or two inches out shielding of cable at each end with a wire stripping tool. Then untwist the wires from each other so you can work with them. Don’t untwist them beyond what you have exposed; the more untwisted wire you have the worse the problems you can run into.

Arrange in order.

Align the colored wires according to the given diagram and picture.

Trim the wires. Trim all the colored wires the same length, about ½” to ¾” left exposed from the sheath.

Insert rubber boot and RJ45 clip. Insert the rubber boot on both end of the cable.

Then insert the wires into the RJ45 clip. Make sure each wire is fully inserted into the front of the clip.

Crimp the RJ45 clip with Crimper tool.

Make sure that the wires are ended up with right order and make good contact with metal parts in the RJ45 end.
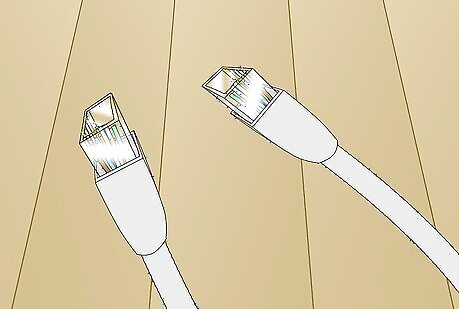
Finish the same process on both ends.

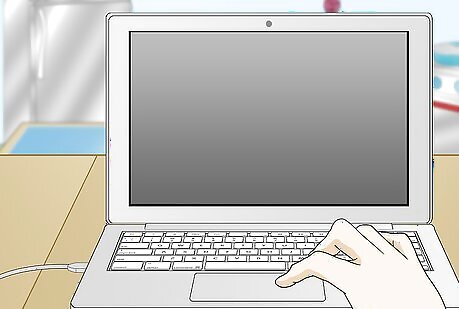
Connect cable to the laptops. Connect the two computers together with the cable to the Ethernet card in your laptop.
Configure the computers. To start the connection, you will have to assign IP address for both computers. To change the IP address you should make changes in both computers. Open control panel from the start menu and click on ‘network and internet’ and click on ‘networking and sharing center’.Make Your Own Ethernet Cable and Set up a Network Between Two Laptops Using Ethernet Cable Step 13Bullet1 Version 2.jpg From the left side bar, click on ‘change adapter settings’.Make Your Own Ethernet Cable and Set up a Network Between Two Laptops Using Ethernet Cable Step 13Bullet2 Version 2.jpg Select the icon ‘Local area connection’ and right click on it, then choose properties.Make Your Own Ethernet Cable and Set up a Network Between Two Laptops Using Ethernet Cable Step 13Bullet3 Version 2.jpg From the Local Area Connection properties select Internet Protocol Version 4(TCP/IPv4) and click on properties button.Make Your Own Ethernet Cable and Set up a Network Between Two Laptops Using Ethernet Cable Step 13Bullet4 Version 2.jpg
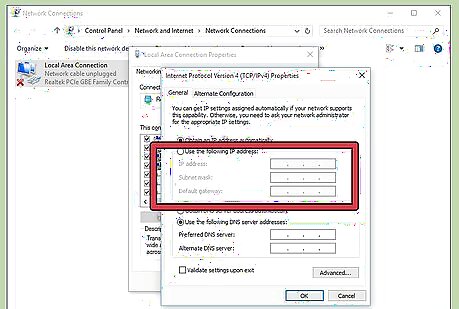
Change IP address. Set the IP address on each laptop. From the Internet Protocol Version 4(TCP/IPv4) properties select the option “use the following IP address”Make Your Own Ethernet Cable and Set up a Network Between Two Laptops Using Ethernet Cable Step 14Bullet1 Version 2.jpg Then Laptop 1: IP address: 192.168.0.1Make Your Own Ethernet Cable and Set up a Network Between Two Laptops Using Ethernet Cable Step 14Bullet4 Version 2.jpg Click on Subnet Mask space then it shows like: 255.255.255.0Make Your Own Ethernet Cable and Set up a Network Between Two Laptops Using Ethernet Cable Step 14Bullet5 Version 2.jpg Default gateway: 192.168.0.2Make Your Own Ethernet Cable and Set up a Network Between Two Laptops Using Ethernet Cable Step 14Bullet6 Version 2.jpg Laptop 2: IP address: 192.168.0.2Make Your Own Ethernet Cable and Set up a Network Between Two Laptops Using Ethernet Cable Step 14Bullet8 Version 2.jpg Click on Subnet Mask space then it shows like: 255.255.255.0Make Your Own Ethernet Cable and Set up a Network Between Two Laptops Using Ethernet Cable Step 14Bullet9 Version 2.jpg Default gateway: 192.168.0.1Make Your Own Ethernet Cable and Set up a Network Between Two Laptops Using Ethernet Cable Step 14Bullet10 Version 2.jpg Then click OK.Make Your Own Ethernet Cable and Set up a Network Between Two Laptops Using Ethernet Cable Step 14Bullet11 Version 2.jpg
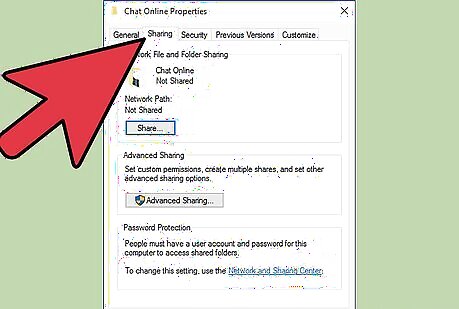
Change sharing settings. To share the information and resources we need to change some settings. Select computer from the start menu and select properties of folder that you want to share by right clicking.Make Your Own Ethernet Cable and Set up a Network Between Two Laptops Using Ethernet Cable Step 15Bullet1 Version 2.jpg Then choose Share with -> Advanced sharing. Then select the button advanced sharing and choose the option share folder and select the name of folder. Then click OK.Make Your Own Ethernet Cable and Set up a Network Between Two Laptops Using Ethernet Cable Step 15Bullet2 Version 2.jpg
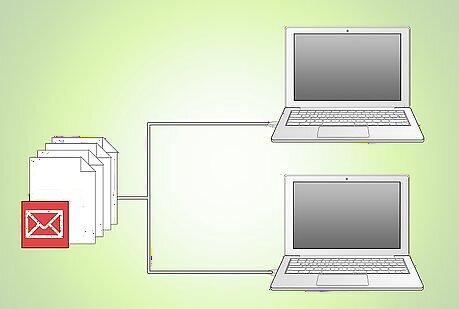
Now you can access shared files.


Comments
0 comment