views
Getting Started
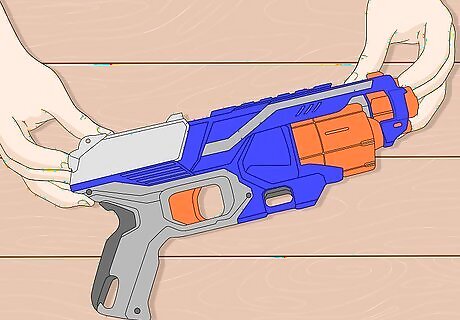
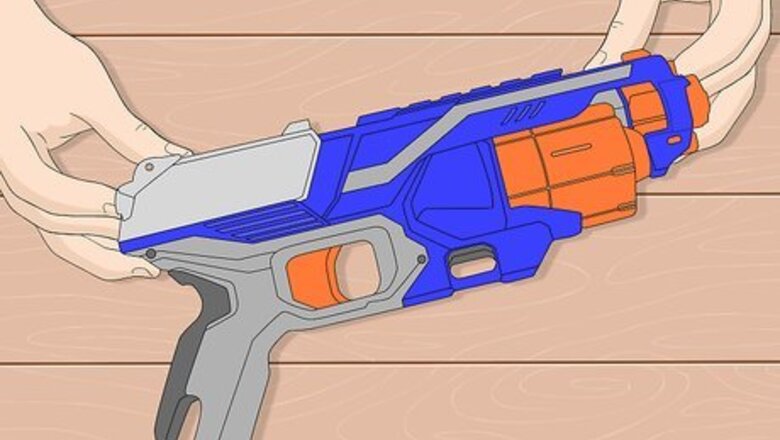
Get a good blaster for modifying. There are lots of different styles and designs of Nerf guns, but the basic models are usually the best for modifying, since they're both the cheapest and the most common. If you want to get started, getting a basic spring or flywheel blaster will be a good choice, seeing as most Nerfers are more willing to modify cheaper blasters than more expensive ones. You can master-key a Rapidstrike later. Start small and learn the two basic categories of Nerf weaponry: Spring blasters use a plunger system to pull back the spring before it reaches a catch which the trigger releases. The Nerf Longshot is the most commonly modified spring blaster, due to the enormous direct plunger. Flywheel blasters use a dart pusher or conveyor belt to push the darts into a flywheel, which increases the speed of the dart enough to launch it out of the blaster. The Stryfe is the most commonly modified flywheel blaster, owing to its small size and reasonable price.
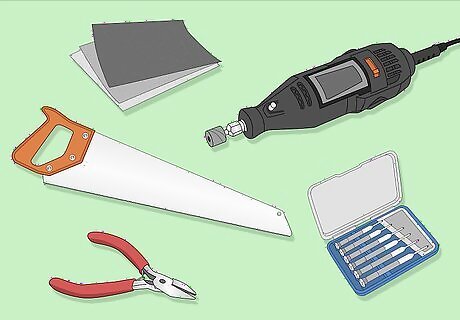
Assemble the tools necessary for basic mods. You don't need to actually do much to make some slight modifications on basic Nerf guns, but you will need a few tools aside from the blaster itself. If you're under 15, it's a good idea to have your parents help you with any tools or cutting that might be necessary. To do the modifications described in the following sections, you'll need: A hand-saw A set of eyeglass screwdrivers Sandpaper Dremel drill or metal file Wire clippers Replacement parts, if you want to upgrade
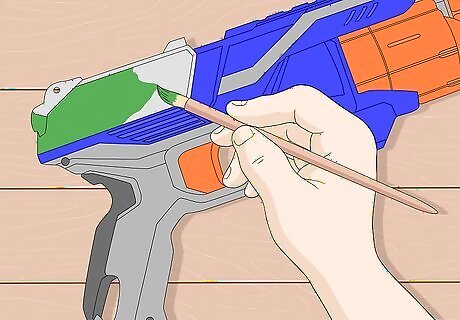
Invent your own mods. Everybody's got their own little tricks and opinions about the best hacks and mods for Nerf guns, and everybody likes different guns. There's no "right" way to do it. The best way to learn is to learn to take apart the gun and see how it works, then start developing your own ideas and mods and trying them out. Check out some other articles about specific mods for specific models below: Make a homemade Nerf sniper scope Paint a Nerf gun Make a Nerf gun shot farther Easily modify a Nerf Longshot Mod a Nerf Maverick Mod a Nerf Recon CS 6 Mod a Nerf Nite Finder
Making Stefans
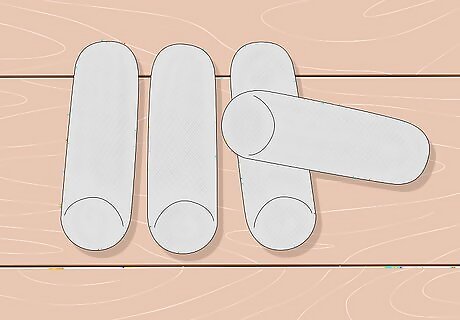
Learn to make "stefans." Each blaster you buy at the store with come with a small supply of Nerf darts, but the price is quite high. One of the best basic mods to learn as you're getting started is how to make your own darts and save money. A general method has been developed by Nerfers, and these homemade darts are usually referred to as "stefans." There are various ways of making stefans, but the simplest is described here. You'll need to complete the mods described below to use them.
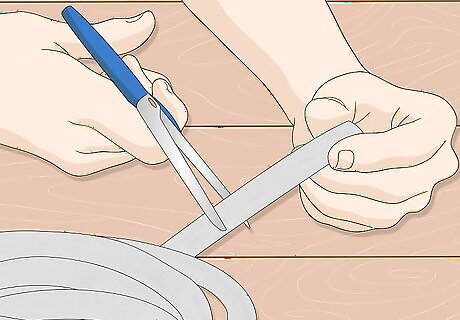
Cut a half-inch-wide foam backer rod into two-inch sections. This rod is also sometimes called a "caulk saver" and is available at any home repair store, usually with the winterizing supplies and caulking materials. It should look familiar (it's the same basic material as Nerf darts). The backer rod will usually be curled up in a loop, which means you'll have to straighten it out before you cut it into individual darts. Most people do this by taping them flat, to a table or some other flat surface for about a day and letting it flatten out naturally.
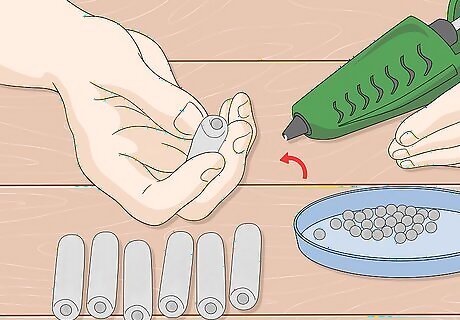
Weigh the darts. To weigh the darts, most people use either BB's or fishing weights. You'll also need scissors and hot glue to make stefans. Make a tiny hole in one end to insert the BB or fishing weight. Cover this hole with hot glue and let it dry.
Modifying Spring Guns
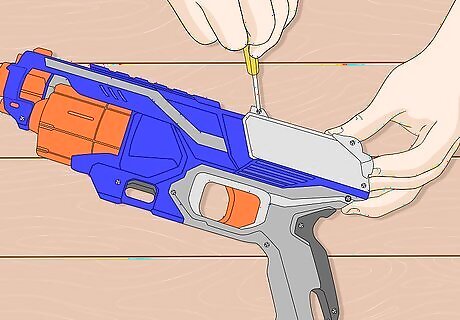
Remove all the screws holding the housing together. The first step to modifying a spring-activated Nerf gun is to take it apart and examine the internal components. The housing of most guns is two plastic halves held together by Philips-head screws. Larger guns will have more screws, but the smaller hand-held pistol style blasters will sometimes have as few as three. Remove the screws with your screwdriver and set them aside. Pull the two halves of the gun together to reveal the internal components. One side should just be a shell, and all the parts should be attached to the other side.
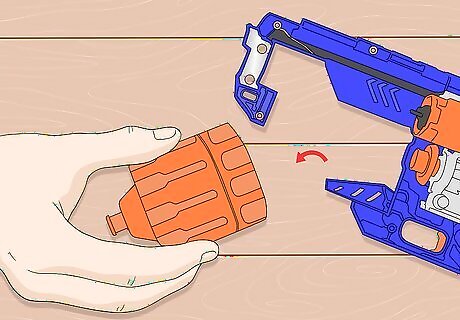
Remove the cylinder and unscrew the cap. If you're modifying a Maverick (the easiest way to start), the most common beginner mod is to remove the air restrictors and the barrel posts, which keep you from being able to use stefans, and which decrease the power behind each shot. To do this, you need to pull the cylinder loose, where the darts are kept before they're fired. The cylinder that holds the darts should pull out without having to pull very hard. Just grab it in your hand firmly and pull it back out away from the shell of the gun. With it should come a gray or beige plastic endplate, which you'll need to remove. Usually the endplate is attached with a little orange cap you can pop off using the flat end of a screwdriver, or just using your fingers. Don't lose this cap, or you won't be able to reassemble the blaster.
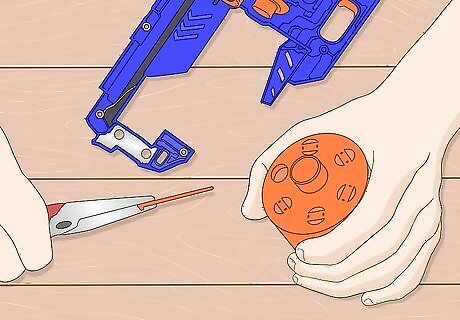
Clip off the barrel posts. Nerf-brand darts are hollow, and slide onto a post in each barrel of the blaster. For a long time, this kept people from being able to make your own darts. Fortunately, you can just clip them off. Remove the end cap with the barrel post from each cylinder and use wire-clipper or some other type of lopper to cut them off, as close to the endplate as possible. If you want, you can sand up the nub that you leave with some sand-paper to clean up the end. It's not necessary, but it'll be cleaner. Reassemble the cylinder by attaching the orange plastic end caps to each of the cylinders and putting the cylinder chamber back together. You're ready to turn your attention to the end plates.
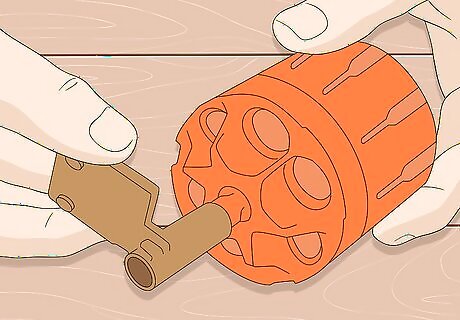
File the nubs off the end plates for the "Russian roulette" mod. Remove the gray plastic plate from the end of the cylinder, if you haven't already and find the little arc-shaped plastic nub on the side of it. This is used to stop the cylinder from spinning freely, so you can rotate the chamber in the gun like you're Jesse James. This won't make the gun shoot any differently, but it looks awesome. If you want to complete this mod, file off the nub using a metal file, or a Dremel drill. Smooth it up as much as possible to make the plastic flat, so the chamber won't catch on it. If it doesn't, it won't spin right. Make sure you get help and permission if you're using a power tool. Reattach the end plates to the blaster and put the cylinder back in the gun. If you wanted about 5–10 feet (1.5–3.0 m) more distance out of your gun and the ability to spin the chamber, you're done. Put the housing back together.
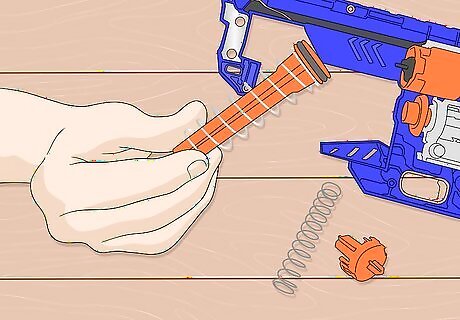
Upgrade the spring. If you want more power out of your gun, upgrade to a stronger spring. Examine the firing components of the gun, pulling the spring loose. It's a cheap, flimsy piece of metal, that you can easily upgrade with a trip to the hardware store. Take the spring with you to look for a spring that matches the width and length, and buy one made of a higher quality material. Sometimes, replacing the spring will leave you with a little gap at the back of the gun, where the spring won't go flush with the plastic. To remedy this, you can use a small stack of pennies–three or four should do–to slot in and give the spring something to rest against. The pennies should fit into the chamber perfectly.
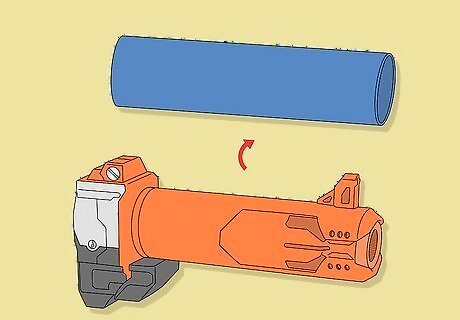
Consider replacing the barrel. Some really power-obsessed modders like to cut the barrel off the end of the blaster and replace it with a length of PVC pipe or brass pipe that matches the width of their stefans. Keeping a tighter seal and increasing the pressure of the spring can make the darts go much farther and faster. If you want to do this, cut off the barrel of the gun just where it meets the "body" of the gun, and discard it. Cut a length of half-inch diameter PVC pipe that matches the rough length of the barrel, and hot-glue it into place carefully, holding it to complete the seal. It's best to glue around the outside, to avoid little nubs of glue on the inside. If you like the way the gun looks, don't do this. Barrel replacements look pretty bootleg, and you'll gain a little power, but make your gun look kind of ridiculous.
Modifying Flywheel Blasters
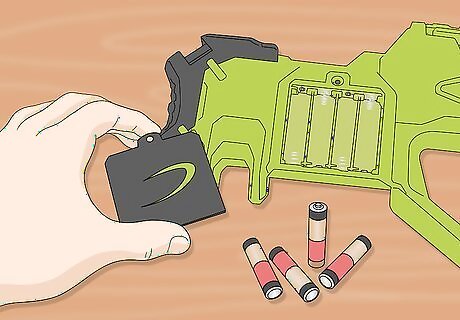
Unscrew the battery tray and remove the batteries. If you try to modify the blaster with the batteries in, you could short-circuit the blaster or even shock yourself. Even if the blaster is off, you should always remove the power source first to avoid shocking yourself.
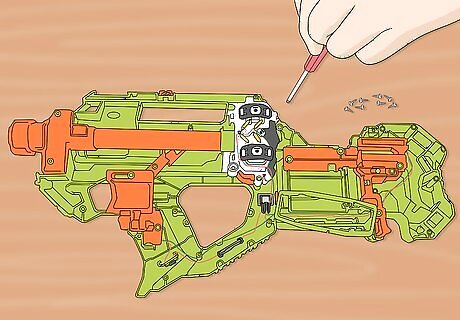
Remove all the screws and expose the internal components. The main modifications you can do on flywheel blasters are lock removal and full internal replacement. Some blasters can be modified into a fully-automatic blaster, but most of them already are fully-automatic.
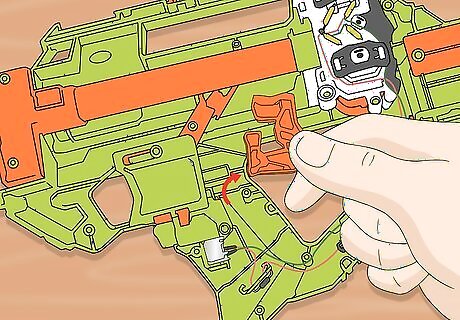
Remove the mechanical locks. Most flywheel blasters have both mechanical and electronic locks that prevent you from firing the blaster under certain circumstances. This prevents jams, but a blaster with two many locks is unable to reliably fire. Unscrew the physical locks and remove them. Always look online to see what the locks are, instead of disassembling everything.
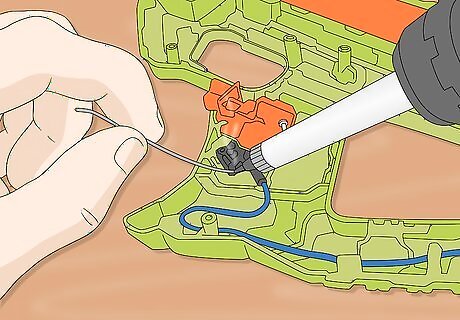
Disable the electronic locks. Do this by cutting the wire and soldering it back together. Pry out the physical locks with a screwdriver and flip them around. The walls that hold the electronic locks in place will depress the button, allowing the blaster to fire.
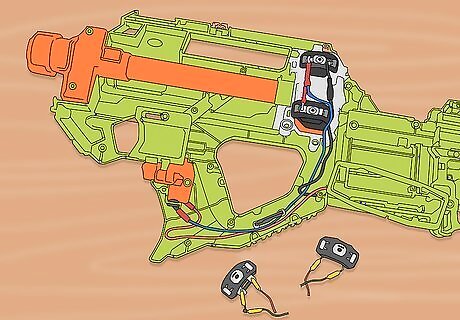
Replace the internals. Nerf's electronics work fine, but Nerfers have made alternatives that increase power by quite a bit. Replace the alkaline batteries with IMR batteries, or set up LIPO batteries with displays and alarms for insane power. #Replace the motors and flywheels, also replace your wires so you don't burn out your blaster. Make sure to replace all of the components, as only partially replacing the components will usually burn out the rest of them.
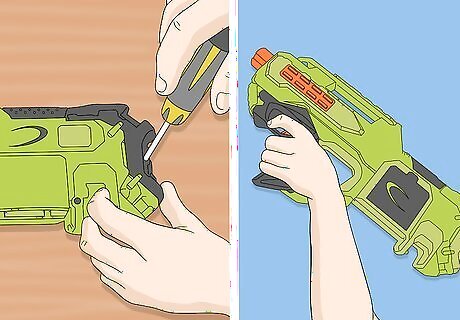
Reassemble and test the blaster. If the blaster starts smoking, let it cool and open it again to find what went wrong. Try to make sure you don't accidentally melt the plastic. However, if everything works, your blaster should fire a lot more powerfully and smoothly.


Comments
0 comment