views
Using a PC or Mac
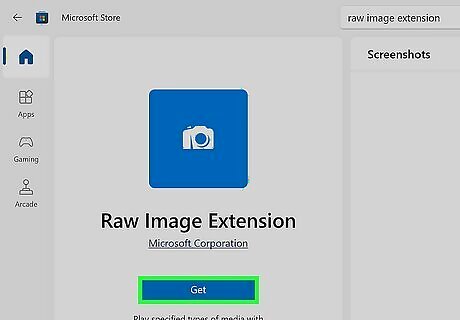
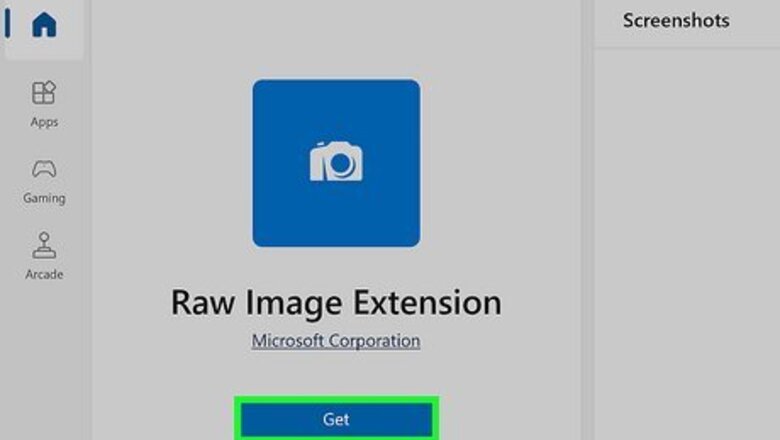
Install the Raw Image Extension (Windows only). If you are using Windows 10 or 11, you may need to install the RAW Image Extension to open RAW images in the Photos app. Use the following steps to install the RAW Image Extension: Open the Microsoft Store. Enter "Raw Image Extension" in the search bar. Click Install next to the Raw Image Extension.
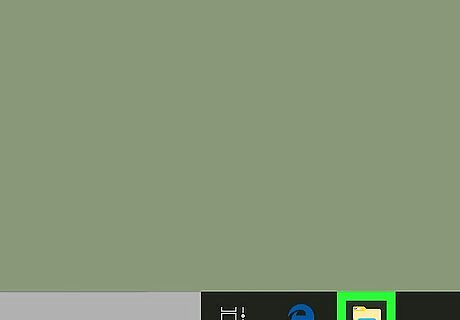
Open File Explorer Windows File Explorer or Finder Mac Finder. You can find these in either the Start menu or Dock.
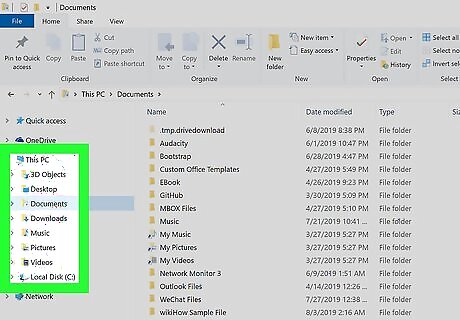
Navigate to the folder where the RAW file is saved. RAW files usually end with ".RW2," ".DNG," ".CR2," or ".NEF."
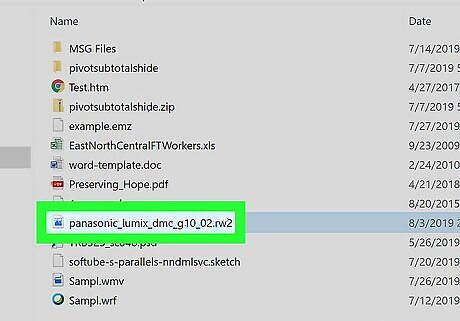
Double-click the file to open it in your default photo viewer. If you have a specific application in mind, you can right-click the file instead, select Open With, and then choose the application you want to open them in. You can click Edit or Tools in most apps to access editing tools.
Using Lightroom on PC & Mac
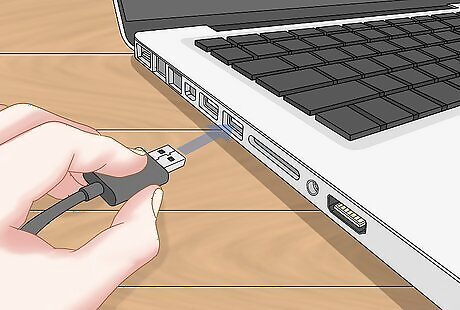
Connect your camera or external drive to your computer. You can connect your camera to your computer using a USB cable, or remove the SD card and insert it into an SD card reader.
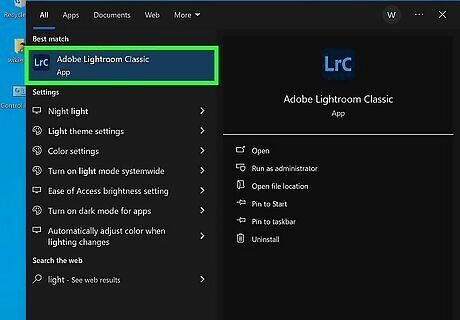
Open Adobe Lightroom Classic. Adobe Lightroom is desktop software for importing, editing, and organizing RAW files. It is available for a monthly subscription fee or as part of Adobe's Creative Cloud subscription package. It has a blue icon that says "Lr" or "LrC" in the middle. Click the Adobe Lightroom icon to open Adobe Lightroom.
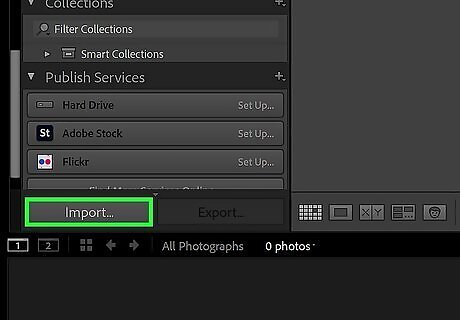
Click Import. It's in the lower-left corner. This opens the source menu.
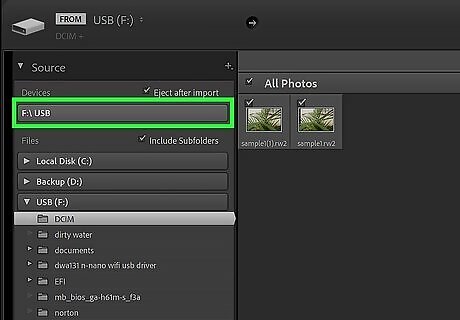
Select your camera or card reader. It'll be in the menu bar to the left below "Source."
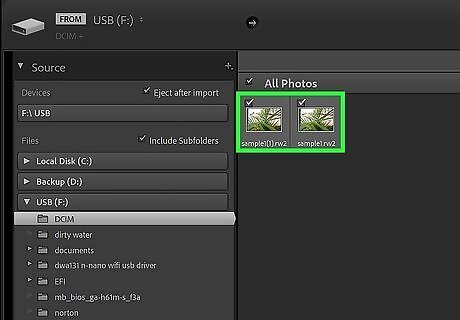
Double-click an image to preview it. This will display a large preview of the photo. Lightroom has different preview options. It may use JPEG or compressed images to save space. To preview your RAW files as an exact duplicate, click File handler at the top of the menu bar to the right. Use the drop-down menu next to "Build Preview" and select "1:1". If you want to copy or move the files to your computer, click the checkbox in the upper-right corner of the image preview and then click Copy or Move at the top of the page.
Using Lightroom on Mobile
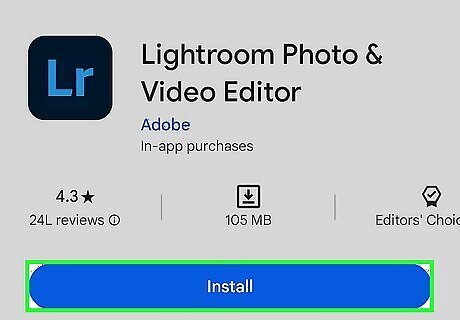
Download and Install Lightroom on your mobile device. You can download and install Lightroom for free from the Google Play Store on Android or the App Store on iPhone or iPad. You do not need a subscription to Adobe Creative Cloud to use basic Lightroom features on mobile devices. However, you do need a subscription to access some of the more advanced features.
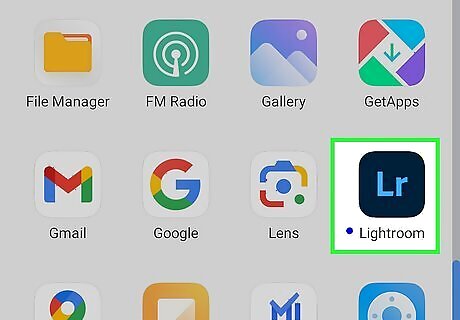
Open Lightroom. It has an icon with blue letters that say "Lr." Tap the Lightroom icon on your Home screen or Apps menu to open Lightroom. The first time you open the app, you will need to sign into an Adobe account; you can tap Sign in with Google to sign in with your Google account. If you are asked to sign up for a subscription, tap the back arrow to skip this step. The first time you open Lightroom, you will need to permit it to access your photos and camera. To do so, tap Change permissions when prompted. Tap Camera and tap Allow when using the app. Then tap Photos and Videos and tap one of the options to allow it to access your photos.
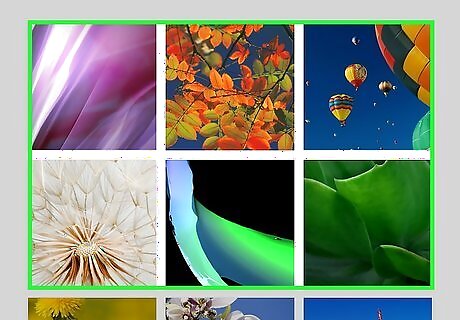
Tap a RAW photo. Locate a RAW image file saved to your phone. Tap the image file to open it in Adobe Lightroom. This will display a fullscreen preview of the image. Tap the option at the bottom of the screen that resembles a square with arrows around it to display options to crop, straighten, flip, or rotate the image. Tap the icon resembling slider bars to display options to adjust brightness and color and add effects to the image. Options with a blue star next to them are premium features that require a subscription.
Using Pixlr on Mobile
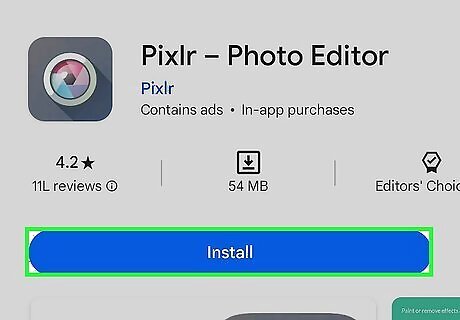
Download and install Pixlr. You can download and install Pixlr for free from the Google Play Store on Android or the App Store on iPhone or iPad. Pixlr lets you open and edit photos on your mobile device, including RAW files. Pixlr also has an online web-based application you can use to edit photos.
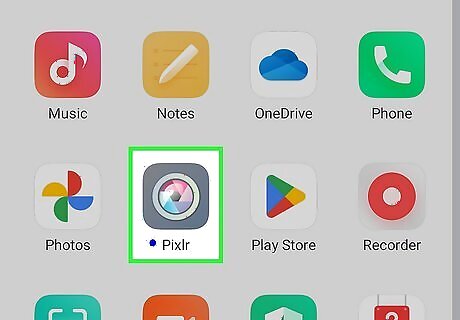
Open Pixlr. Pixlr has a grey icon with a blue, pink, and purple camera lens in the middle. Tap the Pixlr icon on your Home screen or apps menu.
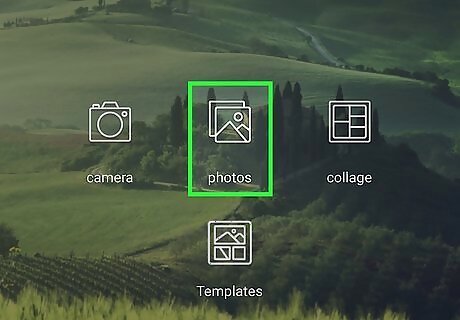
Tap Photos. The icon resembles a stack of photos in the middle of the screen. This displays images on your phone.
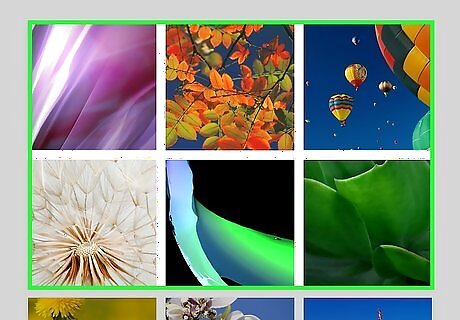
Tap a RAW image you want to open. When you locate the RAW image(s) you want to view, tap it to open it in Pixlr. Use the tools at the bottom of the screen to adjust the image. You can crop or rotate the image, adjust the contrast, brightness, exposure, and temperature, mark up the image, or add text to it.
Using Snapseed on Mobile
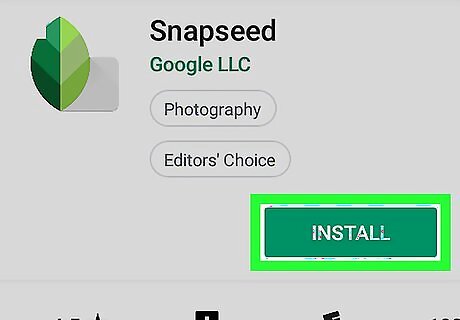
Download and install Snapseed. You can get Snapseed free from the Google Play Store on Android or the App Store on iPhone or iPad. Snapseed was developed by Google LLC, and it makes it easy to open and edit most types of RAW files on your iPhone, iPad, or Android.
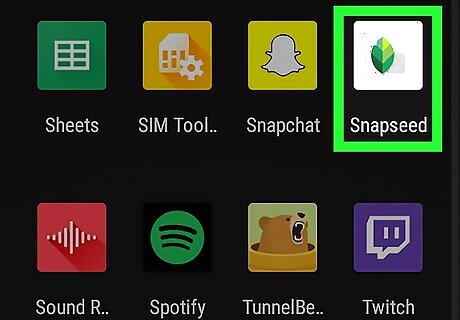
Open Snapseed. This app icon looks like a multi-shaded green leaf. You can find this on the home screen, in the app drawer, or by searching.
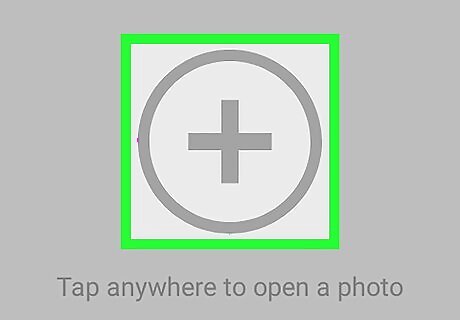
Tap anywhere on the screen to open a picture. A file browser will open. The first time you open Snapseed, you may need to allow it access to your photos. Tap Allow if prompted to do so.
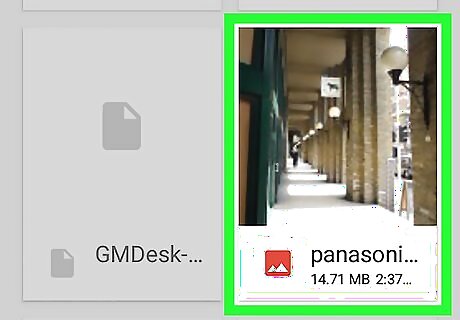
Navigate to and tap your RAW file. The RAW picture file should open in Snapseed for you to edit. You can find tools to edit your image along the bottom of your screen, including Tools, Looks, and Export.
Using Google Photos
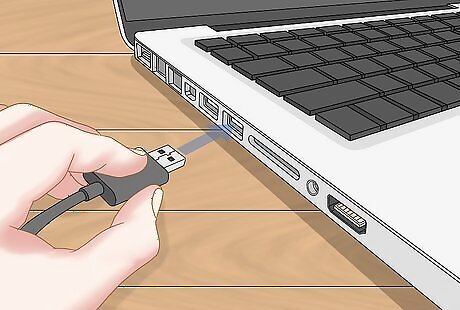
Transfer your RAW files to your computer. If you haven't already done so, connect your camera to your computer and transfer the RAW files to your computer.
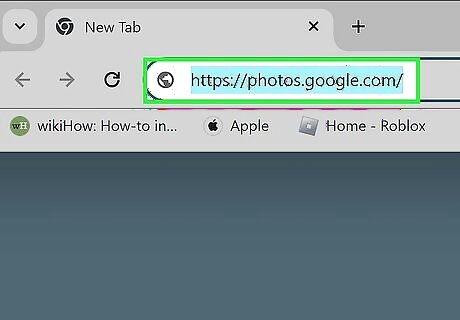
Go to https://photos.google.com/ in a web browser. Google Photos supports RAW formats for most cameras. You can upload and back up your RAW files to Google Photos. This will allow you to access them from any device. Warning: RAW image files can be very large. Using Google Photos to store RAW images takes up a lot of space in your Google Drive. You may want to purchase more storage space. If you aren't automatically signed in to your Google account, go ahead and log in. Google Photos may not support all RAW file types. Older camera models may not be supported.
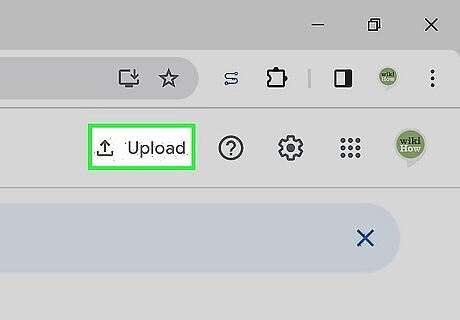
Click Upload. It's in the upper-right corner of the web page.
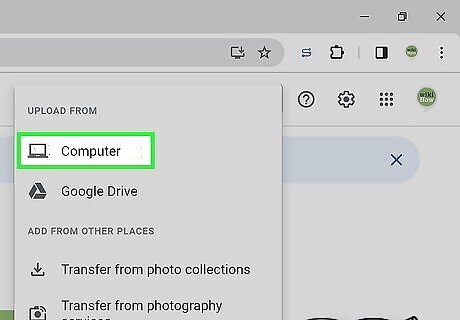
Click Computer. This allows you to upload files from your computer.
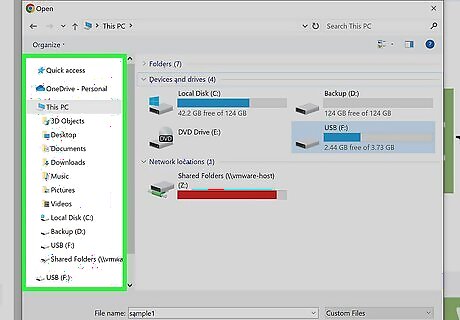
Navigate to where your RAW files are saved. RAW files usually end with ".RW2," ".DNG," ".CR2," or ".NEF." Navigate to the folder your RAW files are saved to.
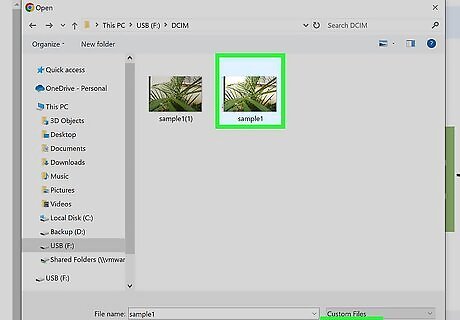
Select your RAW files and click Open. Click a RAW image(s) and then click Open to upload it to Google Drive. To you can select multiple files by holding Ctrl on Windows or Command on Mac.
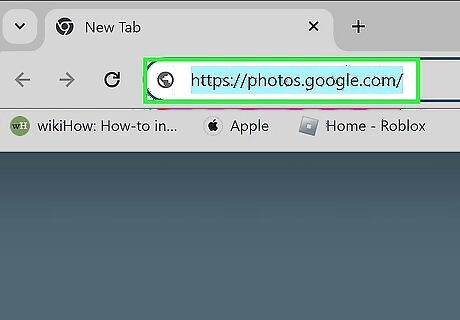
Open Google Photos. You can either open the mobile app on your smartphone or tablet or go to https://photos.google.com/ on a desktop computer.
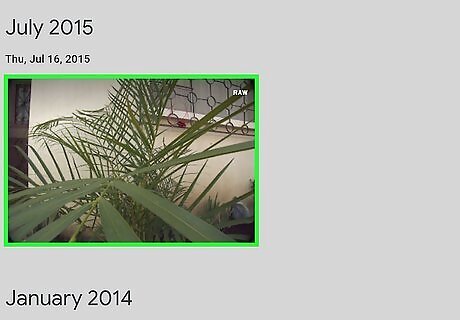
Click or tap a raw file. Locate the RAW file you want to view and click or tap on it. This will display the file in Google Photos.
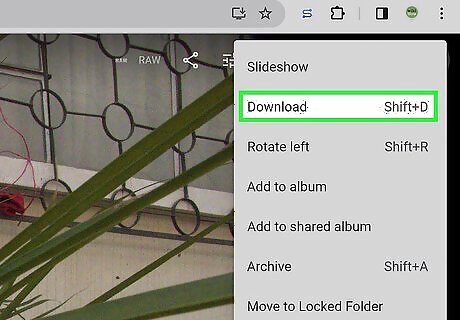
Download the file. To download the file, click or tap it to display it. Click or tap the icon with three dots (⋮) in the upper-right corner. Then click or tap Download. If the file has already been saved to your device, you cannot download it.
Using Windows 8.1 and Earlier
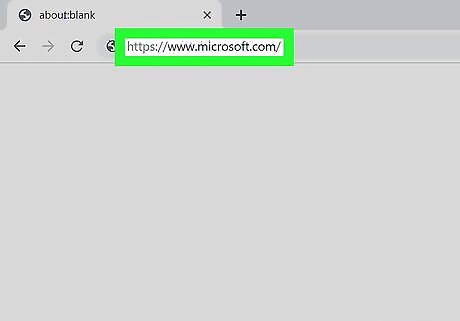
Go to https://www.microsoft.com in a web browser. If you're using an older version of Windows, you'll need to download some extra software to open RAW files on your computer.
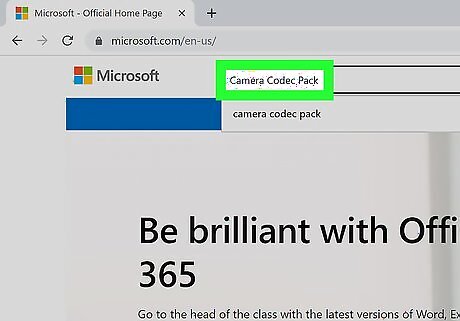
Click the magnifying glass and search for “Camera Codec Pack." The magnifying glass is near the top-right corner of the page.
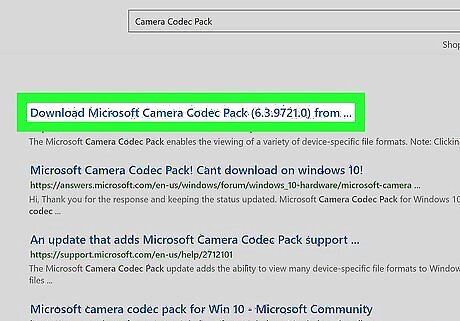
Click the first option in the search results. It'll be called Download Microsoft Camera Codec Pack with a version number.
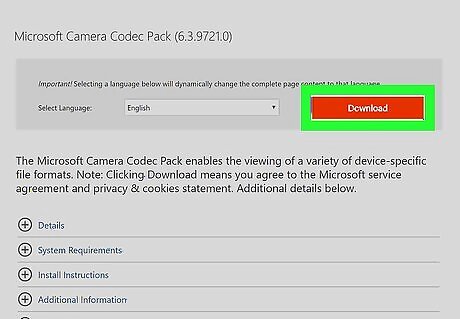
Click the red Download button. A new page will open for you to pick a version to download.
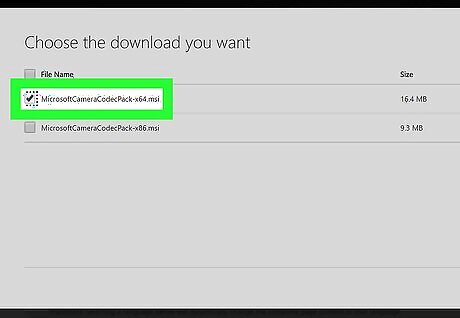
Click either the .x64 or .x86 file. If your computer is running the 64-bit version of Windows, you'll want to pick the .x64 download. To check this, you can open your Settings, click About, and read under the “Device specifications” header.
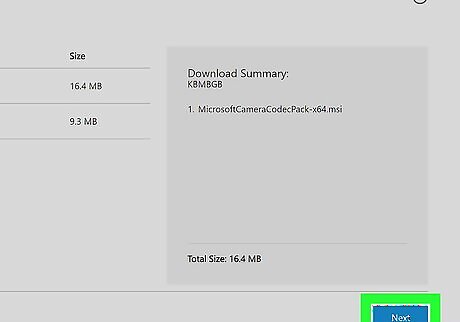
Click Next. You'll see this in the lower right corner of the web page. Your file browser will open, and you can change the download location and name. Choose Save instead of Run when the initial download completes.
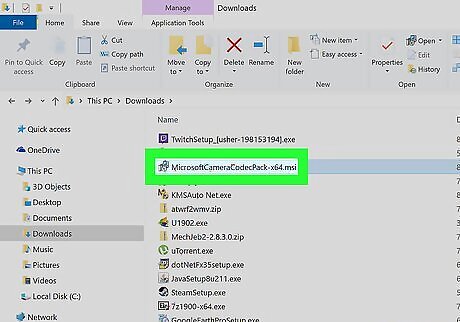
Double-click the downloaded codec pack file. You'll usually find this in your “Downloads” folder. The codec pack file will install without requiring further input from you.
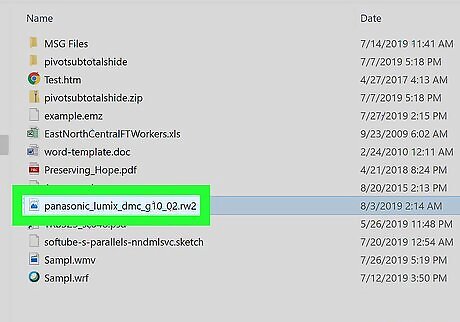
Navigate to and double-click on your RAW image file. After downloading and installing the camera codec pack, RAW camera files will open in Photo Viewer.


Comments
0 comment