
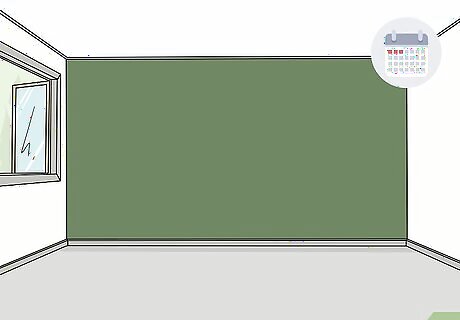
Cleaning and Preparing the Area
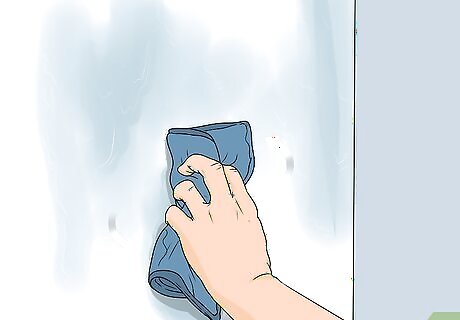
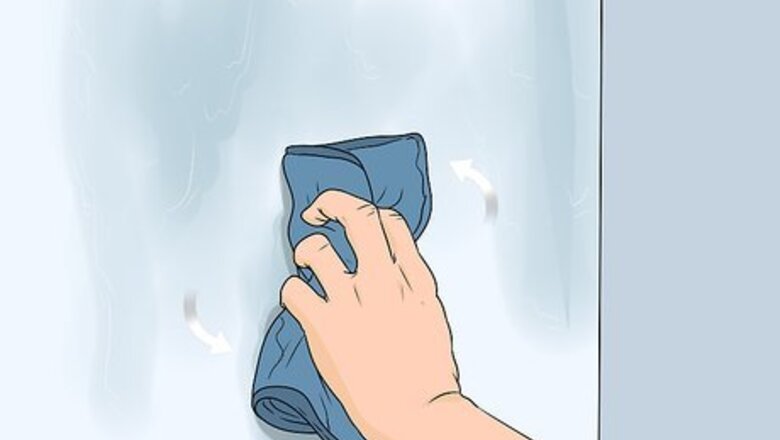
Wipe the wall with a damp cloth to remove dust. Soak a clean cloth in warm water and wring out the excess. Wipe the entire surface of the wall with gentle, circular motions to remove any dust or dirt from the surface so the paint will adhere better. If there are any stains or grime, add a drop or two of dish soap to the cloth and work it into a lather to scrub the wall without stripping the existing paint. Chalkboard paint will not adhere well to brick or tile walls. Choose a wall made of wood or drywall for your chalkboard.
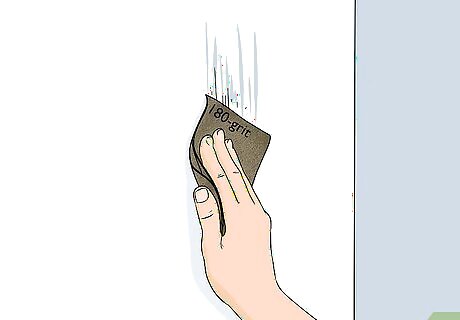
Sand the wall with 180-grit sandpaper to make it smooth. A textured wall will make it difficult for you to apply a smooth coat of chalkboard paint and will affect how well you can write on the wall. Take a sheet of sandpaper or an electric sander and gently sand the wall to create an even and smooth surface. Continue sanding until the entire surface of the wall is no longer textured. Wipe away any dust that builds up as you sand with a clean cloth.
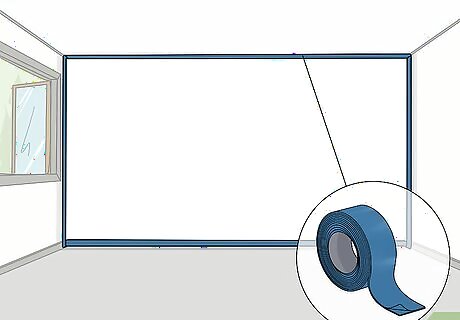
Apply painter’s tape to the edges of the wall. Use painter’s tape to cover any parts of your wall that you want to be protected from the paint, such as the edges, baseboards, and molding. Make sure the tape is evenly attached to the surface so the paint lines are even when you remove it. You can find painter’s tape at hardware stores, home improvement stores, department stores, and online.Tip: If you’re trying to create a small section of chalkboard on your wall, use painter’s tape to outline the area you want to paint!
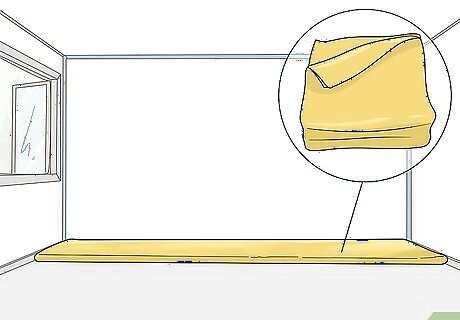
Lay drop cloths down to protect the floors. Place plastic drop cloths or tarps on the floor below the wall you plan to paint to keep them protected from any paint that may drip or run down. Make sure they’re flush against the baseboards of the wall and use painter’s tape to secure them to the surface of the wall to create a seal. If you don’t have drop cloths, you can use newspaper or towels.
Applying the Chalkboard Paint
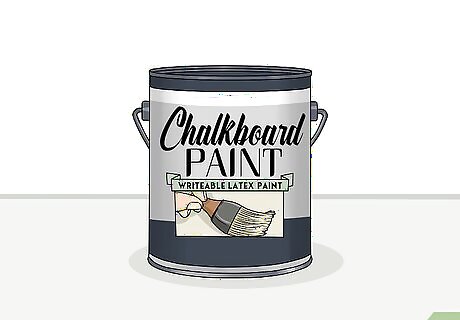
Choose a chalkboard paint to paint your wall with. Chalkboard paint can be a variety of colors, from the classic black or dark green to bright pink and light blue. Choose a color that suits your style, but make sure it’s a paint that is designed to be used as a chalkboard. You can find chalkboard paint at paint supply stores, hardware stores, home improvement stores, and online. Check the paint can to make sure it’s chalkboard paint before you use it.
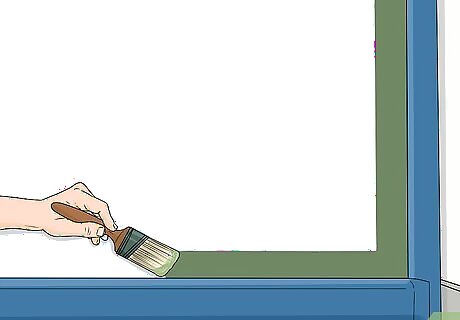
Paint the borders of the wall with a paintbrush. Dip a medium-sized paintbrush into the chalkboard paint and rub the excess off on the side of the can. Apply the paint to the corners and edges of the wall in a thin, even layer using broad and smooth strokes. Continue painting until all of the outer edges of the wall are covered. The paint needs to be applied in broad strokes in order to create an even writing surface when it dries.
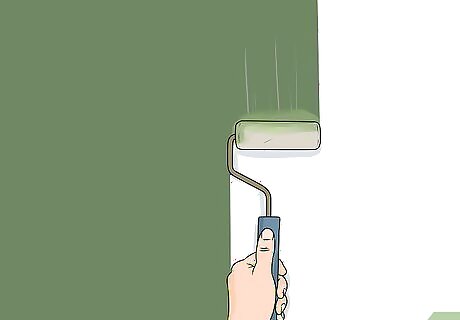
Use a paint roller to apply the chalkboard paint to the wall. Use a paint tray and add some of the chalkboard paint into the reservoir of the tray. Dip a paint roller into the paint and rub the excess off on the textured side of the paint try. Apply a thin coat of paint on the wall using long, smooth strokes with the paint roller. Start at 1 end or section of the wall and work your way across the surface to apply the paint evenly.

Let the paint dry and then apply a second coat. Check the paint can to see how long you need to wait until it’s fully dry. After that time, test the wall by touching it with your finger to make sure it’s dry. Then, use the paintbrush and paint roller to apply another layer of chalkboard paint so the surface is smoother and you’ll be able to write on it with chalk.Tip: If the surface isn’t smooth or you can see the original paint through it after 2 coats, apply another coat.

Remove the painter’s tape from the wall when the paint is dry. Allow the chalkboard paint to dry completely and then remove the tape by peeling up an end and pulling it away in a smooth motion. Remove all of the painter’s tape and pick up the drop cloths from beneath the wall as well. Do not write on the wall with chalk yet or you may not be able to erase the chalk markings!
Seasoning the Chalkboard Wall
Allow the paint to cure for 3 days before you season it. Seasoning refers to applying a coat of chalk to the chalkboard paint so you can more easily write, erase, and use the chalkboard. The paint needs to dry for at least 3 days before you use it, so don’t season it until after that time. Any chalk markings that you make before you season the chalkboard will be very difficult to fully erase.
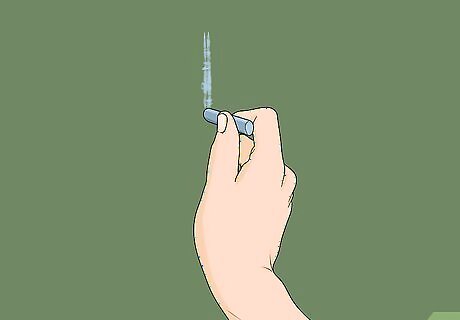
Use the side of a piece of chalk to rub the wall vertically. Take a stick of chalk, hold it sideways, and rub the long side of the chalk up and down on the wall. Cover all of the wall with a thin, vertical layer of chalk. The chalk doesn’t need to be caked on, but all of the surface of the wall needs to have a thin layer of it. Work the chalk into the corners of the wall as well. Try to apply the chalk layer as evenly as possible.
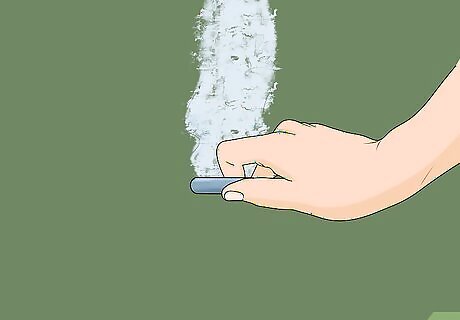
Rub the wall horizontally with a stick of chalk. Once you’ve applied a vertical layer, rotate the stick of chalk and rub it back and forth along the wall to create a horizontal layer that crosses over it. Continue applying the chalk until the entire wall is covered. Spread the chalk into the corners and over the edges of the chalkboard wall.Tip: If you need to use more than 1 stick of chalk, do it! Seasoning the wall properly is necessary if you want to be able to properly erase chalk markings from the surface.
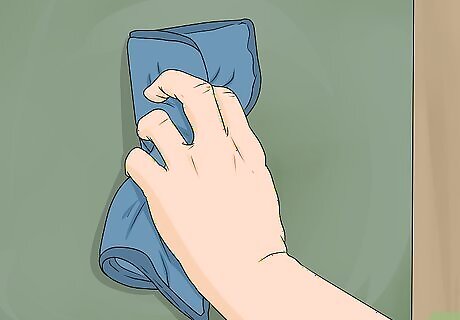
Wipe the wall with a dry cloth to remove the excess chalk. Take a clean, dry cloth and run it over the entire wall in a circular motion to remove the excess chalk and to create an even layer of residual chalk. Be sure to work the cloth into the corners and over the edges of the chalkboard wall so it’s well-seasoned. Once the wall is seasoned, you don’t need to do it again unless you completely wash away all of the chalk with soap and water.


Comments
0 comment