
Repairing and Sanding Pine
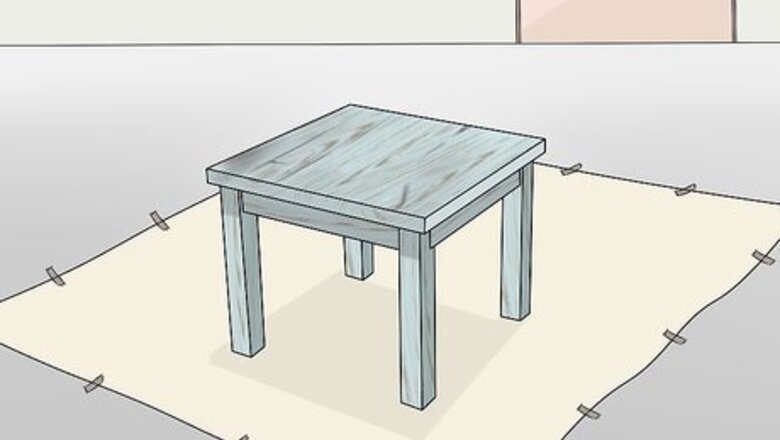
Protect areas around the pine with a tarp and painter’s tape. Painting can get a little messy. If you’re working in an area where wet paint may be an issue, set up protections before starting. You can place painter’s tape over areas you wish to protect. Set a plastic tarp on the ground to protect flooring. Painter’s tape works very well when you’re painting near a wall, for instance. You may have a pine wall or trim. Lay strips of tape around the pine for protection. Painter’s tape and tarp are available online and at most hardware stores. These locations also have anything else you may need to paint pine.
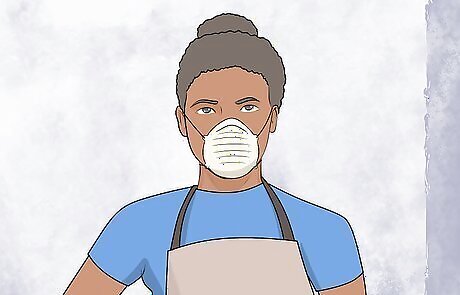
Put on a dust mask before working on the pine. There are several hazards to be aware of during the painting process. If you’re wearing a dust mask, you can protect yourself from wood dust, paint chips, and paint fumes. If possible, work outdoors or in an otherwise ventilated area. Open up nearby doors and windows. Keep other people and pets out of the area until you’re done working.
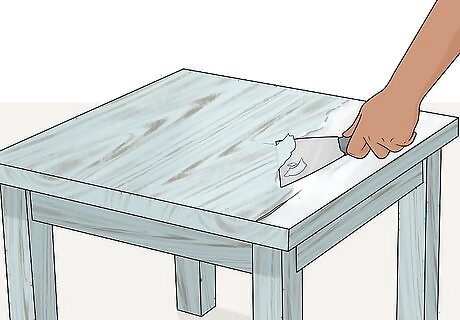
Use a putty knife to remove loose paint if the pine has any. If you’re working with a piece of pine that has been painted in the past, check it over for loose paint chips or cracks. Then, hold the edge of the knife roughly parallel to the wood. Push down with a gentle but firm amount of pressure as you move the knife across it. You do not have to remove any paint that isn’t cracked or loose. Work in different directions to get the knife underneath the paint. It can be difficult to remove and often requires a couple of attempts. Be careful when scraping paint. You could gouge the wood if you push too hard against it.
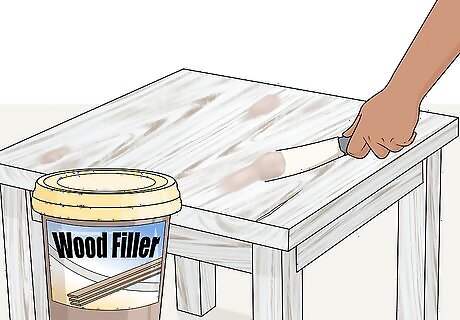
Apply a wood filler to any holes or cracks in the wood. Damaged spots have to be filled in with something solid, such as a paintable wood filler. To apply it, pick some of it up with the tip of a putty knife. Press it as deep as you can into the damaged portion of the wood. Keep spreading more filler until the repaired spot is slightly higher than the surrounding wood. The filler will get worn down while you’re sanding, so make sure you add a little more of it than you think you need. If you don’t use enough, it won’t blend in well with the rest of the wood. You can also use some other types of paintable filler. For example, mix resin for a stronger way to fill holes more than ⁄8 in (0.32 cm) deep. It is made by mixing equal parts resin and hardener.
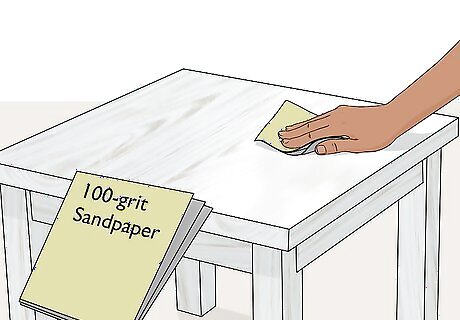
Use 100-grit sandpaper to rough up the surface of the pine. To make sanding easier, make use of an electric sander. It can be a very slow process if you do it by hand, especially on larger projects. Work along the grain, or in the direction of the visible wood fibers you can see on each pine board. You can sand by hand if you don’t have an electric sander. Get sandpaper or a sanding block. Press it against the wood with firm but consistent pressure. Always sand in the direction of the grain. If you go against the grain, you will end up tearing the wood fibers, creating very noticeable scratches.
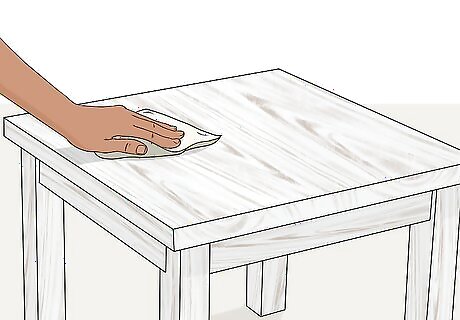
Wipe the pine clean with a tack cloth. Move the tack cloth along the grain, starting at the top of the wood. Since it is sticky, it will pick up all the loose sawdust and other debris. Rub down the entire piece of pine and then check it for anything you missed. If you don’t have a tack cloth, scrub the wood with a microfiber cloth lightly dampened in lukewarm water.
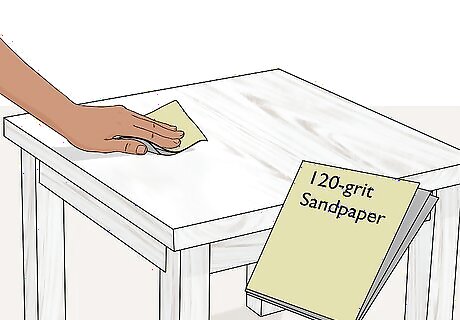
Sand the wood a second time with 120-grit sandpaper to smooth out the wood. Use an electric sander again to make the process much quicker. Go back over the entire piece of pine, following along the grain. Make sure you have sanded the entire area you wish to paint. Sanding roughs up the wood so paint adheres to it better. You can sand the wood by hand if you wish. You may need to in order to treat spaces that are hard to reach with an electric sander. Sandpaper grits above 120 are finer and can also be used. Lower-grit sandpaper is coarser and could damage the finish at this point.
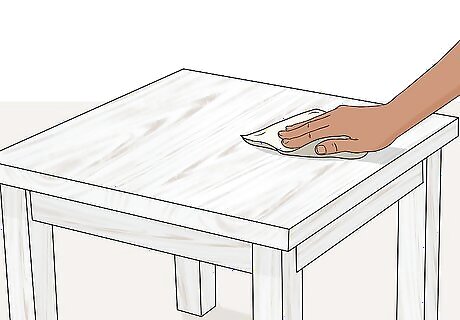
Clean off any remaining dust with a tack cloth. Since you sanded the wood a second time, it will have more sawdust on it. Take care of it so it doesn’t affect the finish later. Make sure the wood looks completely clean before attempting to paint it. Any debris left on the wood could prevent the paint from adhering correctly, so take plenty of time to clean it. Try to paint it as soon as possible before more dust has a chance to settle on it. If you can’t paint the wood right away, store it, then wipe it clean again right before painting it.
Priming the Surface
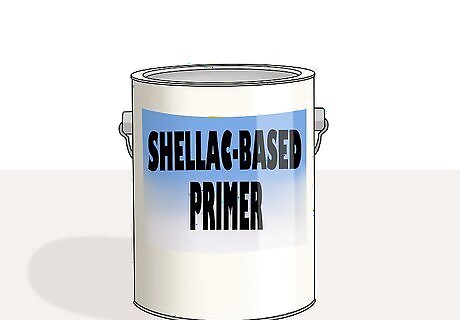
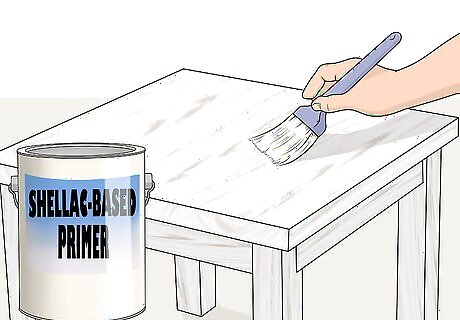
Choose a shellac-based primer to prevent color bleeding. One of the biggest problems with pine is that the tannins and resins inside of it often bleed through the paint. You end up with a brown ring, similar to a water stain. Shellac primers are very good at resisting color bleeding, although there are other types of primers you can use as well. Choose a stain-blocking primer that is compatible with the kind of paint you plan on using. Shellac primers come in both spray and paint-on varieties and work with most types of paint. The spray-on version is faster for covering broad areas, but use the paint-on version for more consistency and detail work. Oil-based primers are much more resistant than water-based ones. You can pick one if you’re using an oil-based paint. Polyurethane and wax primers also work with oil-based paints. You may see different primer colors. White shellac is best for light paints, while gray is preferable for dark colors.
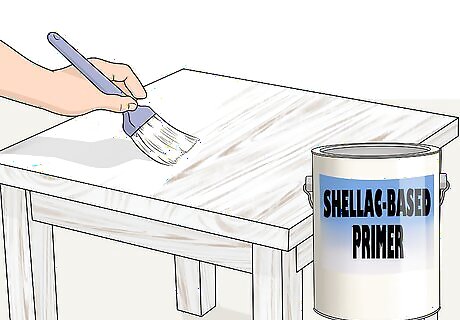
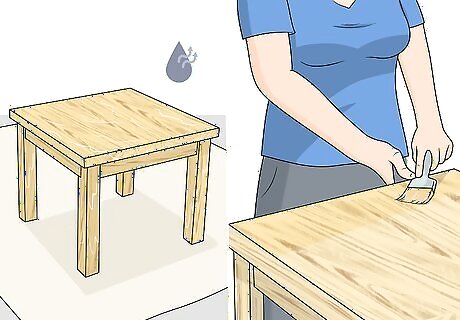
Spread the primer over the pine with an inexpensive paint brush. Shellac primer is somewhat strong, so don’t use a foam brush. Dip your brush into the shellac to coat it, then tap it against the side of the can. Finish by applying the primer along the wood’s grain. Coat the entire wood in a thin but consistent layer. Try using an inexpensive chip brush, which is a disposable type of brush with short bristles that hold up well against any type of primer. Save your better brushes for the paint. If you’re using a spray-on primer, hold the sprayer nozzle about 6 in (15 cm) from the pine. Sweep it along the pine at a slow but steady rate. If you’re working with knotty pine, consider priming the knots first for extra protection. Coat them 2 to 3 times, then apply 2 layers of primer across the entire piece like you normally would.
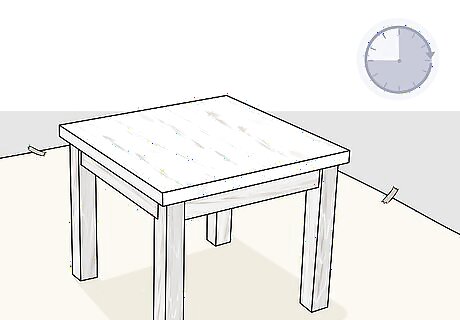
Wait about 45 minutes for the shellac to dry. Check the manufacturer's recommendations for a more specific estimate of the drying time required. It varies depending on the primer you are using. It also varies depending on the weather. Expect the primer to dry at a slower rate during cold or humid weather. To ensure the second layer of primer is consistent, wait for the first one to fully cure. The exact time it takes varies depending on the product.
Cover the pine in a second layer of primer. Apply the second layer just like you did with the first one. Keep it thin and consistent, working from one end of the wood to the other. Go along the grain at all times. Remember to let this layer dry fully as well before painting over it. Make sure the pine is well-coated before painting it. If the primer looks uneven, consider giving it at least 1 additional coating. Let each layer of primer dry before adding another one.
Applying the Paint
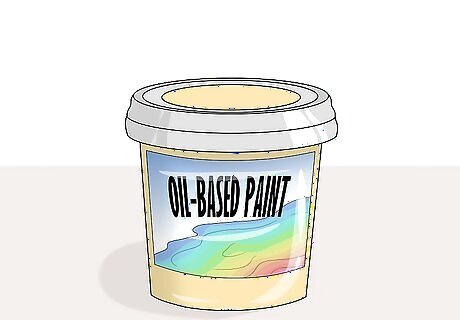
Select an oil-based paint for a more durable finish. Oil-based paints are much more resistant against the color bleeding that can be a big problem with pine. Try getting an alkyd paint, which is made with synthetic resins. Make sure the primer you used is compatible with the paint you pick. Shellac primers work with both oil and water-based paints, but other types of primers may only work with water-based paints. Alkyd paints are good for most projects since they tend to last a long time. If you’re painting something you use every day, consider getting an alkyd paint. Latex-based paints are less resistant to water and color bleeding. You may still be able to get a good finish by using one, and it’s an inexpensive option if the wood won’t get wet at all. For special finishes, try using milk or chalk paints instead. These paints crack and flake, giving wood a distressed look. They are pretty resistant against color bleeding, but apply a primer first for maximum protection.
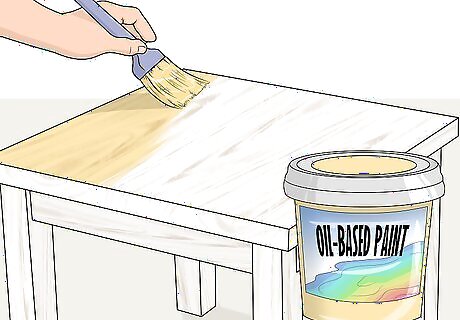
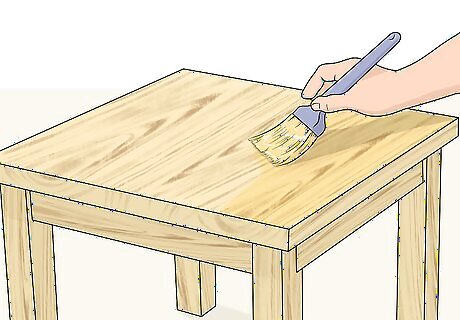
Spread a thin layer of paint along the pine’s grain. Paint can be applied either with a paint brush, paint sprayer, or spray can. It is usually easier when you start from the top, moving gradually in straight lines while following the grain. Move at a steady but consistent rate to ensure the wood gets coated in an even layer of paint. The initial layer will most likely look a little thin at first, but you can fix it later. Use a paint sprayer to save time when applying liquid paint. It’s best for bigger projects, such as if you’re painting furniture outdoors. You may still need to switch to a brush in order to reach smaller areas.
Wait up to 24 hours for the paint to fully dry. That may seem like a long time, but it’s worth it in the end. The paint has to finish drying or else the finished product may not turn out the way you expect. Note that the required drying time varies depending on the type of paint you’re using. Check the manufacturer’s recommendations for more specific instructions. Oil-based paints require a little bit of waiting, so you most likely will have to finish painting the pine on a different day. The finish will be worth it, though! Water-based paints, such as latex and milk paints, dry at a much faster rate. They often dry within 2 to 4 hours.
Add another coat of paint to make the finish more consistent. Apply the second layer over the first one, making sure it’s completely covered. Remember to work end to end along the grain, gradually applying the paint in a thin but consistent layer. This will deepen the finish and even it out. Make sure the paint job looks even and consistent across the pine. One mistake many people make is applying too much paint all at once, which leads to uneven spots.
Let the paint dry and apply extra layers if needed. Sometimes, pine won’t look finished after 2 coats of paint. You can always add more paint to correct imperfections and fix an uneven finish. Apply a third layer as needed, keeping it thin but consistent. It will need the same amount of drying time as the other layers, but the pine may look even better afterward. Most projects only require 2 to 3 coatings of paint. However, as long as you let each layer dry, you can add as many additional layers as you want.


Comments
0 comment