views
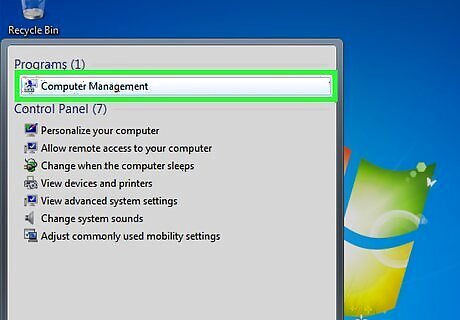
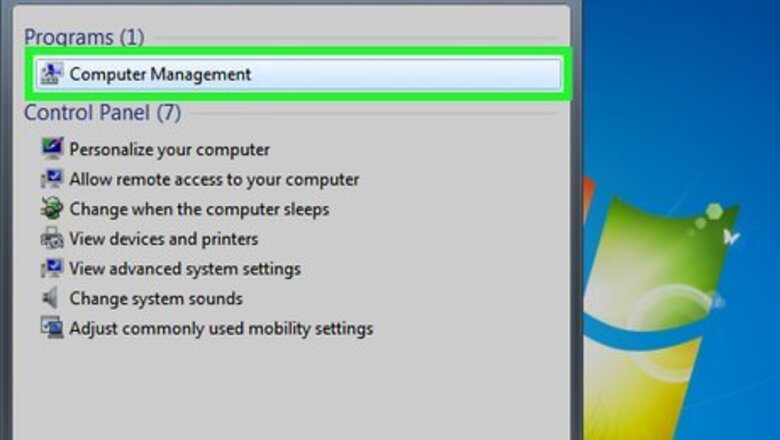
Open the Computer Management tool. Open the Start menu. Type “Computer Management” in the search bar of the Start menu and press enter.
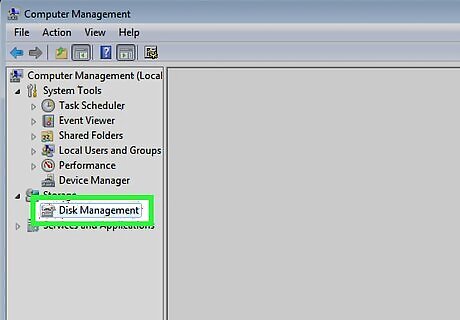
Select the Disk Management tool. Click on Disk Management on the left side of the window and you should see all of the disks and their partitions on your computer. In the example in the picture, there is 1 disk with two partitions.
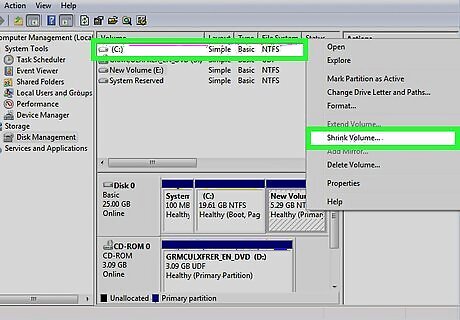
Make some space for the new partition. Right-click on the partition you wish to re-size and select the Shrink Volume option. In the example in the picture the (C:) drive is used. Note: There may be a partition named System Reserved. It is not recommended that you alter this partition at all.
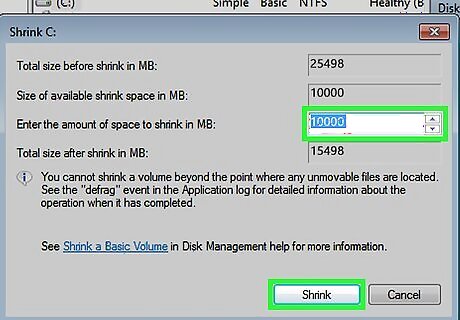
Shrink the drive. Enter the size you wish to shrink your drive to in megabytes (1000 MB = 1GB). Then click on the Shrink button. In this example the drive is shrunk by 10000 MB or 10 GB. Note: You cannot shrink your volume greater than the amount indicated in the Size of available shrink space in MB section.
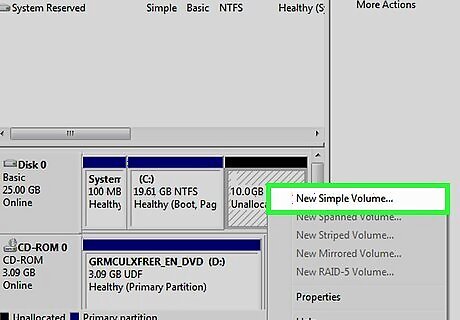
Create a new volume. You should now see a new unallocated partition in your Disk Management window. Right-click on the unallocated partition and select the New Simple Volume option.
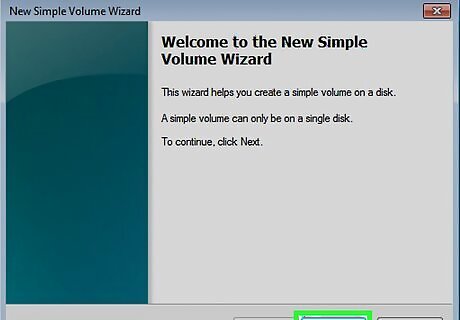
The New Simple Volume Wizard. The New Simple Volume Wizard should popup. Click on the Next button to continue.
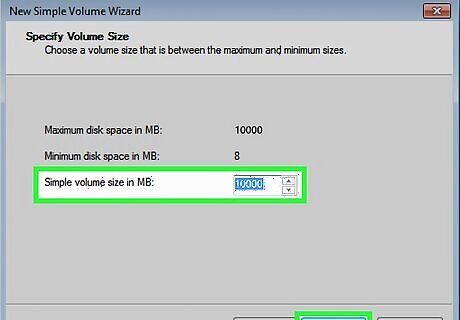
Enter size of new partition. Enter the amount of memory you wish to allocate for your new partition and click on the Next button. In the example in the picture, the maximum memory available is allocated to the new volume. Note: You cannot make your new volume larger than the maximum amount of memory available.
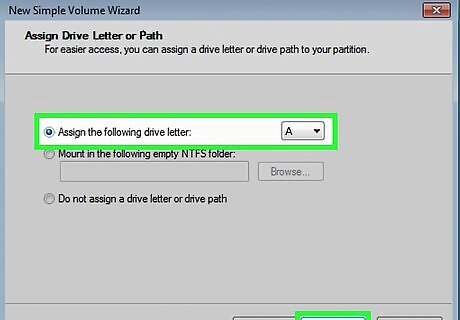
Give the new volume a letter name or path. Select from the menu, a letter name for your new partition and click on the “Next” button. The letter name chosen for the example in the picture is (A:) The letter name or path is used by Windows to identify and navigate to your new volume.
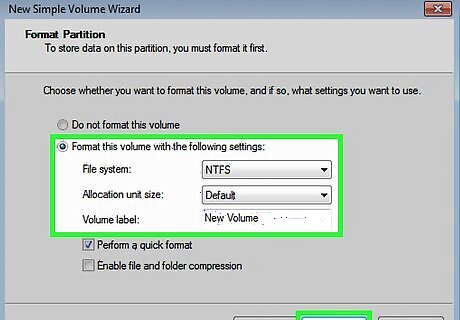
Settings for the new volume. Click on the Format this volume with the following settings: For File System, select NTFS For Allocation unit size, select Default For Volume Label, type the name you wish to give your new drive. Click on the Perform a quick format Then click on the Next button
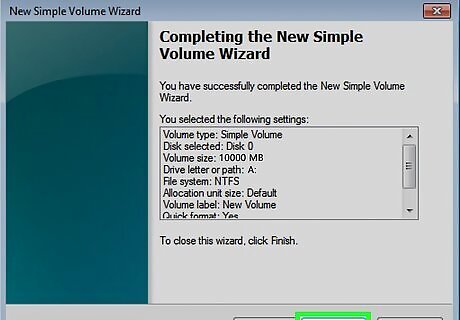
Create the new volume. Look over your settings and click on the Finish button.
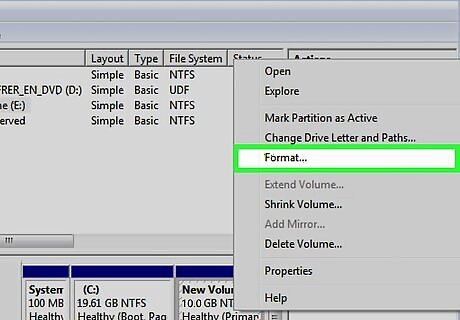
Format the new volume. You will get a popup asking you to partition your new drive. Click on the Format disk button. A new window will popup. Keep the settings and click on the Start button. A warning will popup. Click on the OK button.
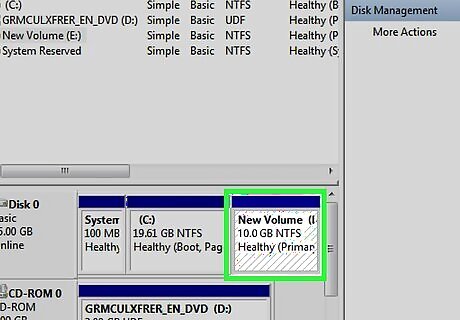
Check new volume. If everything was done correctly, you should now see your new drive in the Disk Management window. You have now separated the physical drive into multiple digital drives.


Comments
0 comment