
views

Consider seeing a professional. Contrary to popular belief, piercing your own ear is neither easy nor safe. Professional body piercers have the experience, equipment, and environment needed to ensure a quick and clean piercing. Poorly performed piercings can lead to infection, bleeding, and nerve damage. You need to understand the risks if you want to continue. If you have any doubt, wait and see a professional for your piercing.
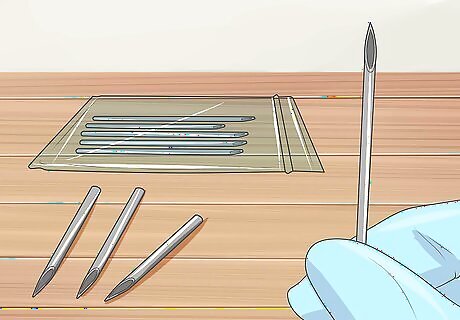
Choose an appropriate needle. Do not use a sewing needle or pin -- piercing needles are cheap online and are made for piercings. There are a surprising number of suitable needles, but there are only a couple of considerations for piercing your tragus. Your needle should be: Hollow One size, or gauge, bigger than your earring (ex. a 12 gauge needle for an 11 gauge earring) Curved (Optional). Most professionals use curved needles because they mimic the curve of your tragus. However, they are hard to maneuver and are not strictly necessary.
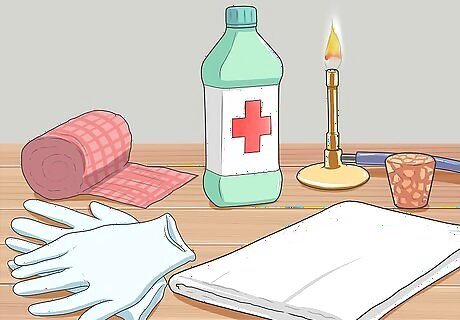
Prepare safety and sanitation supplies. You can never be too cautious with sanitation when piercing your own body. Remember, you are forming an open wound on your body and leaving it open for several weeks as it heals. This is the perfect place for germs to grow if you are not careful. Be sure to have: Gloves Cork Cotton Swags Gauze Disinfectant. Antiseptic fluid, bleach, rubbing alcohol, and an open flame for sterilization.
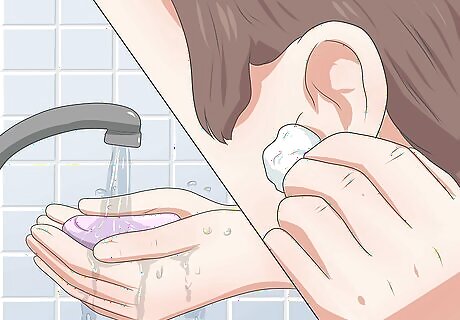
Wash your hands and clean your ear. You can use soap and water or an over the counter antiseptic solution. If you use soap, choose antibacterial soap. Remember-- it is essential that your hands and equipment are as clean as possible.
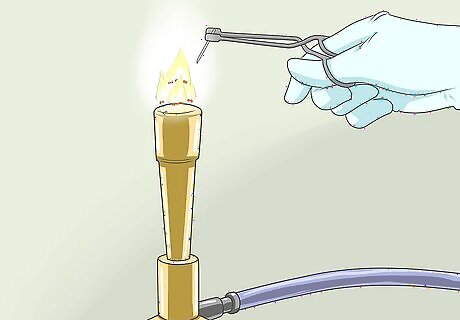
Sterilize everything. The importance of this step cannot be stressed enough. Use antibacterial wipes on every surface and sterilize the needle, earring and cork. Be sure to wash everything first with soap and water to remove any dirt or grime. There are two accepted ways to sterilize equipment: Sterile a needle by holding it over an open flame for 10-15 seconds. Do no touch the needle to the flame. Sterilize equipment by mixing equal parts water and bleach in shallow bowl. Submerge your equipment and leave it there for at least one minute. Rinse with clean water. Anytime that your hands or equipment becomes dirty or contaminated, repeat this process completely.

Plan for complications. While the tragus is not a complicated piercing, you need to be prepared if you slip, faint, or pierce incorrectly. Have a friend nearby who can call emergency services if need be.
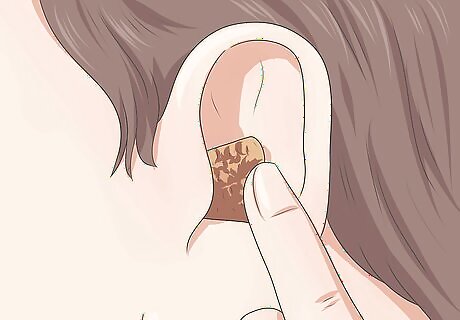
Put a thick piece of cork behind your tragus. This allows you to hold your tragus steady and stops the needle from continuing after it has pierced your tragus. Plug the cork in your ear so that it rests comfortably against the back of your tragus. You may need to cut the cork in half to fit it in your ear, but make sure it is at least 1/2 inch thick.

Line up the needle with a mirror. Make sure the needle rests in the middle of the tragus and is not crooked or angled. You can buy piercing markers as well to make a note where you want the earring if it helps. Never use regular markers, however, as the ink can enter your wound.
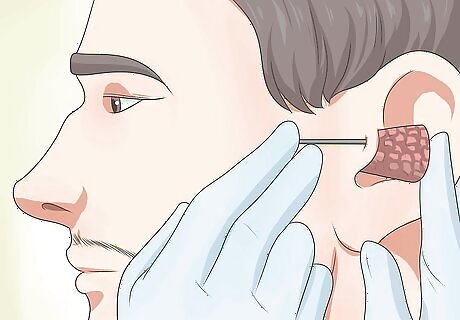
Firmly press the needle straight through your tragus. Use quick, even force to push the needle through your ear and into the cork. Do not push at an angle or try to jerk the needle in. Keep calm and push the needle through with a fast but methodical motion. To relax your body before piercing, inhale deeply and then push as you begin to exhale. Do not stop halfway, as this will only prolong the pain.
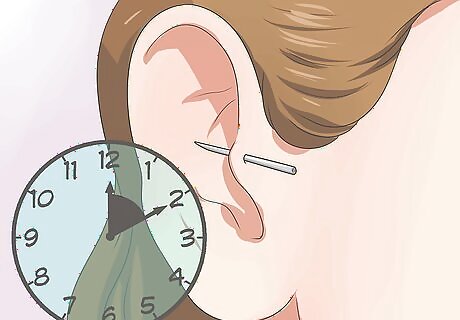
Leave the needle in for 10 minutes before removing it. While it is there, use your cotton swab and some rubbing alcohol or antiseptic to disinfect the wound. Gently twist and pull the needle to partially remove it. Leave a small amount of the needle in your ear -- this will help you put in the new earring easily.
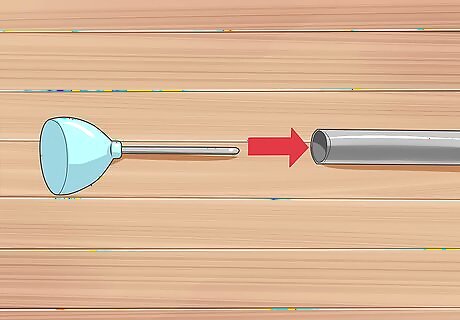
Thread the point of the earring into the hollow needle. Use the hollow point of the needle to guide the earring into your ear. Holding the earring in place, remove the rest of the needle so that only the earring remains. Clasp the earring shut.
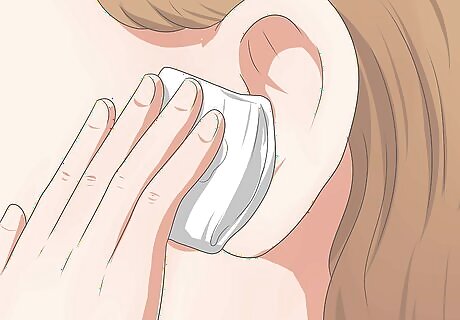
Use gauze to lightly clean up any blood. You can dip the gauze in antiseptic or rubbing alcohol help sterilize the wound. Dispose of all materials.
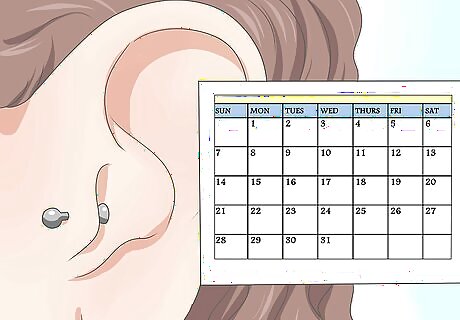
Leave your new earring in for 3-6 weeks. This allows the skin to heal around the earring, leaving a small hole. If you take the earring out early the hole may close up, forcing you to repeat your piercing.
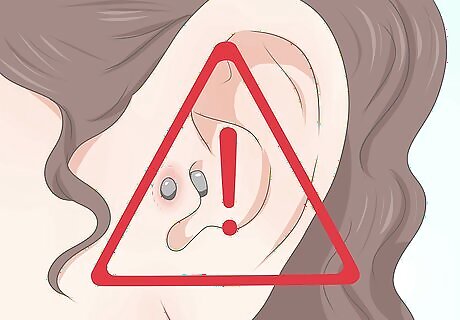
Monitor your ear for signs of infection. For the next two weeks, keep you ear clean with soap and water to prevent an infection from building up. If you notice any of the following symptoms, leave the earring in and see a doctor immediately: Red or swollen skin Pain Green or yellow discharge Fever


Comments
0 comment