views
Choosing the Right Bongos
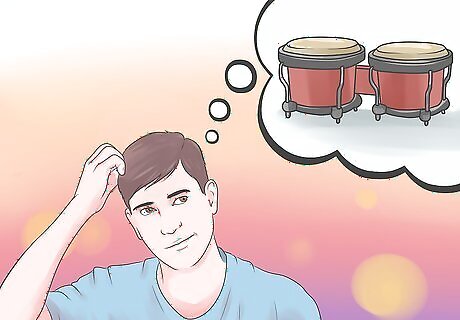
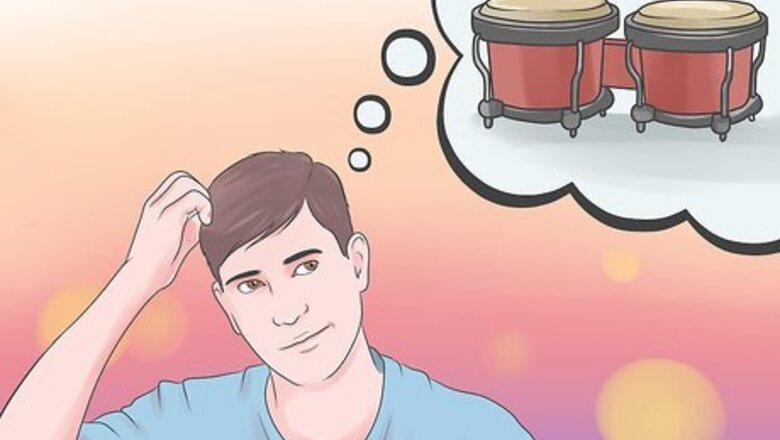
Choose bongos that are the right size for you. Smaller bongos emit a higher pitch. Larger bongos have deep, dulcet tones. In general, the larger bongos have a wider range of notes they can reach, overlapping what the smaller ones can do. Though larger bongos will likely sound tempting, it's best for beginners to start out with something small. Think about your first driving experience – would you rather start with a bicycle or a semi-truck? This way, you get down the basic techniques before worrying about all the notes you want to produce.
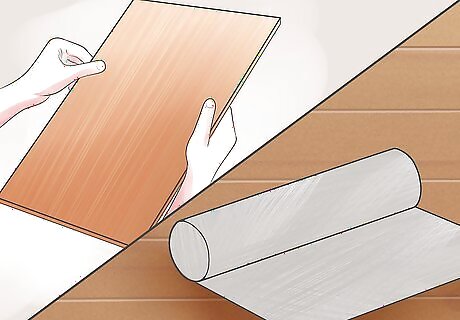
Consider bongos of different materials. The material the bongos are made from can entirely change the sound, length of the note, and timbre from one bongo to another. Since bongos come from all over the place, there are many materials that they can be made out of. Try out a few before your settle with one. Most bongo shells are made of wood, but some are also available in fiberglass or metal. The heads, while normally made from rawhide, are also available in some synthetic materials. It's all a matter of personal preference and needs.
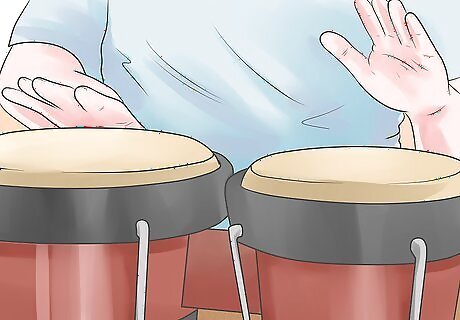
Experiment with bongos of varying quality. A pair of bongos can range anywhere from $50 to $450. All of them have different personalities and all of them have different sounds. Before your set your sights on one, be sure to give a few a try. You may be surprised. If you plan on playing more often than annoying your friends at the occasional party, it's a good idea to invest in a decent pair. When it comes to bongos, you often get what you pay for.
Mastering the Set-Up
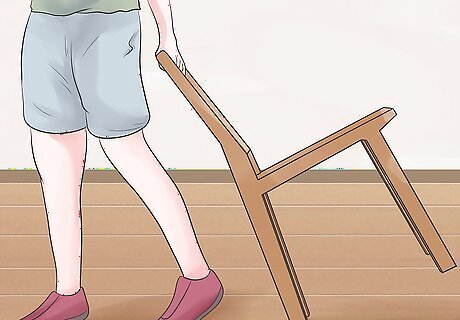
Sit down in a comfortable chair that won't obstruct your ability to perform. You should sit in a comfortable chair with no arms. A simple dining chair is good. You don't want a chair you sink into that can disrupt your posture and arms will just get in the way. The chair should also be a good height but not too high. You need to be able to put your legs comfortably so that they can reach the floor. Many bongo players find there knees going up and down with the beat – the advanced ones might even play the foot tambourine – both of which require the floor.
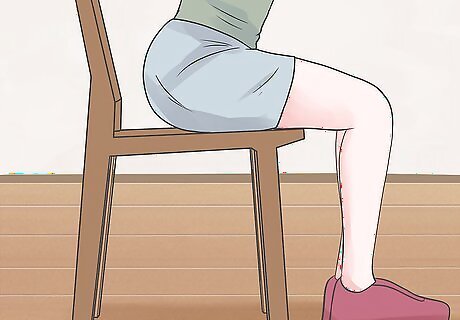
Position yourself comfortably. Position yourself at the edge of the seat and make sure your legs are at a 90-degree angle. It'll be much easier to hold the bongos if the seat isn't in the way and your legs are in a good position to support them.
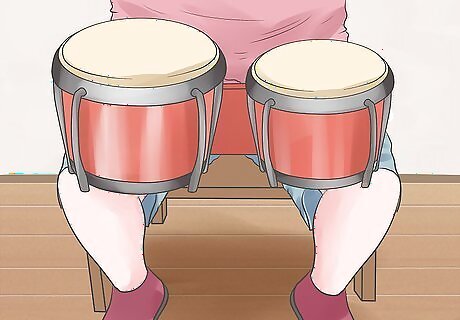
Crook the small drum (macho/male drum) on your left knee. That is, if you're right-handed. If you're left-handed, switch it. Put the large drum (hembra/female drum) on your right knee. Hold the drum firmly in place with both legs. Make sure you feel comfortable - you might need to readjust. If for some reason you are unable to sit or find it uncomfortable, there are stands specifically designed for mounting bongos or set-ups that combine them in with a larger drum set.
Learning to Play
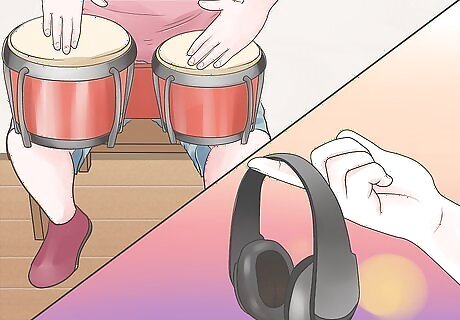
Find the pulse. This is sort of different from the beat. This is what you feel viscerally when you listen to music. That pulse you sway to when you're dancing or how you move your head when music starts playing. It's usually very basic. Put on some music you can play the bongos to and feel this pulse. It'll help you find what beats you want to add in with your bongos. You'll likely find, if you're sitting with your bongos, that your leg or legs move up and down with this pulse. In fact, keep doing that. It'll help you stay on time.
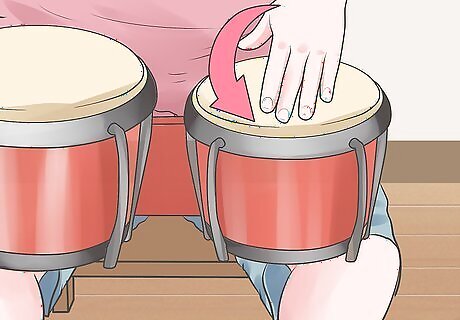
Start on the high drum (left drum) with your left hand. That should be the smaller drum, the male drum. Stick to the pulse right now – just a basic 1, 2, 3, 4 or whatever time signature matches your music. This is called a “tone.” It should be one clear pitch and is on the edge of the drum closest to you. This one is on the downbeat and is the skeleton of the beat you will be creating.
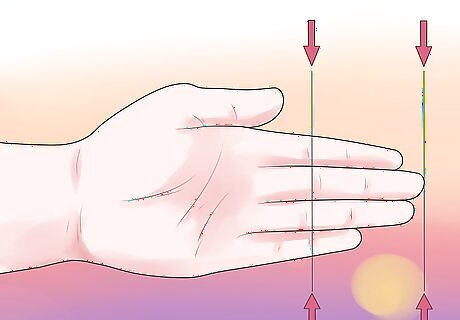
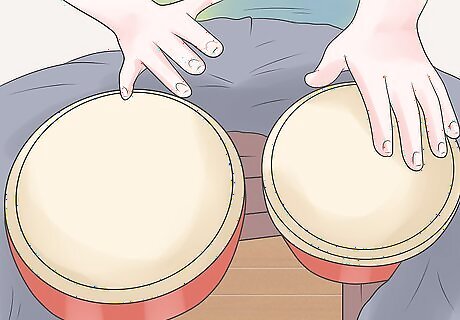
Tap with the top ⅔ of your fingers. As you're tapping out the basic pulse, be sure you're tapping with the top ⅔ of your fingers. Just lightly, not using a lot of force. Your fingers should come up from the drum after you strike it to remove the possibility of tainting the note. Avoid using the rim right now, and stick to playing the head of the drum. Your fingers should be resting on the edge of the head nearest you.
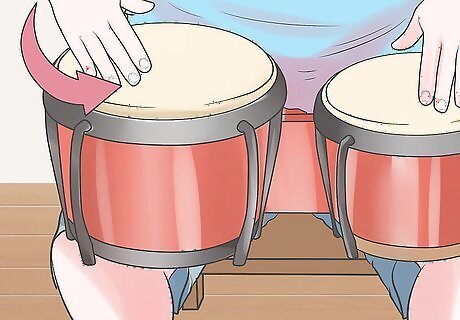
Play a tone on the right drum with your right hand. This will be on the offbeat. While you're playing 1, 2, 3, 4 with your left hand, turn to the bigger drum, the female drum, and play between beats 2 and 3 and beats 4 and 1. In other words, with your two hands, you'll be playing 1, 2, and, 3, 4, and. Play the edge of the right drum just like you were playing the edge of the left drum. Use the top ⅔ of your fingers and stick to a light touch. Avoid the rim for now.
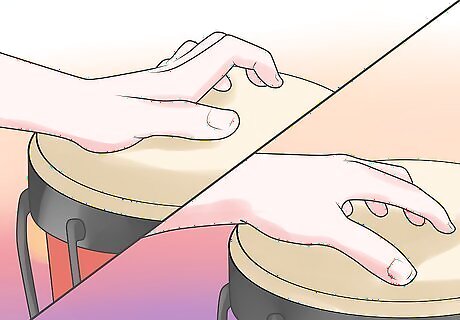
Experiment with other basic strokes. You've got the basic stroke down. Now it's time to learn about a few more. For the record, the open tone stroke is what we just covered. Open tone stroke. To get a nice, clear, open tone, hit the edge of the drum with the knuckled part of your palm, letting your fingers bounce off the head (the main part of the drum). Try moving your fingers back and forth, about 4 inches (10 cm) in from the center of the drum, and notice how the sound changes. You want a rich, clear sound that has a definite note. Overtones (those annoying ringing sounds that get in the way of a clear tone) are not part of an open tone. Slap. Instead of having your hand fully relaxed, cup your fingers slightly as you hit the head of the drum to create an accent (louder) note. This will add color and flair to your drumming. After your hand makes contact with the drum, relax your fingers, allowing them to bounce off the head. This makes a popping sound of a higher pitch than the above stroke. Heel-tip movement. Rest your hand on the head of the drum. Switch between using the heel of your palm and the tip of your fingers, rocking back and forth. Be sure to always keep your hand in contact with the head of the drum when you're doing this stroke. Basic muted tone. This one is just like the open tone, but after you strike it, you leave your fingers to rest on the head. For this one, it's important to keep your hands relaxed and barely moving. All you should really hear with this tone is a very light sound, the sound of the light touch of your fingers against the head.
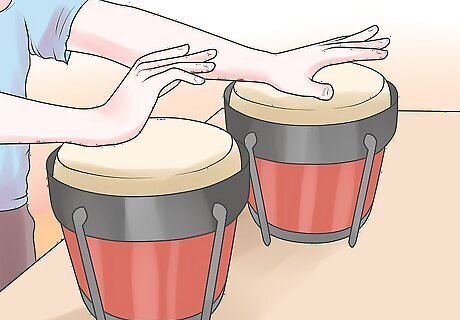
Add in more tones and swifter beats as you progress. As you get into playing the bongos, you'll be using the rim of the drums, using one hand on both drums, and getting into eighth and sixteenth notes – in other words, you're hands will practically be flying. Once you get used to a basic beat, try to make it more difficult by adding accent beats or switching up the type of stroke you're using. Try not to bite off more than you can chew, otherwise, you risk getting demotivated. No one can walk before they can run, and while the bongos may look incredibly simple to play, to get them to sound musical and varied takes true skill. Practice every day to work on your abilities.
Experimenting with Variations
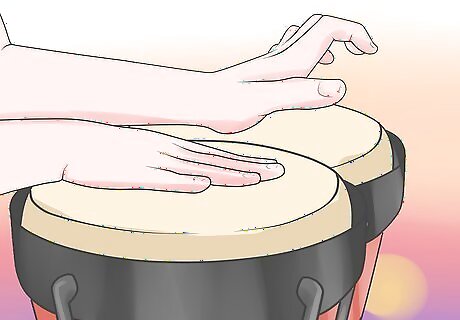
Try the Habanera. Here's the good news: the beats you were just playing in the above section were the basic Habanera – you just have to add in one more movement. Here's how it works: Keep the pulse with your left hand on the small drum. 1, 2, 3, 4. Then, add in offbeats after 2 and 4 on the big drum with your right hand. 1, 2, and, 3, 4, and. And then, add in offbeats after 1 and 3 on the small drum with your right hand. This changes the note and gives the beats a more musical sound. 1, and, 2, and, 3, and, 4, and.
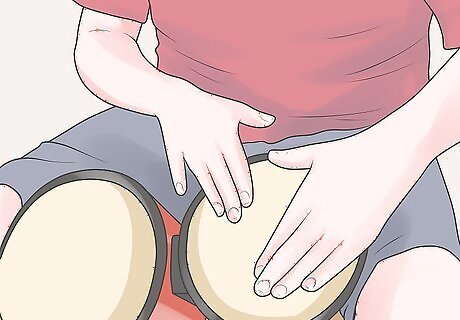
Learn the martillo beat. Get used to the bongo pattern of the "hammer," or martillo – it's the basic beat of the salsa and many types of bongo music. Here's how it's done: Use the index finger of your right hand to get the beat going on the rim of the small drum. This is beats 1, 2, and 3. Using the small drum again, use the fingers of your left hand to do the "and" beat after 1 and 3. For the "and" after 2 and 4, use your left thumb. Use an open tone on beat 4 with the fingers of your right hand on the right drum. Open out into as fast a pattern as you can follow without error.
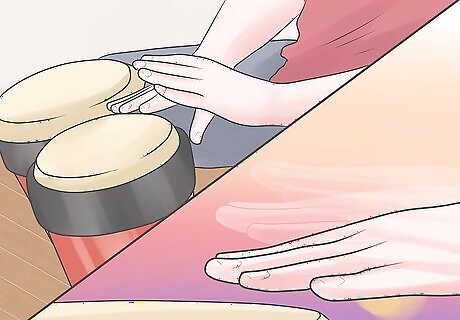
Play the calypso beat. This rhythm changes between tones and touches. You know tones – played on the edge of the drum head, one definite note – but then there are touches: just a light tap on the middle of the drum head with your fingers, mainly to keep time. It's pretty simple: Start on the left drum with both of your hands. Do tones with 1, and, 3, and. Do touches with 2, and, 4, and. Tone, tone, touch, touch, tone, tone, touch, touch. Once you have that down, instead of "4 and" as two touches, do beat 4 (no and) on the right drum as a tone. Pause where the and would be. Now, you have tone, tone, touch, touch, tone, tone, (big drum) tone. Your hands should have a very rhythmic, rocking back and forth motion as they vary between tones and touches.
Play a funky drumset groove. This one will be the most difficult rhythm we discuss, but it's still totally doable. It's just another mixture of tones and touches. What's more, it's right, left, right, left, just like walking, apart from the very first two beats. It's rhythm is one-and-a-two-and-a-three-and-a-four. Here's how it's done: Start with beat 1 as a bass stroke on the left drum – in other words, hit the edge of the drum furthest away from you. The first "and a" is a light touch with your right and then left hand on the left drum. Beat 2 is a tone with your right hand also on the left drum. The second "and a" are light touches with your left then right also on the left drum. Beat 3 is a tone on the right drum with your right hand. "And" is a touch on the left drum with your left hand. "A four" is a light touch on the left drum, followed by a tone on the left drum with your right hand.


Comments
0 comment