views
Using the Lasso Tool
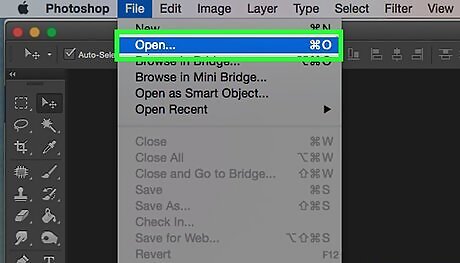
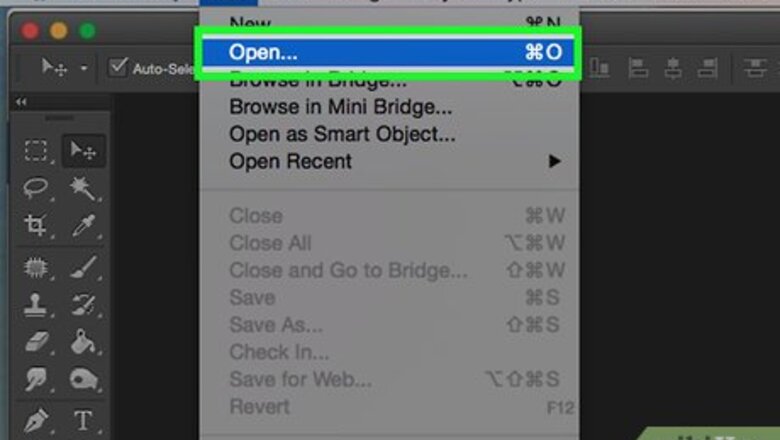
Open the image in Photoshop. If you haven't already done so, click the File menu, select Open, select the image, and then click Open.
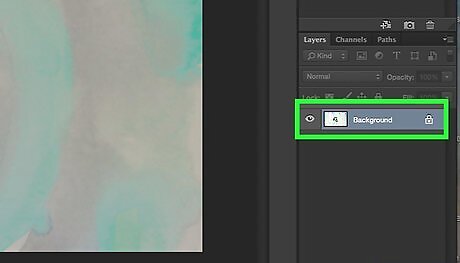
Right-click the Background layer. You'll see this layer on the "Layers" panel, which is usually near the bottom of the right side of the screen. A menu will appear. If you don't see the Layers panel, press F7 to toggle it on.
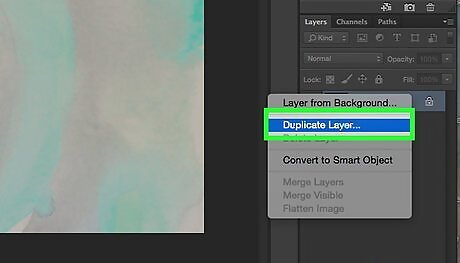
Click Duplicate Layer. A pop-up will appear.
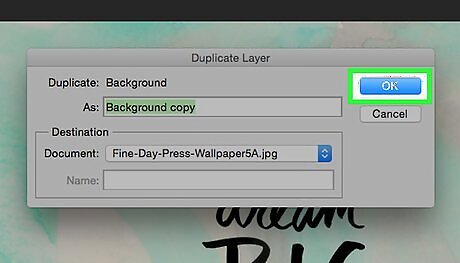
Name the new layer and click OK. You can call it something like "invisible background."
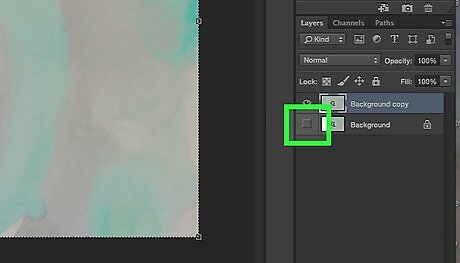
Hide the original Background layer from view. To do this, you'll click the small eyeball icon on the "Background" layer in the Layers panel.
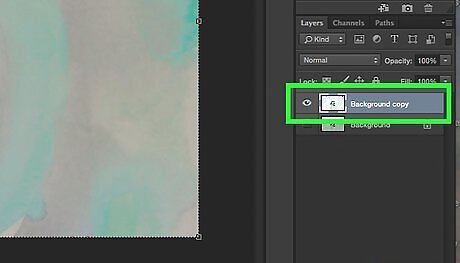
Select the new layer in the Layers panel. This is the one you created and named earlier. Now you'll be working on this new layer.
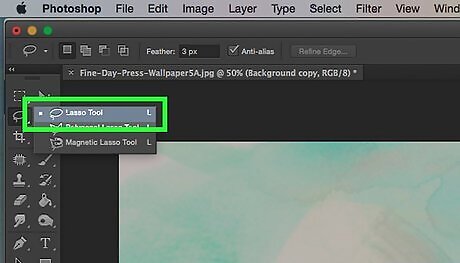
Select the Lasso Tool. It's the icon of a lasso in the toolbar that runs along the left side of the screen. This tool allows you to trace around the part of image you want to keep. There are multiple lasso tools you can use to select the image. Right-click the Lasso tool to view the options. If the background isn't too busy, use the Magnetic Lasso tool. The line you trace around the image will try to stick to the selected image like a magnet.

Trace a line around the part of the image you want to keep. The idea is to trace a line around the subject, capturing as little of the background as possible. Once you're done making your selection, a dotted line will flash around the selection. Regular Lasso: Click and drag to draw a line around the subject. Magnetic Lasso: Click the mouse once on one edge of the subject you want to preserve, then slowly move the mouse around the subject (without clicking). Once you've surrounded the whole subject, click the starting point to finish the selection. If you need to zoom in for a closer look, press Control++ (PC) or ⌘ Command++ (Mac). To zoom out, press Control+- (PC) or ⌘ Command+- (Mac). To undo your last action, press Control+Z (PC) or ⌘ Command+Z (Mac).
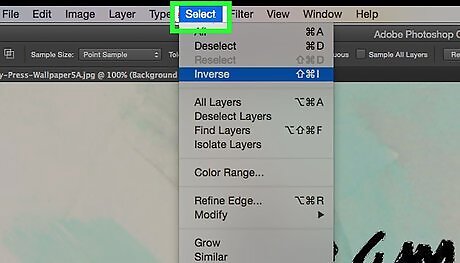
Click the Select menu. It's at the top of the screen.
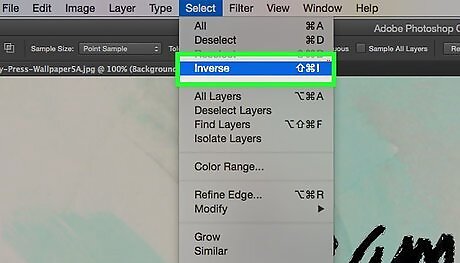
Click Inverse. This selects the background rather than the subject you traced.
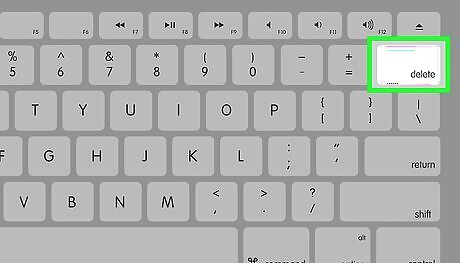
Press Delete or ← Backspace. This removes the background, replacing it with a gray and white checkered pattern. This pattern is invisible, so when you save the image, only the subject will be saved.
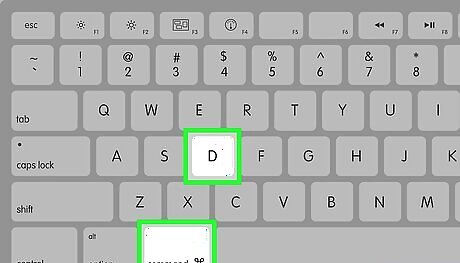
Press Ctrl+D (PC) or ⌘ Command+D (Mac). This deselects the image, removing the dotted line. Since you're working on a new layer, the original background layer (the one called Background) still contains the original background. If you no longer need that version, right-click the Background layer and select Delete Layer'.
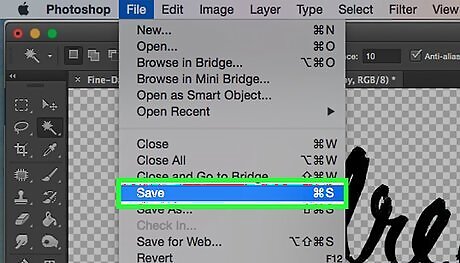
Save the image. When you save the image in any format, it will be saved without a background.
Using the Background Eraser Tool
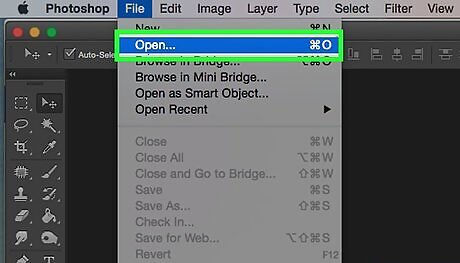
Open the image in Photoshop. If you haven't already done so, click the File menu, select Open, select the image, and then click Open.
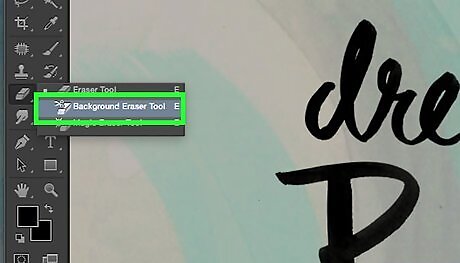
Select the Background Eraser tool. To do this, right-click the Eraser tool in the left toolbar to open the menu, then click Background Eraser Tool.
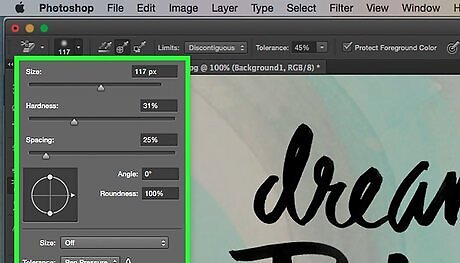
Fine-tune the Background Eraser. You'll see several brush options at the top of Photoshop—usually near the top-left corner. The options you select will depend on your image, and you may have to return to these settings once you start erasing. Use this tips as a starting point: Click the down-arrow next to the brush shape (it probably looks like a circle with a number in it) to open the brush options. Make sure the "hardness" is set to 100%. You can also adjust the size of the eraser using the "Size" slider. Click the icon of two eyedroppers to the right of the menu to select "Sampling: Continuous." Click the "Limits" menu and select Find Edges.
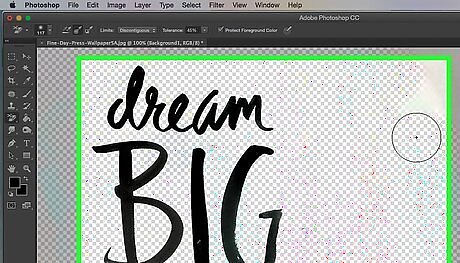
Click and drag the tool to erase the background. As you erase, the background will be replaced with a gray and white checkered background. That pattern just means the background is invisible--it doesn't mean you now have a checkered background. If you need to zoom in for a closer look, press Control++ (PC) or ⌘ Command++ (Mac). To zoom out, press Control+- (PC) or ⌘ Command+- (Mac). To undo your last action, press Control+Z (PC) or ⌘ Command+Z (Mac).
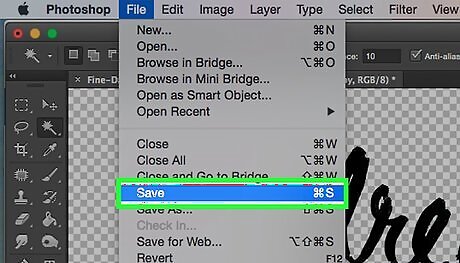
Save the image. When you save the image in any format, it will be saved without a background.


Comments
0 comment