views
Cleaning and Taping the Panel
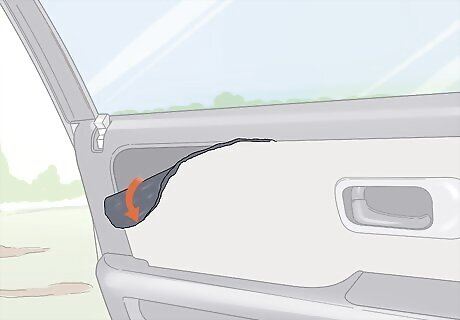
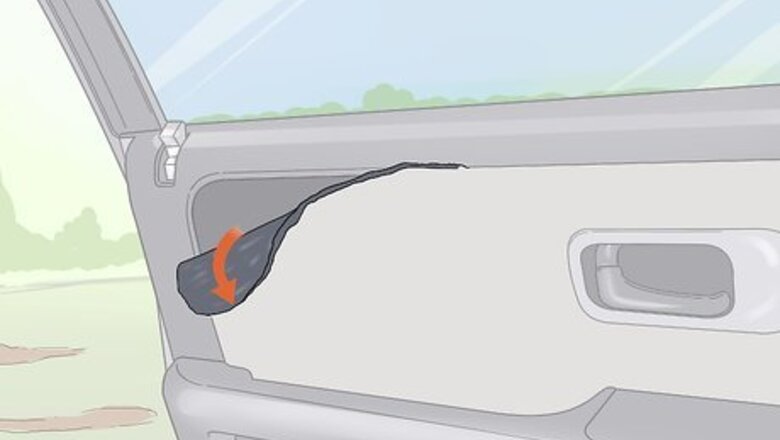
Peel the upholstery back a little near the loosest seam on the panel. If the upholstery is already peeling off, just start there. If it’s still attached to the panel but it’s sagging, feel gently around the seam where the panel attaches to the door to find the area where the upholstery is the loosest. Peel the upholstery back 6–12 inches (15–30 cm) until you feel some resistance to reveal the weakened area of the panel. If you can’t peel the upholstery back, the adhesive is probably still fine and the wrinkles may just be general wear and tear. This is just something that happens with older vehicles and there’s nothing to really repair. The fabric is just softened up by years of use and doesn’t fit like it used to. In the vast majority of cases, some of the original adhesive dries out and the fabric gets weaker as it just hangs on the panel. This weakness can spread, but the problem should go away once you repair the loose upholstery.
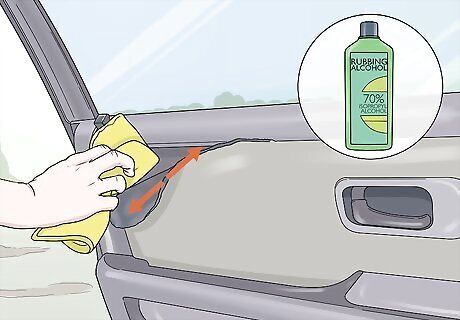
Scrub the panel underneath the upholstery with rubbing alcohol. Grab a clean cloth and pour roughly ⁄2–1 teaspoon (2.5–4.9 mL) of rubbing alcohol into the cloth. Gently wipe the exposed portion of the car panel with the damp cloth using back-and-forth strokes. Run the damp cloth over the seam where the upholstery slides into the panel and give the area around the seam a quick wipe. This will remove all of the gunk and dried-out adhesive on the panel and the seam. The cleaner you can get the panel and door, the easier it will be to reattach the upholstery. You do not need to wipe the area around the upholstery where it is still attached.
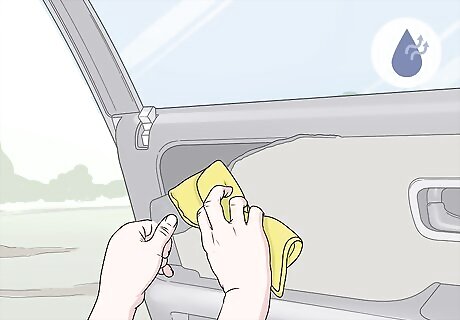
Wipe the back of the upholstery with the cloth and let it air dry. There is likely some dried-out adhesive stuck to the back of the upholstery itself. Fold the fabric back a little bit and wipe the backside of the upholstery with the same cloth you used to clean the panel. You don’t need to soak the fabric or anything, but a quick wipe will get any problematic old glue off. Let it air dry for 5-10 minutes. If you reattach the upholstery without getting the old glue off, the upholstery will just peel off again in the near future. You don’t need to remove all of it, but getting the bigger chunks off will help quite a bit.
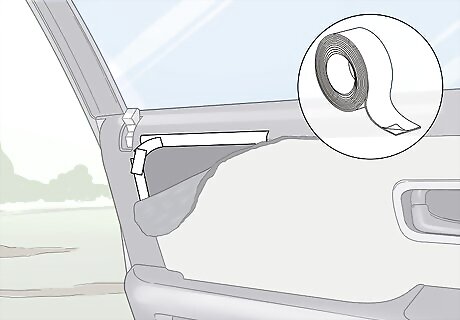
Tape off the area directly above the seam using masking tape. Peel off a length of painter’s tape and press it directly above the exposed seam where the panel fits into the door. Be extra careful about getting tape over the seam itself—you need to keep this area open. Only cover the surrounding portion of the door. For curves, use multiple smaller pieces of tape to work your way around the seam. You do not need to tape off any portions of the door where the upholstery is still installed. You aren’t going to spray the glue on but apply it directly, so you only need to cover the area where the upholstery is no longer attached.
Applying the Glue
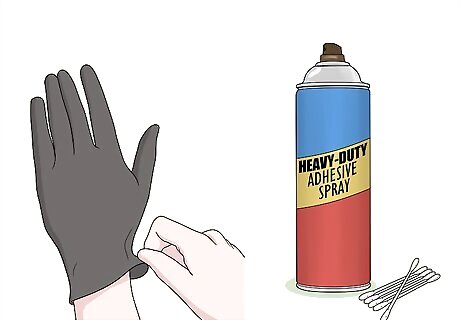
Put on some nitrile gloves and grab a cotton swab and adhesive. Pick up a heavy-duty adhesive spray online or from your local hardware store. Throw on some nitrile gloves and grab a cotton swab. From here on out, you’ll need to work pretty quickly. This stuff dries kind of fast. You don’t need to do a rush job or anything, but try to finish the remainder of the project 3-5 minutes. Many people have success with 3M’s 75 or 77 adhesive spray. There are other options on the market, but just make sure you’re getting a heavy-duty adhesive.
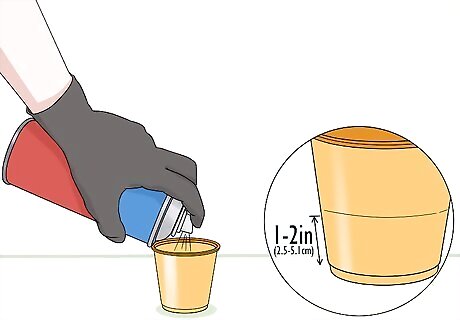
Spray the adhesive spray into a small cup to fill the bottom up. Grab a small plastic cup and hold the spray’s nozzle inside the rim of the cup’s opening. Hold the can and cup away from you as far as you comfortably can. Spray the adhesive directly into the cup until you fill the bottom 1–2 inches (2.5–5.1 cm) with your spray. The fumes from the adhesive spray aren’t dangerous or anything, but it can be a pain to wash it off of your skin.
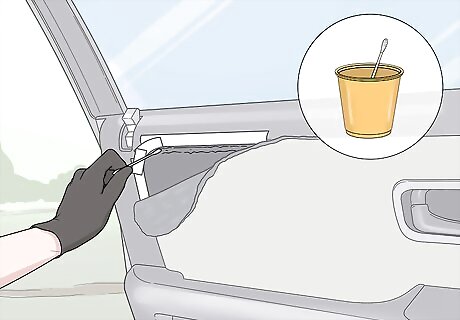
Dip the cotton swab into the adhesive and slide it into the seam. Take one end of the cotton swab and dip it under the surface of the adhesive in your cup. Pull the swab out and slide the swab in between the masking tape and the exposed door panel. Start on an end near the attached upholstery and gently blot the swab back and forth along the seam to cover it in the adhesive. This motion is fairly gentle—don’t swing the cotton swab around wildly back and forth along the seam. The goal is to get an even coat of glue all along the opening where the upholstery wraps into the panel.
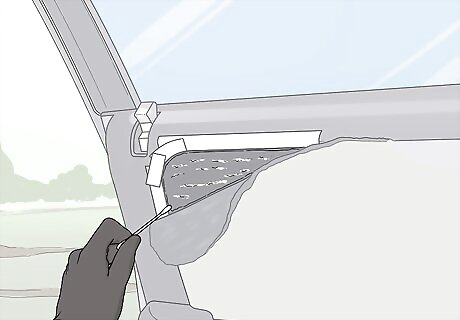
Reload the swab every 3–4 inches (7.6–10.2 cm) and fill in the seam. After you’ve dabbed the swab along a small portion of the seam, dip the same end of the cotton swab back in the cup. Then, continue working the cotton swab into the seam just below the masking tape. Repeat this process until you’ve covered the entire gap in a layer of adhesive spray. It’s probably not necessary, but you can run the cotton swab over the exposed panel itself if you want some extra glue holding the upholstery in place. Dip the swab in the cup again and run it over the panel in a zig-zag pattern.
Sliding the Upholstery Back into Place
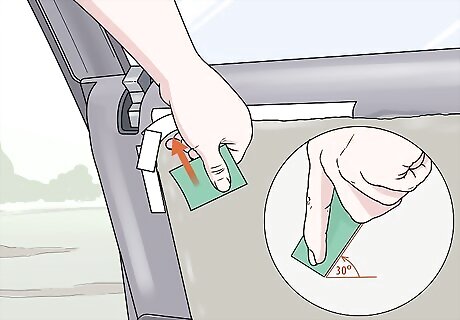
Smooth the upholstery up to the seam with a plastic straight edge. You can do this with a credit card or gift card, or grab some other flat plastic object with a thin, straight edge. Starting in the middle of the upholstery, press the straight edge into the upholstery at a 35-degree angle and slide it towards the seam closest to the attached upholstery to smooth it out. Hold the straight edge in place once the fabric is resting over the seam. Since you can’t remove air bubbles after you’ve glued the upholstery into place, you have to do it now with the straight edge. Doing this will also ensure that you get the most fabric possible inside of the seam.
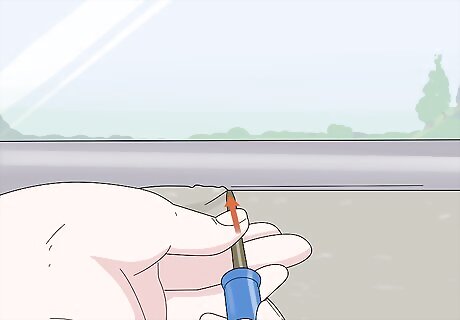
Use a flathead screwdriver to push the fabric into the seam. Grab a flathead screwdriver and turn the tip to match the shape of the seam. While holding the upholstery flat with the plastic straight edge, place the head of the screwdriver on the area just under the seam and gently push the upholstery into the seam. Slide the screwdriver gently along the opening to attach a 2–3 in (5.1–7.6 cm) portion of the upholstery. You can use a butter knife or some other flat, dull object if you prefer.
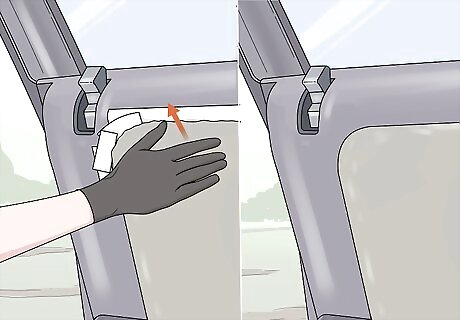
Slide the adjacent portion of the upholstery up and repeat the process. Lift the plastic straight edge up and press it back into the upholstery near the middle. Slide the next portion of the upholstery up to the seam and repeat the process by using the screwdriver or butter knife to push the next portion of the fabric into the seam. Continue doing this until you’ve reattached all of the upholstery. When you’re done, peel off all of the masking tape. You can use a liquid solvent, like paint thinner, to wear away any glue that may have ended up on another portion of the door panel


Comments
0 comment