views
Preparing to Replace
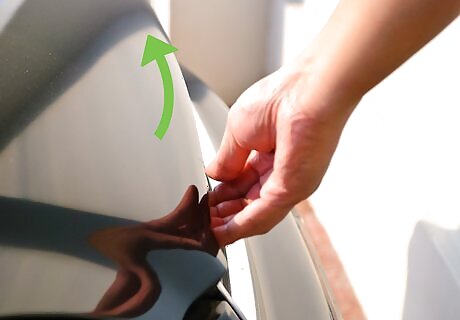
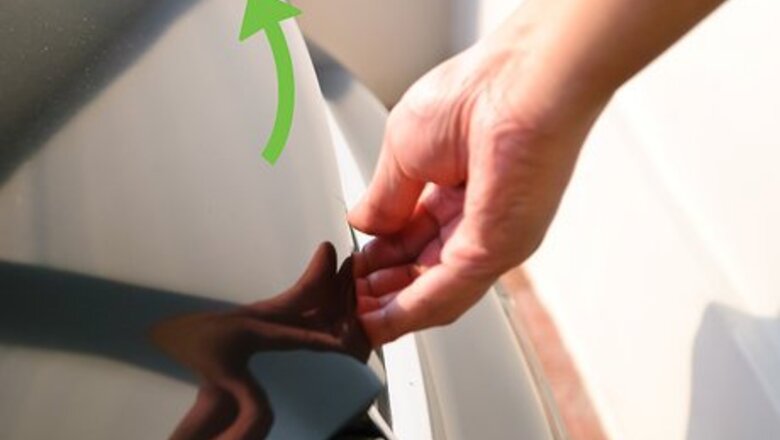
Prop open the hood of your vehicle. The hood latch is typically located to the lower left-hand side of the driver's dashboard. Some cars feature hydraulic hoods that stay propped open automatically. Either way, it's important to make sure that your hood will not fall onto you while you're rooting around in the engine.
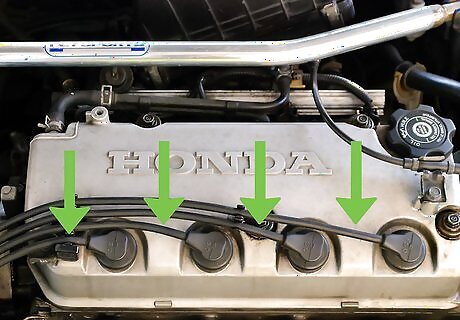
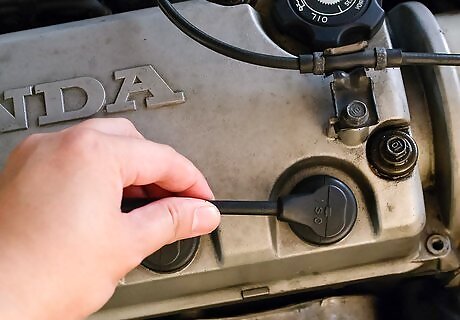
Locate the spark plug wires. The wires are typically located next to the valve covers in the cylinder head. On one end, each wire will be attached to a spark plug and on the other end, to a distributor or ignition coils.
Understand why spark plug wires wear out. Due to the high voltage constantly sent through the spark plug wires, they have the tendency to increase in resistance over time. Eventually, this creates too much resistance for any electricity to flow. With the increase in resistance in the wires, there is a decrease in the amount of electricity arriving through the spark plugs — which results in the incomplete combustion of gases inside the cylinder. If there is damage to the protective shield encasing the spark plug wires, then you need to replace the spark plug wires.
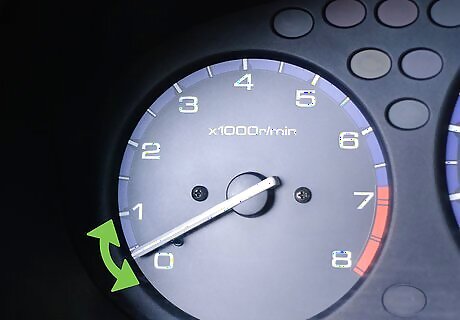
Determine whether or not you need to replace the wires. Age alone does not necessarily indicate that you need new spark plug wires. Look for damage to the wires, and listen for engine malfunction. If you see sparks jumping from the wire to the engine, it is a sign that you need to replace the wires. Be aware of some of the obvious engine symptoms: rough, bumpy idling, and a deep "coughing" sound. The engine symptoms can also be caused by faulty spark plugs and other, deeper issues, so you first must prove that your wires have gone bad and need to be replaced. You may need to replace the wires if you see sparks jump to the ground at night with the hood up and engine running. Depending on the conductivity of your wires, there might be sparks leaping from the whole front of the car, or just from one spot. Look for obvious flaws in the wires. You may encounter frays, cracks, and even burnt spots. Any or all of these damages can indicate that you need to replace the wires.
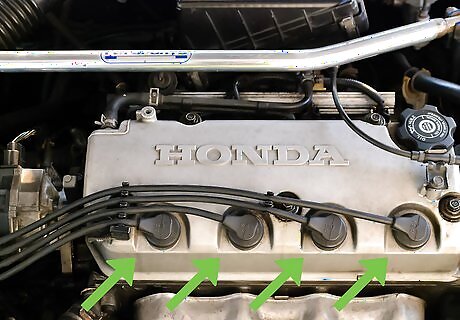
Determine how many wires you need. Now that you have determined the number and type of spark plug wires, you can buy them at any local auto parts store. The clerk should be happy to help confirm that you are getting the correct type and amount of wires.
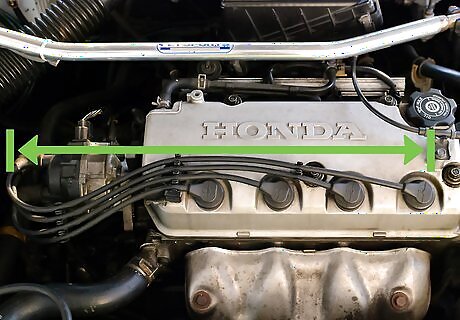
Make sure to buy the right wire length. You must buy an entire set, even if you only need to replace one wire. Thus, if you have a six-cylinder engine, you must purchase all six wires, all of which will vary in length. You must be aware of the length of the wire you are replacing compared to the old wires on your engine. Try to stay as close as possible to the old wire length. Different makers have different lengths, and replacement wires are often sold longer than the originals. This allows them to sell more assemblies of wires to fit more applications, so you may have slight differences. Check the length before you start, and it'll be okay. Quality is important. Stay away from most of the "make your own length" kits unless they are high quality and you are very comfortable installing your own boots. Oftentimes, the manufactures do not allow repairs on their wires. Don't start cutting the wires to a certain length unless you know for certain that new ends can be safely put on the wires you cut. Otherwise, you may regret it! Some spark plug wires can be purchased individually from some auto parts stores fully assembled.
Removing the Wires
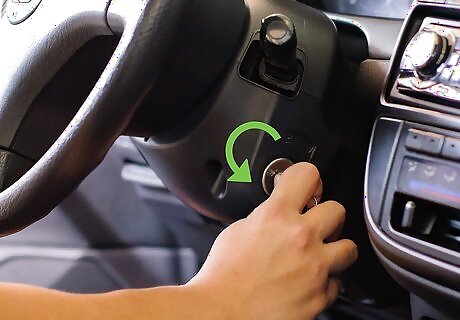
Make sure that the car is turned off. Never try to replace plug wires on a running motor. Likewise, do not try to replace plug wires on a motor that's too hot to touch.

Keep an inventory. Once located, take note of the length and location of each wire. You will need to put each new wire back where you pulled its corresponding worn wire – and it will be much easier if you write down what you've done. If you connect the wires in the wrong order, your engine will misfire and run poorly. Try marking each wire with tape and a number (corresponding to a spark plug location) so that you don't lose track.
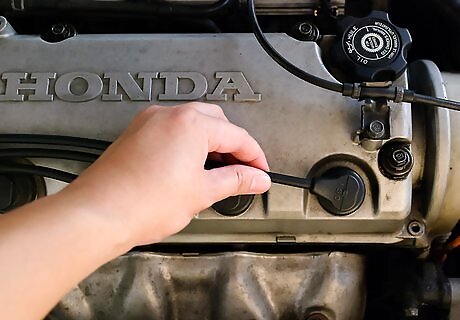
Be methodical. Replace the wires one at a time, and in a specific order or direction. This may help you remember which wire goes where, and it will reduce the risk of putting the firing order out of sync with the engine. Take your time. Start with one wire, and completely finish replacing it before moving on to the next one. The wire is connected at both ends. You must unplug each side before installing the new wire. The spark plug must fire when the piston is nearly at its highest point in the cylinder. Thus, it is imperative that you do not get this sequence out of order. Try starting at one end of your engine, and working across.
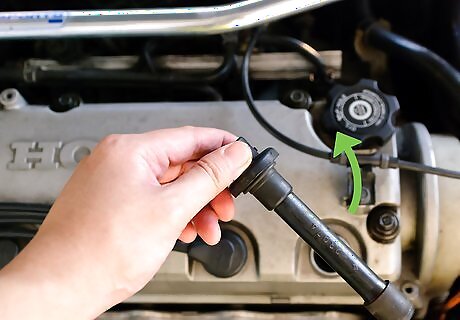
Unplug the wires. Use a spark plug wire removal tool to unplug and remove the wires. Use caution when you pull the wire from the plug. The newer engines have rubber boots that fit tightly over the plug, keeping it dry and clean. Remove the wire by pulling on the boot. If you pull on the wire instead of the boot, you may destroy the wire, and some of it will be left on the plug. Some of the wires can be very tightly stuck to the spark plug. Grasp the rubber boot firmly. If it doesn't pop off immediately, try twisting it back and forth while you pull it free. Inspect the boot for signs of carbon tracking. This will appear as a black line running from top to bottom inside the boot. If you notice this line, the spark plug must be removed for inspection.
Installing New Wires
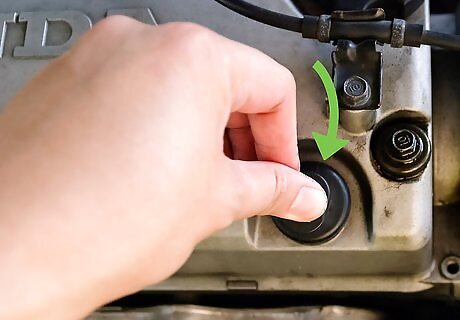
Work backward. Connect the new wires in the same order as you removed the old wires. Before installing the boot on to the spark plug, add a small amount of dielectric grease to the spark plug boot. The boot will be fully seated onto the plug when a small click is felt. Plug wires run from the distributor or coil to the plug, and must be replaced exactly as factory run. Running from a coil to the wrong plug will prevent the engine from running, which could lead to damage. Keep the wires away from exhaust components that might damage them, and keep each wire from crossing over another wire. Spark plug wires usually rest in wire looms or standoffs. A wire resting on the engine or a wire crossing another can short or leak or break down due to heat. Thus, make sure to rout the replacements properly through the loom, well away from resting on any metal. If replacing wires with a high performance coil and kit, be aware existing looms may not fit. In this case, you can buy larger diameter standoffs to attach or widen the holes in the looms.
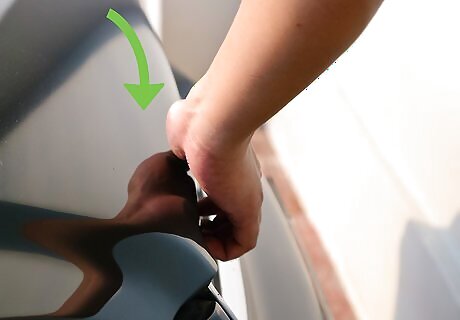
Close and latch the hood. Try to lift up your hood after you've closed it, and make sure that it isn't loose. You should not be able to pop the hood without using the switch inside your vehicle cab.

Listen to your vehicle. After you have carefully installed the wires in their correct places, start the engine. It should run and idle smoothly. You may notice new power and efficiency, especially if your old wires were heavily worn down. If your engine does not run, runs very roughly, or backfires after replacement, then check for improperly run wires, wires run to the wrong cylinder, wires that are grounded along their length, wires that are not properly seated in the boot, or boots that are not properly seated to make contact with the coil or plug. Never touch a wire on a running engine, or you might receive a painful shock. There are tens of thousands of volts generated in the ignition system, and an improperly seated wire is much more likely to shock you. It has less of a ground at the plug end, making you a more viable path. If you notice bad idle backfire or other performance problems, you have likely put a wire in the wrong place. Consider hiring a local mechanic to diagnose and fix the problem.

Take the car for a test drive. While on the test drive, try to put the engine under a load by driving up a hill or slowing down in a higher gear, then accelerate with downshifting to put the ignition system under a load. Ignition systems have a better chance of failing under a load.

Finished.


Comments
0 comment