
Cleaning Headlights with Toothpaste
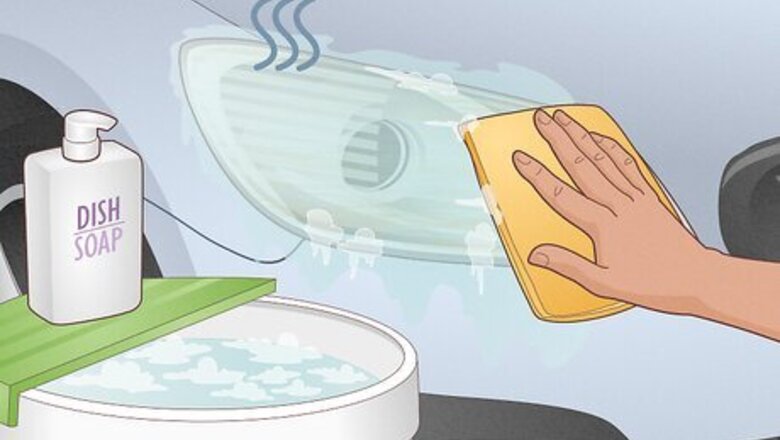
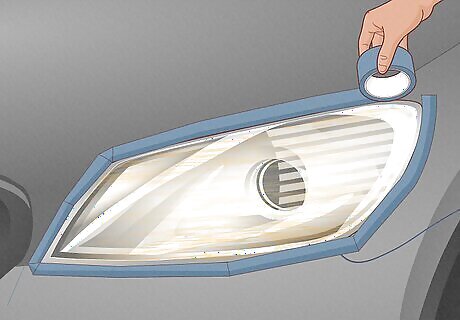
Clean the headlights with dish soap and water and allow them to air dry. Use a microfiber cloth dipped in warm, soapy water to clean any dirt or surface residue from your headlights. Try to avoid getting the soapy water on your car’s paint—the dish soap may strip off the protective wax. Toothpaste is one of the most effective household methods for cleaning headlights. However, it might not be as effective or long-lasting as using a headlight restorer or restoration kit.
Cover the areas around your headlights with masking tape. Use masking tape or painter’s tape to cover the painted finish around each headlight. This can help prevent the toothpaste from scuffing or scraping the paint from your car as you’re polishing your headlights.

Use a dab of toothpaste and a damp microfiber cloth to scrub the area. For best results, choose a gritty toothpaste (not a gel) with baking soda—these abrasive ingredients can remove oxidation. Add about 1 teaspoon (1 g) of toothpaste to a damp microfiber cloth or soft toothbrush and wipe the headlights in a circular motion. While toothpaste is generally safe for headlights, test it on a small area before covering the entire lens to make sure it won’t cause any unusual reactions. If you don’t have a gritty toothpaste, mix it with about 1 teaspoon (6 g) of baking soda before applying it to your headlights. Use pressure as you work the toothpaste into the headlight lens. Apply more toothpaste as needed to remove the yellowing from each headlight.

Rinse and dry each headlight, then apply a small amount of car wax. Dip another clean microfiber cloth in warm water and wipe the toothpaste off of each headlight. Dry with another microfiber cloth or allow the headlights to air-dry, then apply the wax as directed. Car wax can help prevent future yellowing or damage from UV rays. Most waxes require you to apply it to a microfiber cloth, then create a thin layer on the surface of the car by working in a circular motion. Let the wax dry, then buff it off with a dry microfiber cloth or car buffer.
Cleaning Headlights with Vinegar and Baking Soda
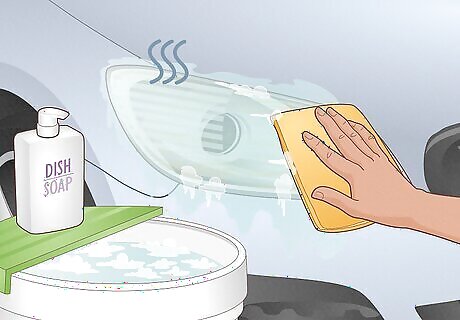
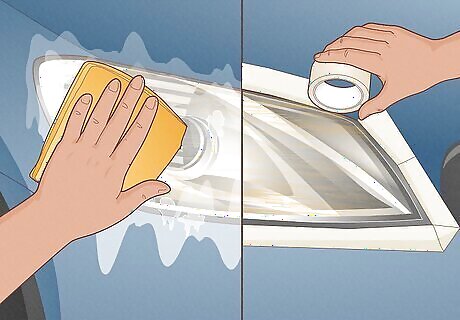
Clean your headlights with soap and water and allow them to air dry. Dip a microfiber cloth in warm water and dish soap. Wash away all the dirt and grime from each headlight.
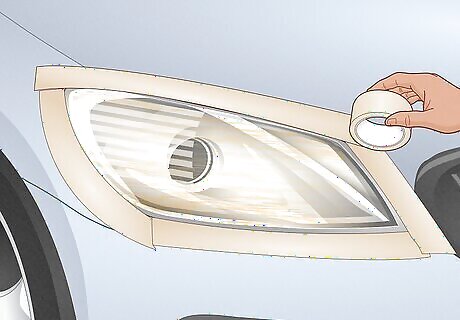
Apply painter’s or masking tape around each headlight. Protect the painted surface of your car from the abrasive baking soda and vinegar by sticking tape in a border around each headlight.
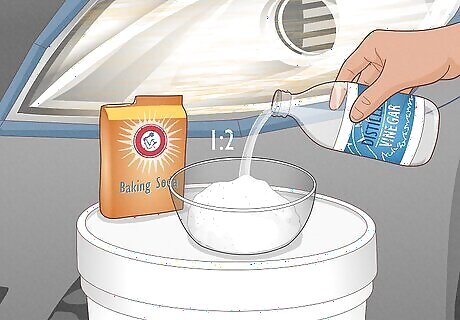
Combine 2 parts distilled white vinegar with 1 part baking soda. Baking soda and vinegar are both pantry staples that are environmentally friendly and can be effective for cleaning headlights. In a small bowl or bucket combine 2 parts of distilled white vinegar with 1 part baking soda. Mix until well combined. For example, combine 2 cups (0.47 L) of vinegar with 1 cup (272 g) of baking soda.

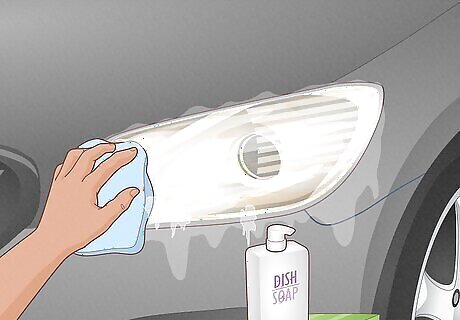
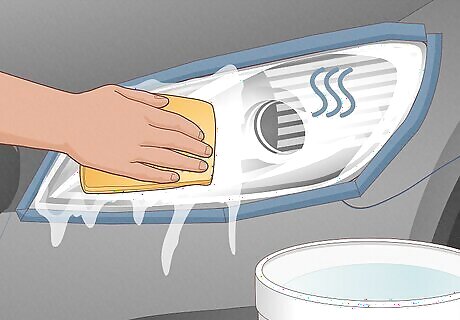
Scrub each lens with a microfiber cloth dipped in the mixture. Rub each headlight vigorously in circular motions to remove as much of the cloudy yellowed residue as possible. To get the most out of the baking soda vinegar solution, try to scrub while the mixture is still fizzing. You may have to rewet the cloth several times with the baking soda vinegar solution as you scrub.
Rinse each headlight with water and allow them to air-dry. Rinse and refill your small bucket or bowl with warm water. Dip a clean microfiber cloth in the water and wipe away all the baking soda and vinegar residue from the headlights.
Cleaning Headlights with a Headlight Restorer
Wash the headlights with soap and water and tape off the edges. Use a microfiber cloth dipped in warm water and dish soap to clear away any dirt or grime off each headlight lens. Dry the area with a clean microfiber towel, then use painter’s tape or masking tape to outline each light. Alternatively, spray the area with glass cleaner and clean with a microfiber cloth.
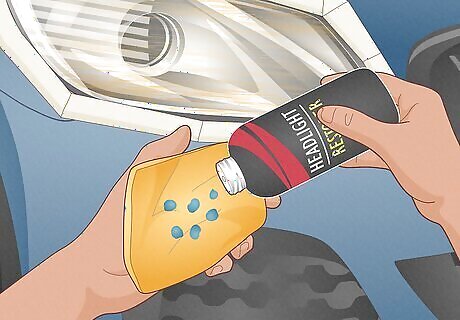
Apply 3 to 6 dots of headlight restorer to a microfiber cloth. To clean your headlights, auto detailing expert Chad Zani recommends applying Chemical Guys headlight restorer to a microfiber cloth or a “cordless drill and a microfiber pad.” This headlight restorer typically costs around $20. The micro-abrasives in this product can peel back the layers of clouded plastic and the wax sealant creates a clear coat that blocks harmful UV rays. Alternatively, apply a regular car polish compound to your headlights using a microfiber cloth.
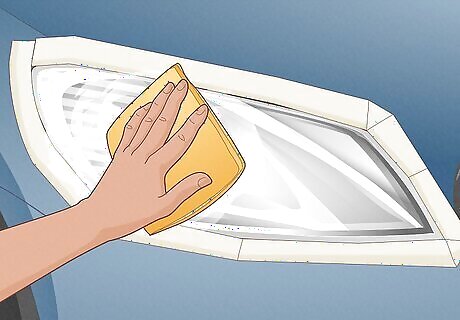
Scrub each headlight lens vigorously until the polish turns clear. Wipe off the residue with a clean microfiber towel and inspect the area for any yellowing you may have missed. Repeat this process on both headlights until they’re both clear and shiny.
Cleaning Headlights with a Restoration Kit

Wash the lenses with dish soap and water, allowing them to air-dry. Dip a microfiber cloth in a solution of warm water and a drop or two of dish soap. Gently scrub the surface of the lens to remove any dirt or grime from the surface. For best results, choose a dry day when the weather is warm and move your car so the headlights are not in direct sunlight. Make sure not to get the dish soap-saturated water on the car’s paint. If you’d like a safer alternative to dish soap that you can use on paint, try regular car wash soap.

Tape around each headlight with masking or painter’s tape. Masking tape or painter's tape can help you avoid scratching up the paint while you’re sanding down the headlight lenses. Optionally, wipe down the headlights using a clean microfiber cloth and a bit of rubbing alcohol to make sure they’re extra clean.
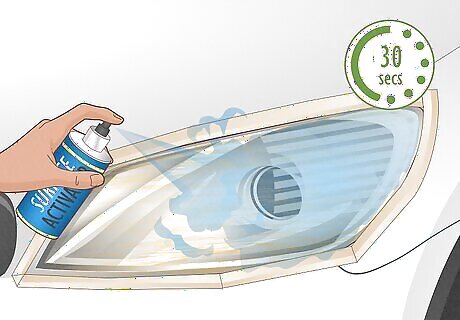
Spray the surface activator, let it sit for 30 seconds, then rinse. Most restoration kits come with a surface activator that breaks down the original UV coating and removes any oils. Most kits direct you to leave the surface activator to sit for at least 30 seconds and then rinse it off with water. Check your kit’s instructions to see how long to leave the activator on before washing it off. Most headlight restoration kits cost between $10 to $25.
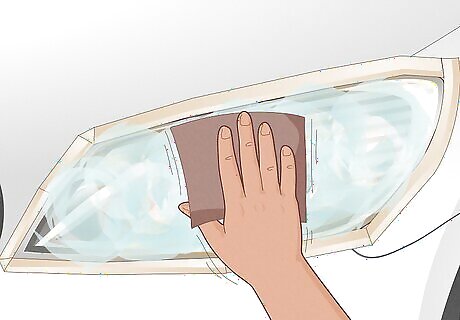
Use wet sandpaper to sand down the light, increasing the grit as you go. Dip or spray the lowest-grit sandpaper with water. Sand the surface of the headlight in a circular motion until it’s smooth across the whole lens. Rinse with water and repeat with the next highest-grit sandpaper. Rinse with water again and use a clean microfiber cloth to dry the area. Optionally, sand in one direction with the lowest-grit paper. Rinse the area with water and use the next-highest-grit paper to sand in the opposite direction. The higher the number on the sandpaper, the finer the grit. Slowly increasing the grit removes the old coating and leaves the lenses with a smooth finish.

Buff out the lenses using the clarifying compound provided in the kit. Apply half of the included buffing or clarifying compound to a clean microfiber cloth and buff it onto one of the headlight lenses. Work the compound into the lens in a circular motion for about 5 minutes, then rinse with water and dry with a microfiber towel. Repeat this step for the second headlight. If your kit doesn’t come with a clarifying compound, buy a car polishing compound and apply it as directed. Depending on the amount of compound in your kit, you may want to use up to 3 coats of buffing compound until your headlights look completely clear and shiny.

Apply the new UV coating and allow it to cure for 4 to 6 hours. Use a clean microfiber cloth to apply a thick, even layer of UV coating to the headlight. Work in circular motions, making sure to cover the entire surface. Repeat for the second lens. Allow the coating to fully cure for 4 to 6 hours before driving. Make sure your car is parked in an area where it can’t be exposed to water or high humidity that can disrupt the curing process. This method is the most effective (but the most expensive) for cleaning your headlights. Most restoration kits last for about 5 years before your headlights need another treatment. After the coating has completely cured, remove the masking or painter’s tape and you’re all good to go!
Keeping Your Headlights Clean
Park your car in a cool, dry area out of direct sunlight. Auto detailing expert Chad Zani says that “the reason [that a] headlight looks yellow is that the plastic has been broken down” by the sun’s UV rays. To prevent future yellowing or UV damage, try to park your car in a garage or in shade. You can also place a car cover over your vehicle to protect it.
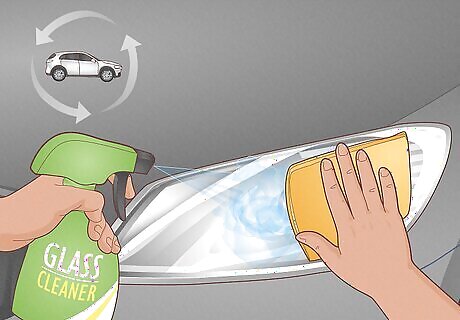
Clean your lights regularly with a glass cleaner and microfiber cloth. Cleaning your headlights with a household glass cleaner after every drive can help keep them clear, clean, and bright. If you notice that your car’s headlights are getting yellow, foggy, or hazy, then it’s time to use one of the methods above to restore their shine. If your lenses are clear but the lights inside seem dimmer than they used to be, it may be time to get new bulbs.

Get your headlights replaced or repaired if they’re cracked. If the hard coat on your headlights starts to flake or peel off or if you see cracks deep into the lens, have your headlights looked at by a professional. They may be able to repair any peeling or replace the assembly if it’s cracked. A new headlight assembly can cost between $350 to $2,000 depending on the make, model, and year of your car.

Have glass headlights examined by a professional. Most headlights are plastic and can be cleaned with the methods listed above. Glass headlights on older models are more complicated and are best examined by professional body technicians. If your glass headlights are wearing out, take them in and have them checked.


Comments
0 comment