views
Identifying Good Trap Locations
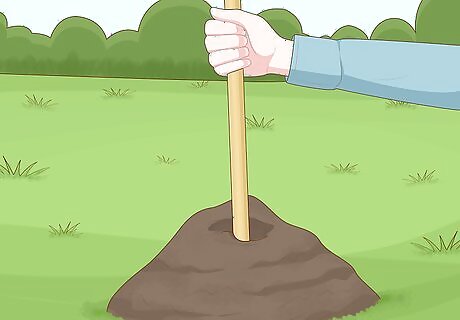
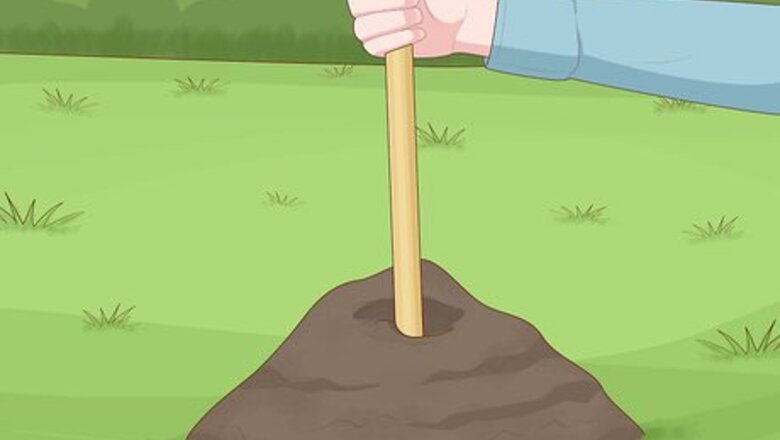
Find mole tunnels in your lawn. Look for mounds of dirt around your property, as this is a sign of a tunnel. Poke a hole through the mound with a stick or the end of a broom handle. If the hole is covered up 24 hours later, you can assume that it is an active mole tunnel. If you have multiple mounds around your lawn, put a hole in each of them to discover all the active tunnels.
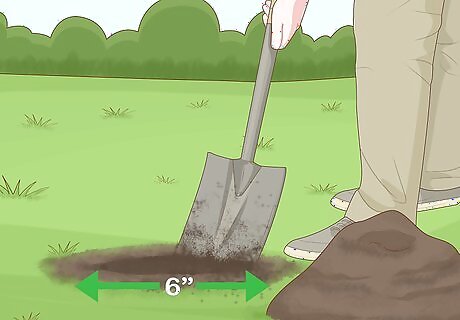
Dig a hole in the top of an active tunnel. Pick a tunnel that's been covered by a mole, and dig a hole in the top of the tunnel with a spade. The hole should be about 6 inches (15 cm) wide and penetrate down into the mole tunnel. Dig down into the tunnel and put the dirt to the side for later.
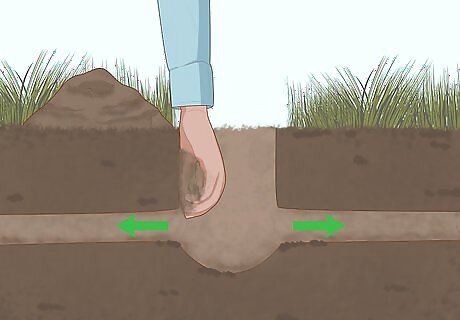
Feel for the tunnel with your fingers. Stick your fingers into the hole you made and feel around for the pathway to the mole tunnel underground. You should feel 2 holes on each end of the hole you just dug.
Setting the Out O'Sight Mole Trap
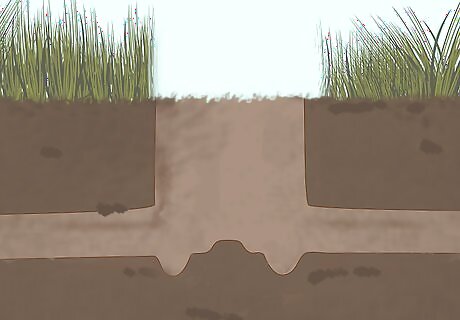
Create a mound of dirt in the center of the hole. Use some of the dirt that you dug up and place it back into the center of the hole until the top of the mound sits flush with the ground. The mound should be centered in between the holes in the tunnel. The bottom pan or trigger on the bottom of your trap should rest on the top of this dirt mound.
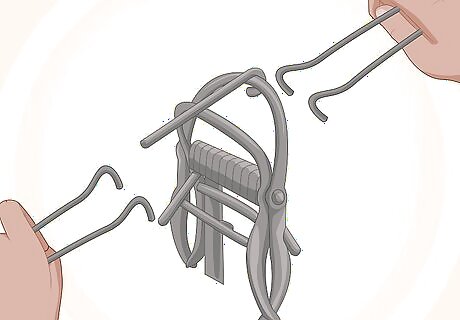
Place the setting levers over the springs. Thread the setting levers under the top of the handles on each side of the trap. Then, fit the setting levers over the springs in the middle of the trap and slide them upward.
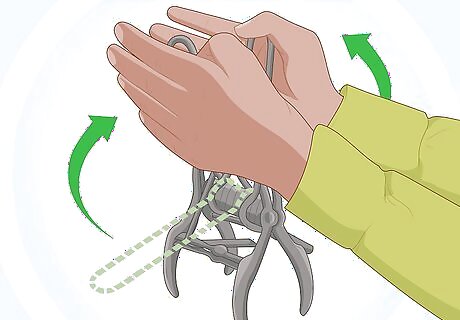
Push the levers together with the palms of your hands. You may have to use a good amount of force to open up the teeth of the trap. Once both levers touch each other, your trap’s teeth should be fully opened.
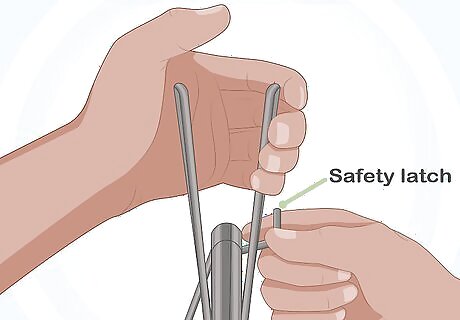
Flip the safety latch over the top of the trap. The safety will be a small metal clip on the top of your trap. Flip it upwards so that it catches on the other side of the clip and holds your trap open. It's important to keep the safety latch engaged until the trap is completely set up. You can now unthread the setting levers and set them aside. Grip both of the levers with one hand to keep them open while you set the safety.
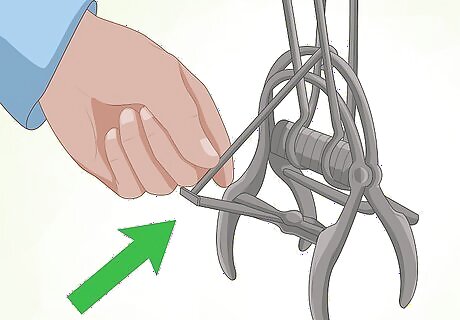
Place the end of the setting bar on the trigger pan. The trigger pan is a metal tab on the bottom of your trap, and is what the mole will press on to close the trap. The setting bar is the bar on the top of the trap with a hooked end. Hook the end of the setting bar onto the edge of the trigger pan. Make sure the safety latch is still engaged so that the trap doesn't close. When the pan is pushed up, the setting bar will disengage and the trap will close shut.
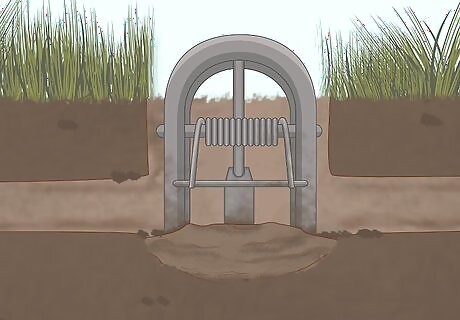
Place the trap around the dirt mound in the hole. Position the trap so that the teeth don’t block the holes in the tunnel. The teeth of the trap should be around the mound and fit around holes in the tunnel. Once the mole gets to the dirt mound, it will try to dig through the mound, which will engage the trap.
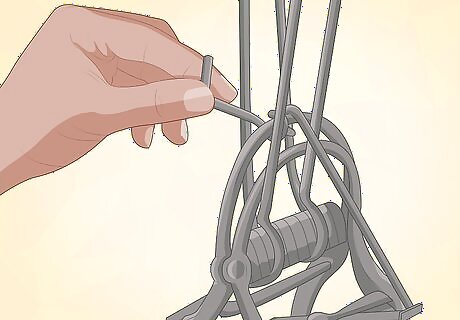
Release the safety on the top of the trap. Flip the safety over. If you set everything up correctly, the teeth of the trap should remain open and slam shut when pressure is applied to the bottom of the trigger pan. Keep pets and children out of the yard when the mole trap is engaged.
Setting a Plunger-Style Mole Trap Instead
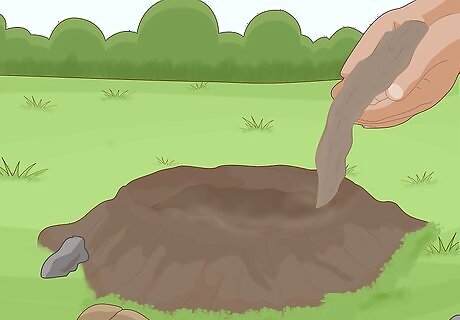
Fill the hole up with loose dirt. If the dirt under the trap is too compact, the spikes won't be able to penetrate into the ground fast enough to catch the mole. Break up the soil that you dug up so that it's loose before placing it back into the hole.
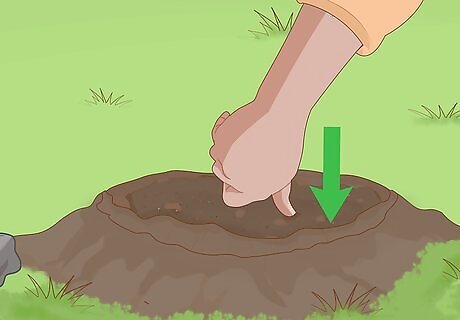
Press down on an active mole tunnel with your thumb. Making a depression in the dirt will collapse the tunnel. This will require the mole to burrow through the obstructing dirt the next time it uses the tunnel, which will engage your trap.
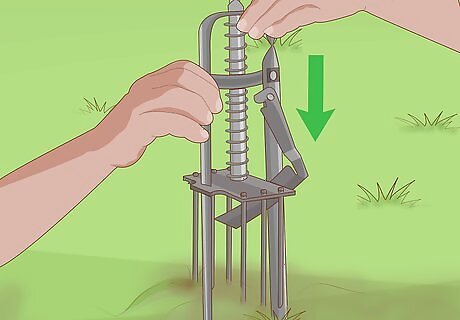
Press the trap over the depression. Position the trap so that the side spikes don’t block the tunnel below. The trigger pan is the metal square on the bottom of the trap, and should be positioned directly over the depression that you created in the dirt. Press down on the trap so that the side spikes go into the ground and the trigger pan runs flush with the ground. The trap latch is the metal rod attached to the top of the trap and should be in the downward position.
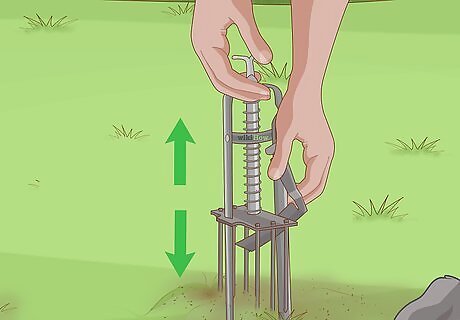
Pull the plunger on the top of the trap up and down. Pushing the spikes in and out of the dirt will loosen the soil and make the trap more efficient. Pull up and down on the plunger on the top of the trap several times until the soil is loose. Keep hands and feet away from the bottom of the trap or you may injure yourself.
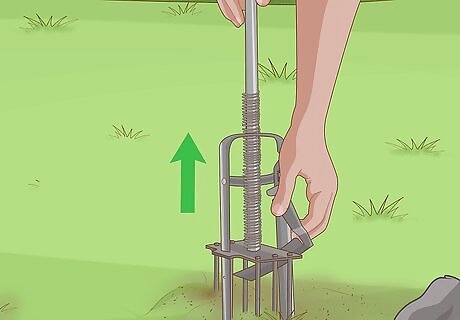
Pull up on the plunger until the trap snaps into place. Once you pull the plunger enough, the trap latch should snap securely onto the trigger pan.Your trap is now set. The next time a mole tries to burrow through the dirt, the spikes will spring down into the dirt where the mole is. Keep children and pets out of the yard when the mole trap is engaged.


Comments
0 comment