views
Heating the Oil
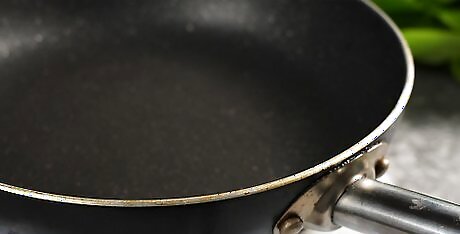
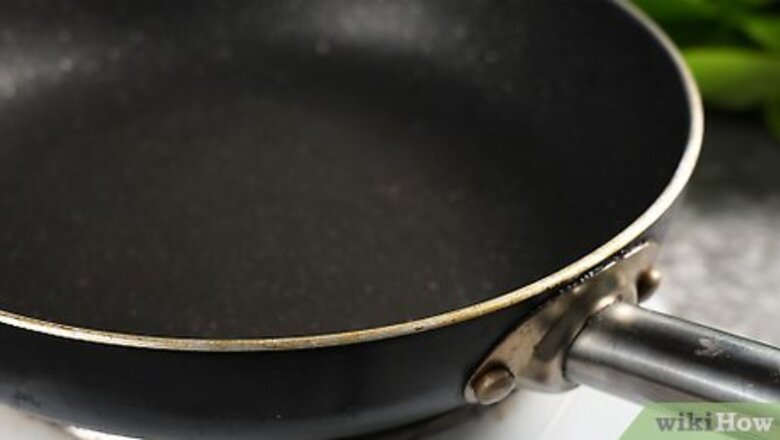
Start with an ordinary sauté or frying pan. To pull off a textbook shallow fry, you’ll want to select a pan that’s deep enough to hold several ounces of oil, but shallow enough to allow you to get the food in and out without difficulty. A sauté pan, wok or electric griddle with steep edges will all work for shallow frying—most cooks prefer using 8, 10, or 12-inch pans. Avoid cookware with flat edges that may send oil sloshing everywhere. If you don’t have a suitable pan, a large pot with a wide opening will also get the job done.
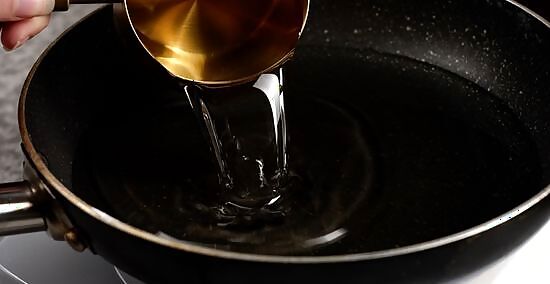
Add enough oil to partially submerge the food. The exact amount of oil you use will depend on the size of the pan and the food you’re cooking. Generally, however, the oil should reach about half the depth of the item. ½” to 1” (1¼-2½ cm) will be enough for most types of foods. You can always pour in a little more if needed. If you’re apprehensive about working with lots of hot oil, start with about ⅛” (.32cm) and gradually move onto larger foods, adding more oil with each attempt. Choose an oil with a high smoke point, like peanut, canola, sunflower oil, or other vegetable oils to ensure that your foods don’t come out tasting burnt.
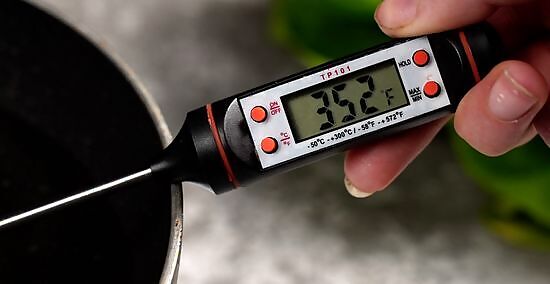
Heat the oil to 350-375°F (176-190°C). Always preheat your oil before you add the food. Somewhere just under 400°F (205°C) is a good sweet spot—hot enough to cook evenly, but not so hot that you risk burning the food or letting things get out of control. A reliable kitchen thermometer will help you gauge the temperature of the oil throughout the entire process. Adding your ingredients too soon will cause them to absorb oil, which can leave them limp and greasy. You’ll know your oil is hot enough if the food sizzles as soon as it makes contact.
Frying the First Side
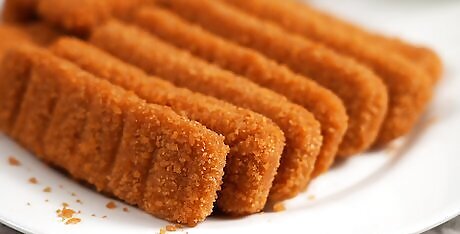
Start with fresh or thawed ingredients. For best results, the food you’re about to fry should be as close to room temperature as possible. Otherwise, it can rapidly cool the oil when it goes into the pan, resulting in a soggy mess. Defrost frozen foods in the microwave or a bath of cool water for 30 minutes at a time until they're just below room temperature. Give refrigerated items a few minutes to warm up slightly before you get frying. The popping and splattering brought on by introducing cold food to hot oil can also present a safety hazard. Shallow frying is perfect for both firm foods like fresh vegetables and tender cuts of meat as well as more delicate ones like eggs, fish, doughnuts and crepes.
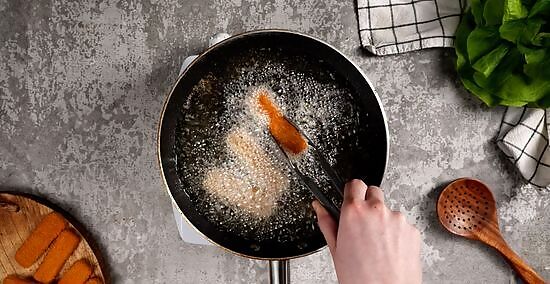
Add the food to the pan gently. Use a pair of tongs to slowly lower your meat, vegetables or dough into the oil. If you don't have the benefit of using tongs, you'll need to do this manually. Try to bring your hand as close as you can to the surface of the oil before dropping the food the rest of the way in. This will help prevent splashing, which can easily cause burns. Be sure to withdraw your hand quickly once you let go of the food.
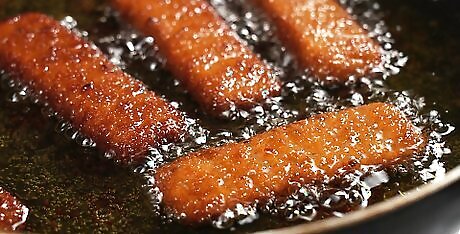
Don't overcrowd the pan. Like incorporating cold foods, filling up the pan with too many things at once can lower the temperature of your oil. If you’re preparing a lot of something, it's best to do it in multiple batches. It may seem counterintuitive, but you'll be able to cook faster if your oil stays hot. There should be enough space between each item in the pan to keep them from touching or overlapping. Give the oil a few minutes to reheat to the optimal temperature between batches. Your thermometer will let you know when it's okay to begin your second batch. If the oil begins smoking, it means it's gotten too hot. Your best bet will be to dump it out and heat up fresh oil.
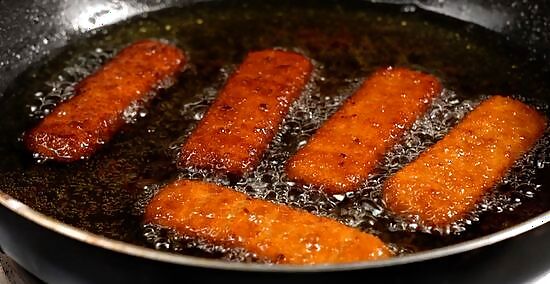
Allow the food to cook for several minutes. Rather than following a set time, watch the food closely and rely on your best judgment to tell when it’s done. Frying small, thin items won’t take long at all—red meat and other dense offerings, on the other hand, will likely need an extra few minutes to reach the desired internal temperature. The oil will begin to crisp the outside of the food, while the intense heat cooks the interior through.
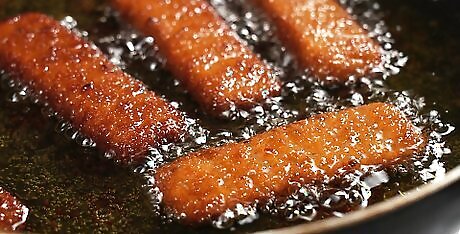
Look for a light brown finish before flipping. Use a metal spatula or pair of tongs to lift one side of the item and take a peek at the underside. Most foods will start to develop a deep golden coloring when they’re ready to be turned. If you’re cooking meat, wait until there’s no longer any pink visible. Watch out for pops and splatters whenever you’ve got your hands near the hot oil. Blackened bits at the bottom of the pan are often a sign that the food is overcooking.
Getting the Perfect Crispy Finish
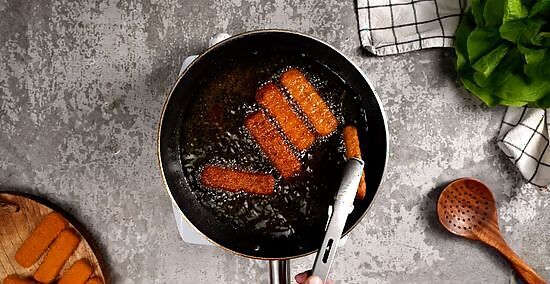
Flip the food over to begin frying the opposite side. Get a secure grip on the item with your tongs and turn it over slowly. It’s alright if the first side doesn’t look completely browned yet—the oil on the outside will continue cooking it as it sits. When timed correctly, there should be no need to turn the food more than once. Don’t simply plop the food over into the pan. This is a good way to burn yourself! Be careful not to damage delicate foods as you flip them. If you don't have tongs available to you, you can use another utensil, such as a serving spoon or spatula. Just make sure it's made of metal, or it will melt when exposed to the hot oil.
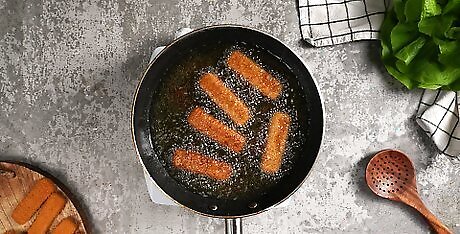
Keep an eye on the food while it cooks. Fried foods can burn quickly if you’re not paying attention to them. The second side will only need about half as much time in the pan as the first, so be prepared to take it out as soon as it’s ready.
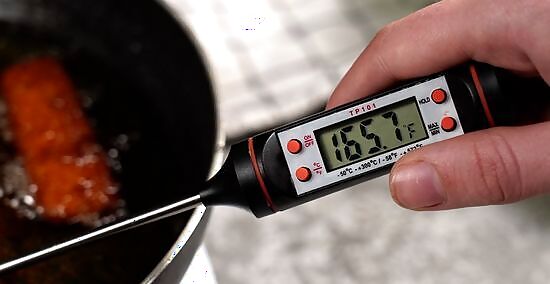
Check the food's temperature with a kitchen thermometer. To get a more accurate sense of how long certain meal components need to cook, measure their internal temperature or cut into them just enough to see inside. For meats, you can also use a pair of tongs to squeeze the top and sides—thicker cuts should be firm to the touch, but not tough. Beef, pork and heartier types of fish should have an internal temperature of at least 145°F (63°C), while chicken needs to be cooked to 165°F (74°C) or higher to ensure that it's safe to eat. Should you discover that the food isn’t completely done once it comes out of the pan, you can pop it in a 400°F (205°C) oven for a few minutes to finish it.
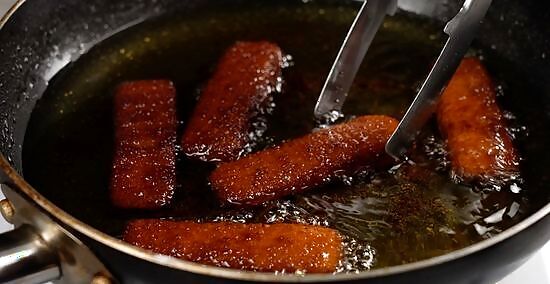
Remove the food from the oil carefully. Pick the item up with your tongs, or lift it from underneath if you’re using a spatula or similar utensil. Let the excess oil drip off into the pan, then transfer it to a layer of folded paper towels to soak up what’s left on the outside. Lifting the pan from the cooktop can minimize pops and splatters, but don't turn off the heat source until you're done cooking. Fried foods are best enjoyed right away while they’re hot and the exterior is still nice and crispy.
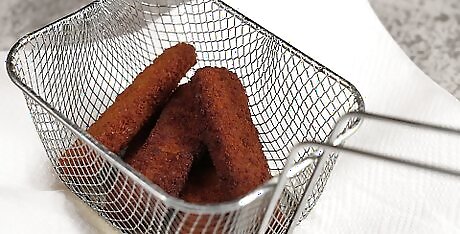
Acquire special frying accessories for future meals. A handheld metal strainer or fry basket can come in handy for safely fishing foods out of hot oil. Similarly, a metal drip rack can be used in place of paper towels for helping remove oil and liquefied fat from freshly fried foods. One of these tools will make your life a lot easier if you're a frequent fryer. Always use metal utensils when doing any kind of frying. Hot oil can easily destroy wood and plastic.


Comments
0 comment