
Making a Stencil
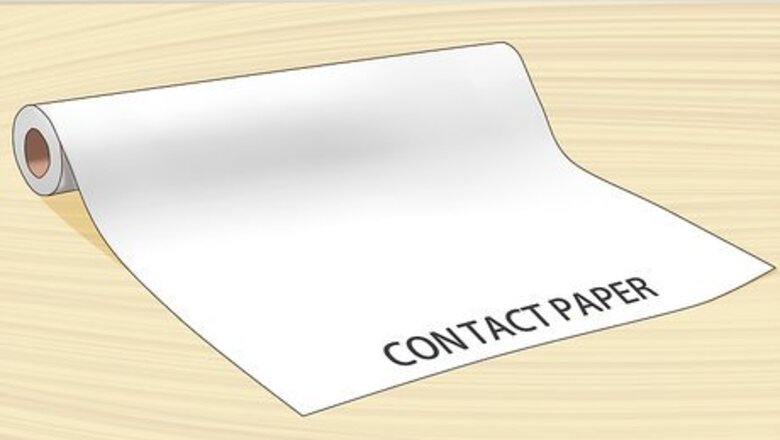
Purchase enough contact paper to cover your stenciling area. You can buy contact paper online here. You may have found a stencil that is already cut out of plastic or vinyl. If so, you can skip the rest of the stenciling directions.
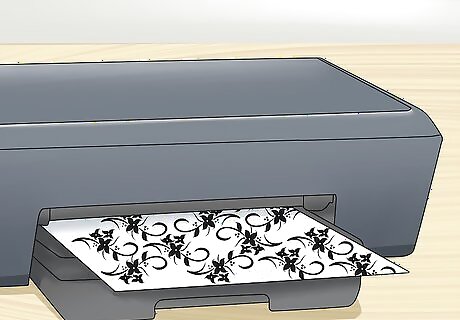
Print your stencil. This will be your template, not the final stencil. You can use regular computer paper, or card stock for durability. There are some nice nature-based stencils on the internet, which you can find using a quick google search. It may take you awhile to find a design you really like. Consider using a crafting site, or visiting Pinterest. Keep in mind that you will be cutting the stencil out of contact paper, so the more complicated your design is, the more complicated the final product will be to cut.
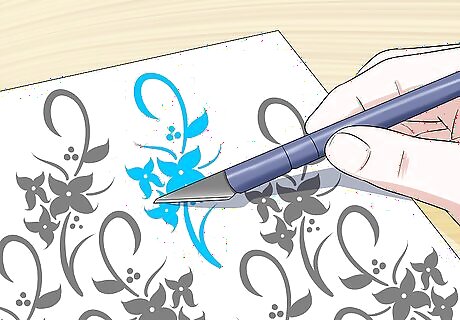
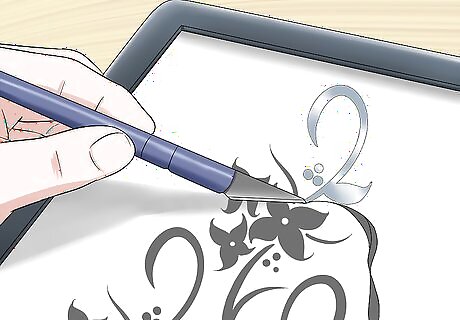
Cut the printed stencil with an Xacto knife. Remember, the part that you will be etching is the part that you are cutting out. Once you etch the glass, the frosted glass will appear lighter-- so make sure you’re cutting out the right part. Most stencils that you find online will take this into account. It is just important to remember in case you want to improvise.
Applying the Stencil
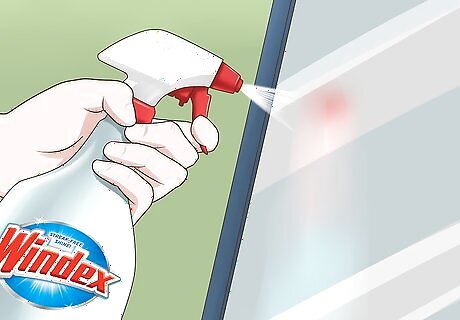
Clean your glass thoroughly with glass cleaner like Windex. Dirt will make it hard to adhere your stencil to the glass, and may interrupt the function of the etching solution. This is also a good time to put your glass in a ventilated area and protect the surface that it will be lying on. Make sure that the glass is dry before continuing to the next step.
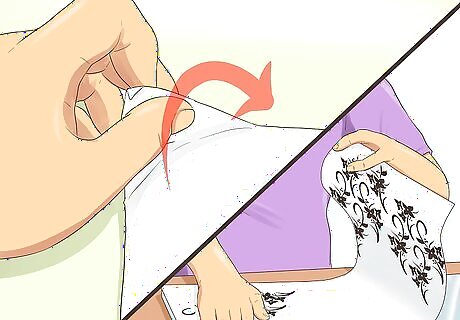
Apply the contact paper to the stenciling area. Do not peel the entire back off the paper and try to apply it all at once. Instead, remove one corner and apply it, smoothing out any air bubbles. Slowly apply it to the rest of the mirror, smoothing out bubbles as you go. If you have a few bubbles, don’t worry. You will be able to fix them once you have cut your stencil.
Trace your printed stencil onto the contact paper. Then cut it out with an Xacto knife. Use this time to smooth out any air bubbles you may have created when applying the contact paper. You can even cut the bubbles and smooth them down. Most people like to apply their design to the border of a glass or mirror, so that you can still use the mirror. If you have a very large mirror, you can use larger designs near the bottom or top and still have use of the mirror. Contact paper will work for any kind of design, from ornate to simple. This is because it creates a good seal between the glass and the etching compound.
Frosting the Glass

Apply an etching solution to the open parts of the stencil. You can use a bristle brush, or a cotton swab in a pinch. Don’t touch the glass with your brush or cotton swab, however-- your brush marks will show up. Instead, use generous amounts of cream, and daub it onto the surface of the glass. You can buy an etching solution online here. Use a designated brush-- etching solutions are made of acid and can damage most brushes.
Rinse the glass. Depending on the kind of etching solution that you use, your wait time may be as little as 45 seconds. Use a wet sponge and a bucket to remove the etching cream. Rinse the glass carefully with the sponge. Etching cream can be very potent, so do not get it on the rest of the mirror, or it might etch where you do not want it to.
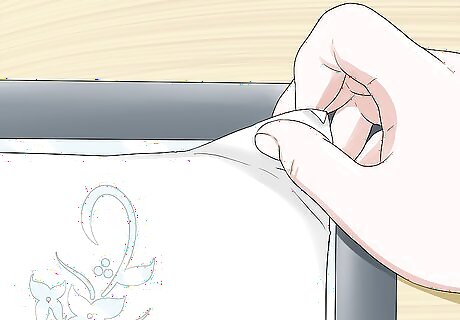
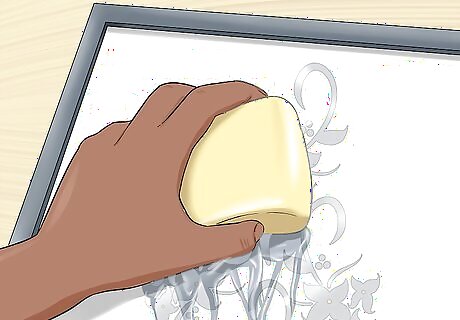
Peel off the contact paper. Make sure all the etching solution is rinsed off, and then peel the contact paper from the mirror. You can rinse off any adhesive or residue. Once your glass is etched, it’s etched forever, and washing it will not harm your design.


Comments
0 comment