views
Measuring and Marking the New Dress Size
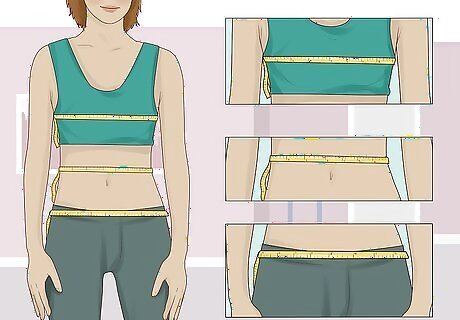
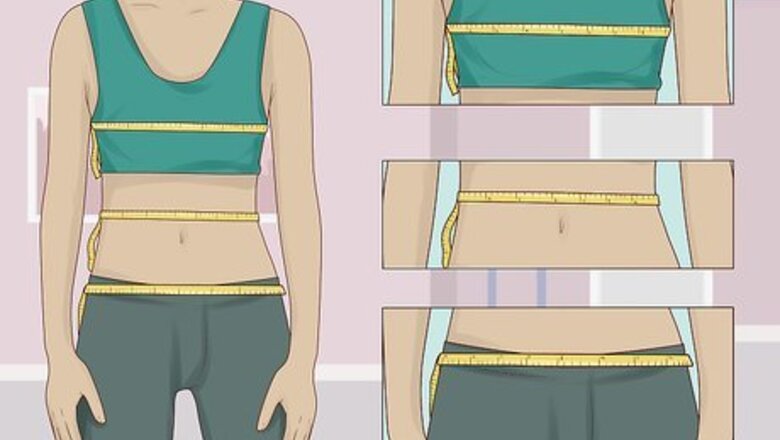
Measure your hips, waist, and bust with a flexible measuring tape. Wear close-fitting clothing or lift up your clothes and wrap a measuring tape around the narrowest part of your waist. Write down that number and then wrap the tape around the widest part of your hips and your bust. Write down these measurements.Variation: If you have another dress that fits you well, you could lay it on top of the larger dress and pin the large dress using the smaller dress as a guide. If it's awkward for you to measure yourself, ask a friend to help you. If you are measuring yourself, it is best to do in front of a full-length mirror. To measure your bust properly, wear a supportive bra but not a push-up or heavily padded bra, because this may not be what you will wear with the dress. If you don't need to take in a loose-fitting bust, you can just measure the hips and waist.
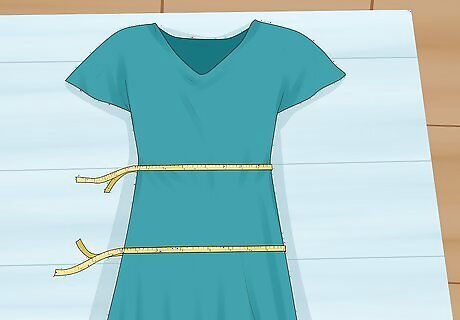
Measure the waist and hips of the dress using a measuring tape. Put the dress on a dress dummy so it fits snugly or lay it flat on a work surface. If it's on the dummy, wrap your measuring tape around the waist and hips like you just did for yourself. Write down the measurements. If the dress is flat on a work surface, pull the measuring tape across the waistline and double that amount to get your measurement. Repeat this for the hipline.
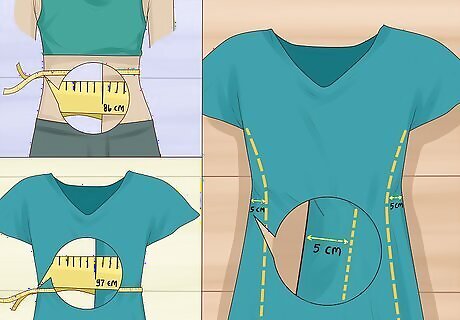
Subtract the difference between your measurements and the dress measurements. You'll need to do this for the waist and hip measurements you took in order to find out how much fabric to take in. For example, if the dress has a 38 in (97 cm) waist and your waist measurement is 34 inches (86 cm), you'll need to take in 4 inches (10 cm) from the waist. Always label your measurements so you don't accidentally switch the hip and waist measurements.
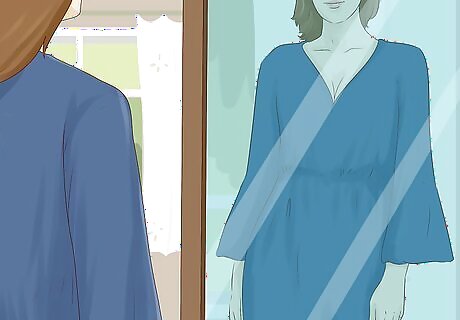
Decide if you'd like to shorten the dress. If you'd like to change the overall look or style of the dress, you could make it shorter. Look at yourself in the mirror and think about where you'd like the dress to fall. Then, use a measuring tape or ruler to measure from your waist down to the part of your leg you want the dress to fall. Transfer that measurement over to the dress on the workspace or dress form. If you'd like to make a floor-length dress into an everyday dress, for instance, you might want it to cut around 20 inches (51 cm) from the bottom so the dress falls around your knees.
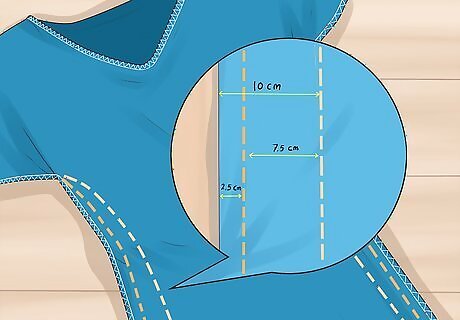
Use tailor's chalk to mark 1/4 of the amount you want to take in from the sides. Turn the dress inside out and lay it flat on a work surface. Extend the measuring tape from the seam at the waistline and use tailor's chalk to make a mark that's 1/4 of the amount to take in. Do this on both sides of the dress and repeat it for the hips. If you're adjusting the hemline, you'll need to fold at least ⁄2 inch (1.3 cm) of the bottom fabric over and pin it. Then, you can straight stitch the bottom hemline leaving a ⁄4 inch (0.64 cm) seam allowance. For example, if you're taking in the waist by 4 inches (10 cm), make a mark that's 1 inch (2.5 cm) from the original seam. Remember to do it on both sides of the waist.
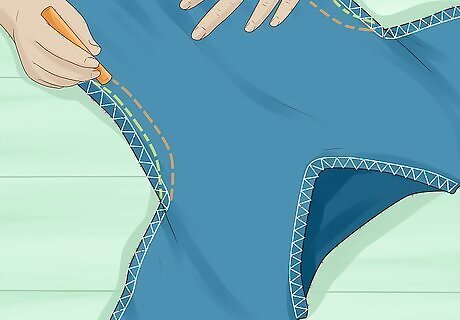
Draw a chalk line between the marks to create a new seam. Take the tailor's chalk and draw a line between the hip and waist marks you made. If you'd like to make a smoother line, lay a curved tailor's ruler on the marks and trace along it. Keep in mind that if you're also taking in the bust, you'll need to draw a line from the bust measurement to the waist measurement as well so the dress hangs properly.Tip: If the new seam you drew doesn't extend completely from the top to the bottom, ensure that it connects to the old seam right at the point where the seam changes. If you want to take in more of the dress for a more snug fit, you could extend your new seam line up to the armpit of the dress. To make the skirt of the dress more form-fitting, you could also extend your new seam line down both sides of the skirt.
Sewing the New Seams
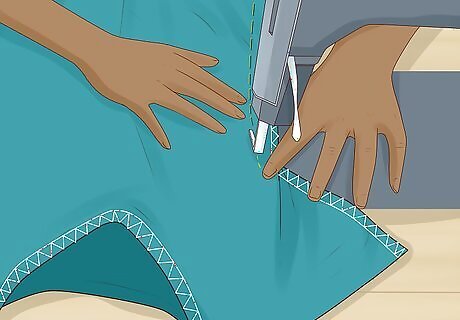
Use a straight stitch to sew the new seams. Take your dress over to your sewing machine and start straight stitching the seam line that you marked. You might start sewing at the waist or near the armpit depending on how fitted you're making the dress. Sew down to the hip mark or the bottom of the skirt. Repeat this for the other side of the dress. Use a thread that matches the color of the existing thread so your new seam doesn't stand out.
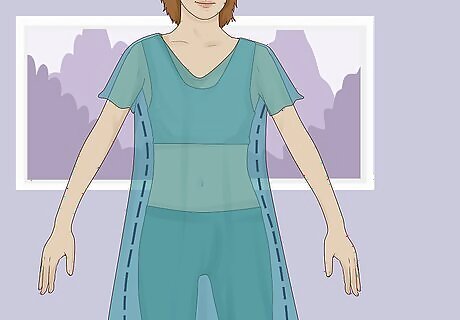
Check the fit of the dress to determine if you need to adjust the seams more. Turn the dress right-side out and try it on. The dress should now fit according to your measurements. If it doesn't, turn it inside out and adjust the seam. You might have to re-measure the dress, remove the seam you just made if it's too tight, or sew a closer seam if the dress is still too loose. You may want to iron the dress so the excess fabric lies flat. You might not notice it as much if it's completely smooth.
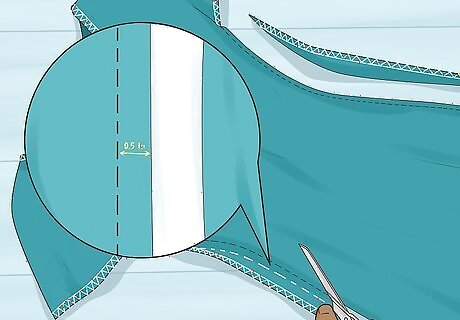
Cut the excess fabric if you don't plan on letting out the dress later. If you don't like the feeling of excess fabric inside the dress or you don't want the ability to let the dress out at a later time, cut the excess fabric. Leave at least ⁄2 inch (1.3 cm) of space between the seam so you don't accidentally cut into it.
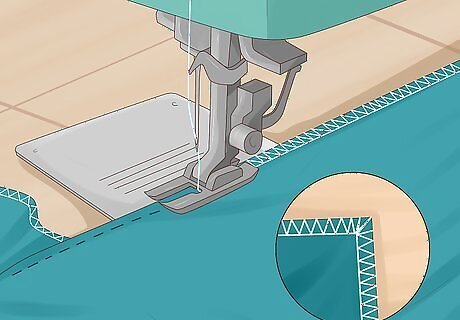
Zigzag stitch the seams if you cut the excess fabric. The edges of the raw seams will unravel over time as you wear and wash the dress repeatedly. To prevent fraying, use your sewing machine to zigzag stitch along each of the new seams. If you have a serger, you could serge the seams instead.


Comments
0 comment