views
X
Research source
Although fractures to the big toe often need a cast or splint to heal properly, dealing with a broken pinky toe often involves a taping technique called "buddy taping," which can be done at home. However, if the broken pinky toe is really crooked, flattened or if a bone has pierced the skin, then emergency medical help is required.
Taping a Broken Toe
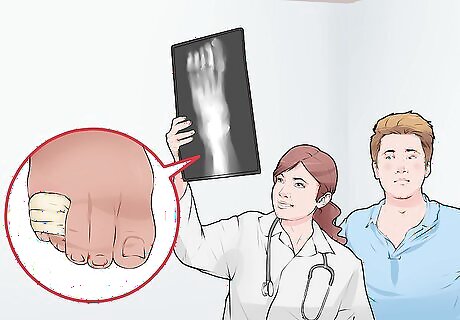
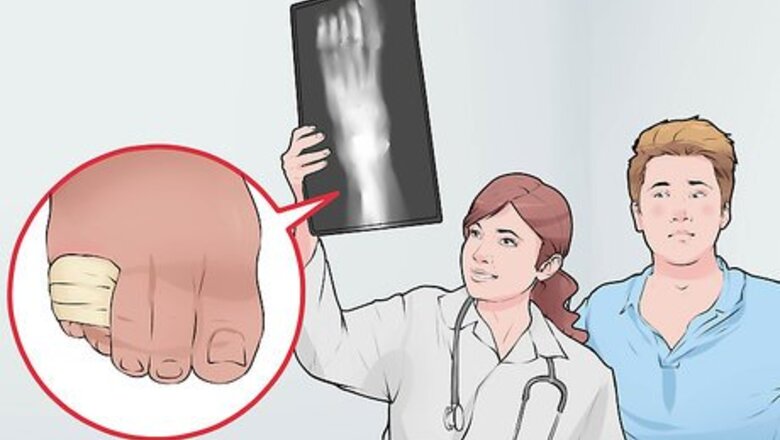
Determine if taping is appropriate. Most fractures of the toes, including the pinky, are stress or hairline fractures, which are tiny cracks in the bone's surface. Stress fractures are often quite painful and involve some swelling and/or bruising in the forefoot area, but they don't cause the bones to look crooked, crushed, mangled or sticking out of the skin. As such, simple stress or hairline fractures are appropriate to tape, although more complicated fractures need different medical procedures, such as surgery, casting or splints. See your doctor for an x-ray of your foot if the pain doesn't get significantly better within a few days. Stress fractures can be difficult to see on x-ray if there's lots of swelling. If there is lots of swelling, your doctor may recommend a bone scan to identify the stress fracture. Stress fractures of the pinky can occur with strenuous exercise (lots of jogging or aerobics, for examples), improper training techniques at the gym, trauma from stubbing the toe or dropping something heavy on it, and severely sprained ankles.
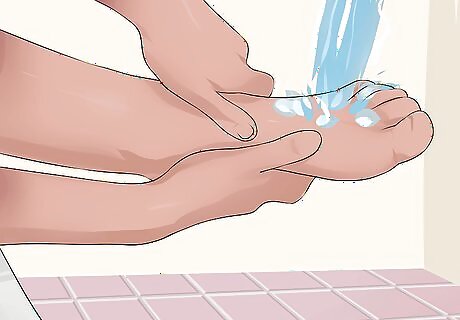
Clean your feet and toes. Any time you're dealing with a body injury by using some sort of supportive tape, it's best to clean the area first. Cleaning the area will remove bacteria and other microorganisms that could potentially cause an infection (such as fungus), as well as any dirt and debris that can prevent the tape from sticking well to your toes. Regular soap and warm water is usually sufficient for cleaning your feet and toes. If you really want to sanitize your toes / feet and remove most of the natural oils, use an alcohol-based sanitizing gel or lotion. Make sure to completely dry your toes and the spaces in between before any using gauze or tape.
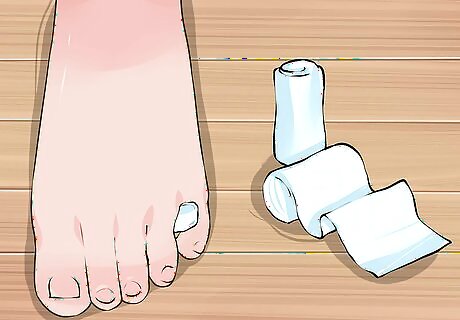
Put some gauze or felt between your toes. Once you've identified that your pinky toe is broken, but not too severely, then the first step of buddy taping is to put some gauze, felt or piece of cotton between your little toe and the toe next to it (called the 4th toe). This will prevent skin irritation and any potential blistering as your 2 lateral toes are taped together. Preventing skin irritation / blistering reduces the risk of developing an infection. Use enough sterile gauze, felt or cotton balls between your 4th and 5th toes so that it doesn't easily fall out before securing it with tape. If your skin is sensitive to medical tape (maybe it gets irritated and itchy from the adhesive), then wrap the gauze completely around your 4th and 5th toes and cover as much of the skin as possible before using tape.
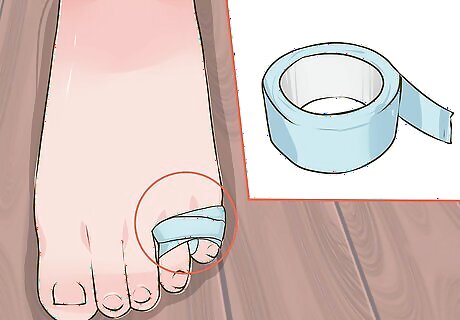
Tape your pinky and 4th toes together. After you've placed some sterile gauze, felt or cotton between your toes, loosely tape the 4th and 5th toes together with some medical or surgical tape made for applying to the body. This is the buddy tape method, as you're essentially using your 4th toe as a splint to support, stabilize and protect your broken pinky toe. Tape from the base of the toes up to about 1/4 inch from the top of the toes. Wrap the tape around twice using 2 separate strips so it doesn't get too tight. Wrapping the tape too tight will cut off circulation and turn the ends of your toes a purplish-blue color. Your toes will also feel numb or tingly if you've wrapped the tape too tight. Reduced circulation to your toes also slows down the healing process, so make sure to buddy tape the toes together firmly, but loose enough that blood flows normally. If you don't have any medical or surgical tape (sold at regular pharmacies), then duct tape, electrician's tape or small (narrow) Velcro straps can work also. Most simple (stress) fractures of the toes take about 4 weeks or so to heal properly, so plan on buddy taping for the majority of that time.
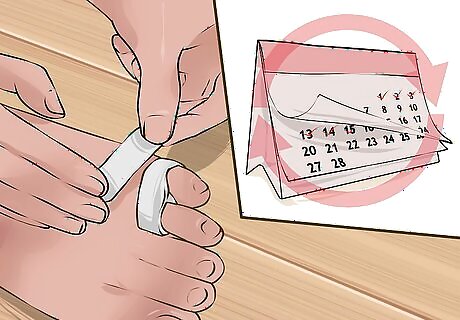
Change the tape and gauze daily. Buddy taping toes together to give support and promote healing is an ongoing process, not just a one-time procedure. If you shower or bathe every day, then you should re-tape your toes on a daily basis because wet gauze or felt is less effective at preventing blisters and the water starts to dissolve the adhesive glue on the tape. As such, remove the old tape and gauze after bathing and use dry gauze or cotton and fresh tape after your feet are clean and dry. If you bathe every other day, then you can wait an additional day to re-tape your toes unless your feet get wet from some other reason, such as getting caught in a rainstorm or flood. Using water resistant medical / surgical tape may reduce the frequent need to re-tape, but any time the gauze / cotton between your toes gets wet (or even damp) you should redo it. Remember not to use too much tape (even if it's loosely applied) because you may not be able to fit your foot into your shoes properly. Too much tape also triggers overheating and sweating.
Using Other Home Care Techniques for Broken Toes
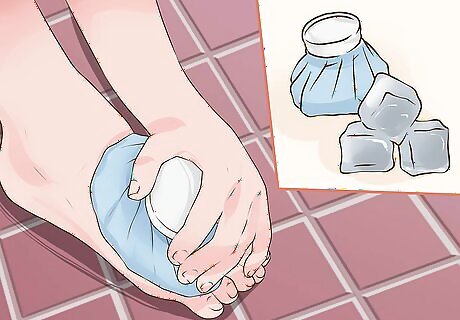
Apply ice or cold therapy. Even before you see a doctor to confirm a stress fracture of your pinky toe, you should apply ice or some form of cold therapy to any musculoskeletal injury in order to reduce inflammation and numb the pain. Use crushed ice wrapped in a thin towel (so it doesn't cause frostbite) or a frozen gel pack on the front part of your foot. Small bags of frozen veggies work well also. Apply the ice or cold therapy for no more than 20 minutes at a time to the lateral (outside) part of your foot. Use the cold therapy 3-5x daily for the first few days post injury. Wrap the ice bag or gel pack around the front of your foot with an elastic bandage for better results because compression helps to reduce swelling too.
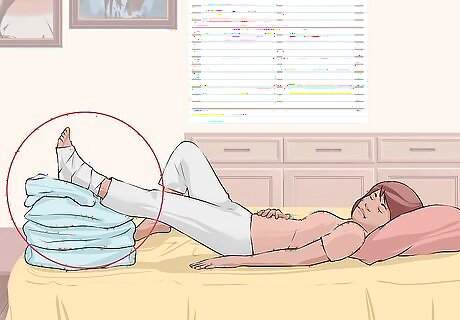
Elevate your foot to reduce inflammation. While you're applying ice to your lateral forefoot in order to combat the swelling, it's also a good idea to keep your foot elevated. Elevating your foot reduces blood flow, which helps to minimize inflammation during injuries. Prop your foot up whenever possible (before, during and after icing) so that it's higher than the level of your heart for best results. If you're on the sofa, use a footstool or a few pillows to keep your leg / foot elevated above your heart. While in bed lying down, use a pillow, folded blanket or foam roller to prop up your foot a few extra inches. Always try to elevate both feet at the same time so you don't create hip, pelvis and/or low back pain or irritation.
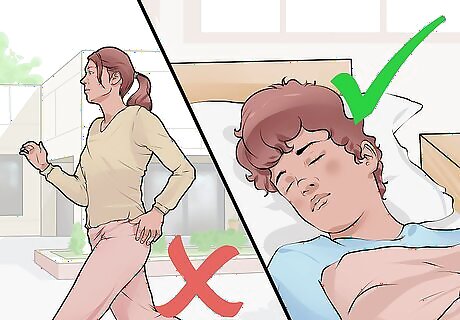
Cut back on walking, running and other exercises. Another important element of home care for a broken toe is some rest and relaxation. In fact, resting by taking the weight off your foot is the primary treatment and recommendation for all stress fractures of the foot. As such, avoid the activity that triggered the injury and all other weight-bearing exercises (walking, hiking, jogging) that put weight on the lateral portion of the foot for 3-4 weeks. Cycling can still be a good option for exercise and maintaining fitness if you're able to position the pedal closer to your heal and away from your toes. Swimming is a non-weight bearing exercise and appropriate for a broken toe once the swelling and pain have subsided. Don't forget to re-tape your toes afterwards.
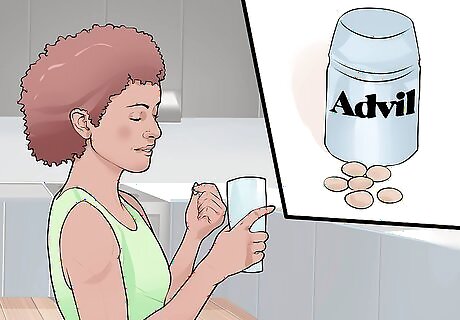
Take over-the-counter medication short term. Breaking a toe, even if it's just a stress or hairline fracture, is painful and managing the pain is an important part of the healing process. As such, in addition to applying cold therapy to dull the pain, consider taking over-the-counter medication such as non-steroidal anti-inflammatories (NSAIDs) or painkillers, such as acetaminophen (Tylenol). To minimize the chances of adverse side effects, such as stomach irritation, take these medications for less than 2 weeks on a daily basis. For most simple fractures, 3-5 days of medication should be sufficient. NSAIDs include ibuprofen (Advil, Motrin), naproxen (Aleve, Naprosyn), and aspirin (Excedrin). NSAIDs are better for bone fractures because they inhibit swelling, whereas painkillers don't. However, NSAIDs such as naproxen may slow bone healing, so they should be used with caution. Aspirin should not be given to children, whereas ibuprofen should not be given to infants — stick with acetaminophen if your child needs pain relief.


Comments
0 comment