
- Mix joint compound with water for your texturizing medium.
- Use a stomp brush for a sunburst texture.
- Use a skip trowel for knockdown texture.
- Create a specific pattern with a patterned roller.
Stomp Brush
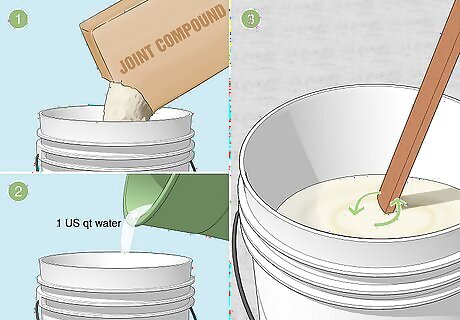
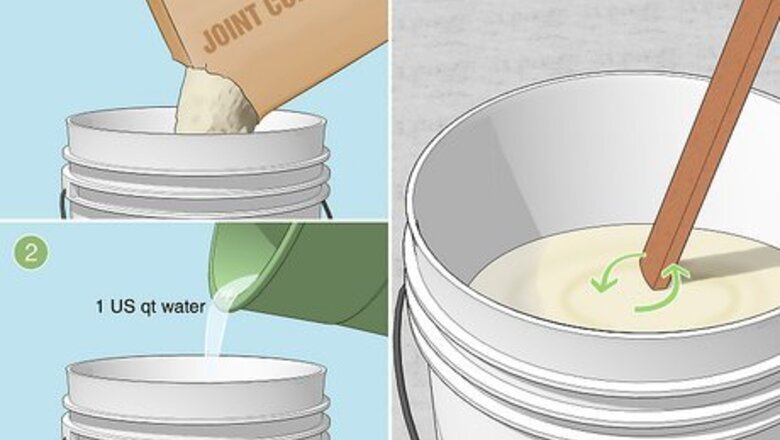
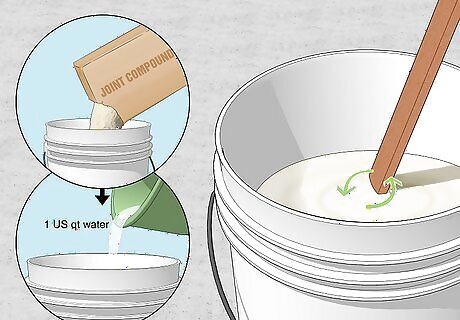
Mix joint compound with water. In a bucket, pour 1 box of joint compound and mix it with about 1 US qt (0.95 L) of water. Stir the mixture until it becomes runny without any lumps. Joint compound, also called drywall mud, is typically used to seal joints between sheets of drywall. However, it’s also the perfect consistency to make a nice texture on your ceiling. Joint compound is the most common product used to texture a ceiling. However, you can also use textured paint for a more subtle finish.

Roll a thin layer of joint compound onto the ceiling with a roller. Grab a normal paint roller and dip it into your bucket of joint compound. Spread the joint compound onto the ceiling, working in roughly a 3 by 3 ft (0.91 by 0.91 m) section. Don’t worry about spreading the joint compound smoothly. Since you’ll be texturing it in just a moment, it doesn’t matter whether or not the compound goes on smoothly.
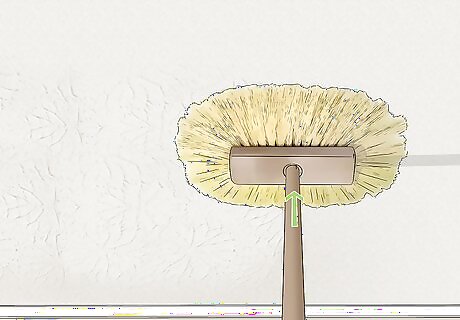
Pat the stomp brush onto the ceiling. Grab your stomp brush and point it up at the ceiling. Gently pat it on top of the joint compound that you just applied, making small texture marks in the wet compound. Go over the entire area multiple times to set the texture in place. If the layer of joint compound on the ceiling isn’t thick enough, dip your stomp brush into the bucket of joint compound to add a little more. Stomp brushes add a subtle, muted texture to the ceiling. It won’t be super noticeable, but it does a great job of covering imperfections.
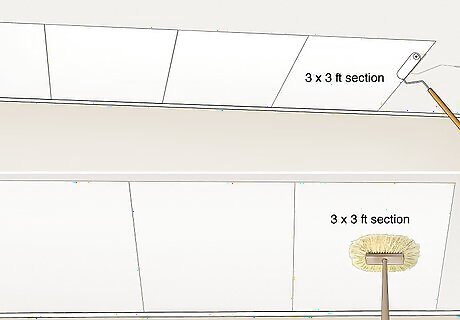
Keep working in 3 by 3 ft (0.91 by 0.91 m) sections to cover the whole ceiling. Work your way through the room, spreading joint compound on with a paint roller and then texturizing it with your stomp brush. When you’re finished, you can go back over any areas that you need to with your stomp brush to remove any flat or untextured spots.
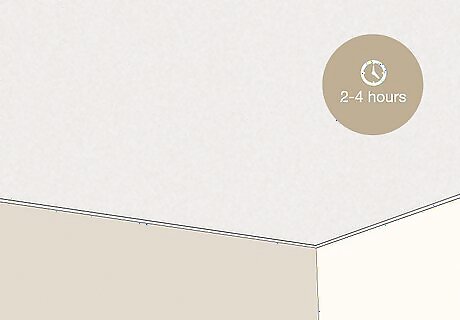
Let the joint compound dry for 2 to 4 hours. Typically, stomp texture takes a couple of hours to dry, but it could be longer if you live in a humid climate. To speed up the drying process, point a fan at the area.
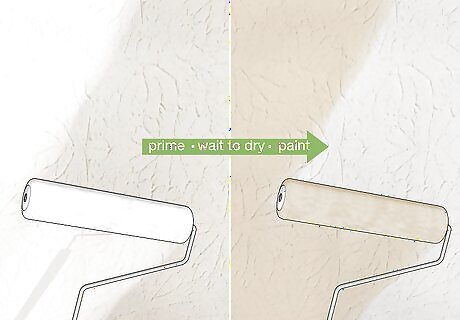
Prime the textured ceiling before painting. Primer will seal the pores of the joint compound and create a smoother surface for paint to go on. Once the textured ceiling is dry, dip a paint roller into latex primer and smooth it over the ceiling. Wait for the primer to dry before painting.
Skip Trowel
Mix joint compound with water. In a large bucket, add 1 box of joint compound (also called drywall mud) and about 1 US qt (0.95 L) of water. Stir the two together with a wooden stir stick to create a runny mixture that isn’t lumpy.
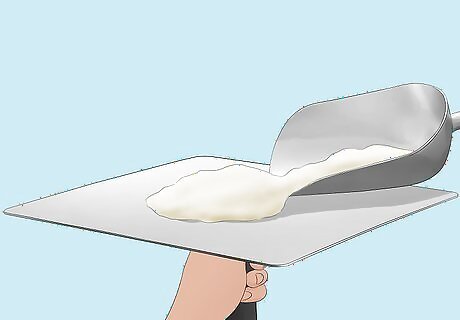
Scoop joint compound onto a hawk. A hawk is a flat, handheld tool that’s used to hold joint compound as you spread it on the ceiling. Scoop up some joint compound and place it on the hawk, being careful to hold the hawk flat so it doesn’t spill. A hawk isn’t totally necessary, but it will save you from lugging a heavy bucket of joint compound up a ladder with you.
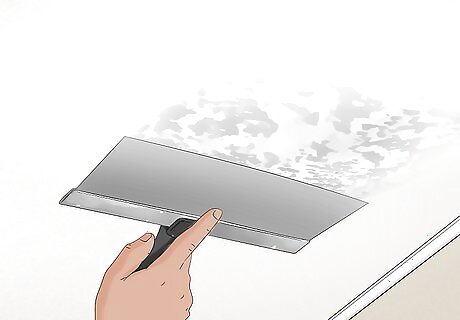
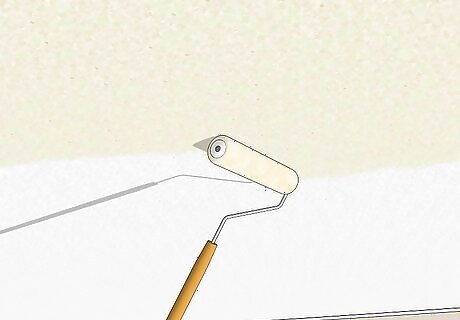
Spread a thin layer of joint compound onto the ceiling with a skip trowel. Stand on a ladder that’s tall enough to reach the ceiling. Grab your skip trowel and pick up a small amount of joint compound, just on the edges of the trowel. Start from one edge of the ceiling and gently brush the compound onto the ceiling. The joint compound won’t spread on smoothly, and that’s okay. The goal here is to create a textured look, so there will be some bare patches within the joint compound. Skip trowels create a more dramatic textured look.
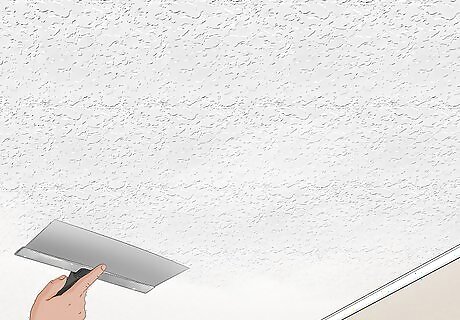
Keep adding joint compound over the entire ceiling. Work your way around the ceiling, scraping small amounts of joint compound on the wall with your skip trowel. Push the trowel onto the ceiling lightly to create texture marks instead of a smooth spread.

Let the joint compound dry, then paint the ceiling. Joint compound typically takes about 2 hours to dry. Wait for the compound to dry completely, then paint your ceiling any color that you’d like.
Textured Roller
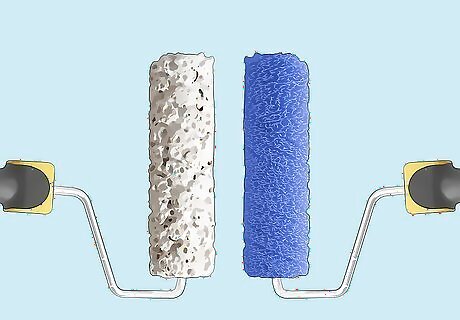
Pick a roller with a pattern that you like. Patterned rollers look like paint rollers, but they have a pattern etched into them instead of being smooth. Look for a pattern that you’d like to have on your ceiling, then attach the patterned roller to a paint roller frame. There are tons of patterned paint rollers to choose from, including stripes, leaves, bear claw, and crow’s feet.
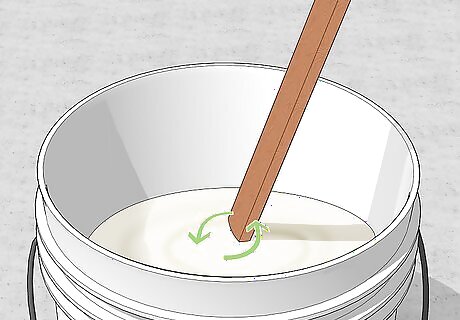
Mix joint compound with water. In a large bucket, add 1 box of joint compound and mix it with 1 US qt (0.95 L) of water. Make sure the mixture is smooth without any lumps.

Spread a ⁄2 in (1.3 cm) thick layer of joint compound on the ceiling. Using a normal paint roller, spread a thick layer of joint compound onto about 1/3 of the ceiling. Don’t worry about making the joint compound smooth—in fact, the more textured it is, the better.

Roll the textured roller over the ceiling in a straight line. Grab your textured roller and start at one edge of the ceiling. Press the roller onto the joint compound and roll it in a straight line. You’ll notice that the roller leaves a patterned imprint in the joint compound. Pressing too hard will smear the pattern, but pressing too lightly won’t make an impression at all. Take some time to experiment with your patterned roller to make sure it looks perfect.
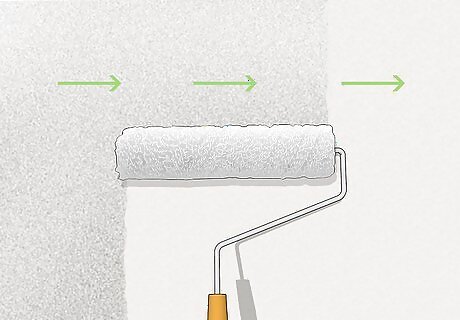
Work your way from left to right. Keep using the patterned roller in straight lines all along the ceiling. When you’re finished with the first area, use your plain paint roller to smooth more joint compound onto the next section. Keep going until you’ve covered the entire ceiling.
Paint the ceiling once the joint compound is dry. Wait for about 2 hours to let your patterned ceiling dry, then pick out any paint color you’d like. Roll the paint over the ceiling to cover the texture and make your ceiling look brand new.


Comments
0 comment