views
- Only use water to thin latex paint since it’s water-based. Adding chemical paint thinner or other solvents will ruin latex paint.
- Gradually stir in about ½ cup (118 mL) of water per gallon (3.8 L) of paint until the paint is the desired thickness (don’t dump in large amounts of water at once).
- Test your paint’s thickness with a viscosity cup or funnel. If the paint flows freely through the funnel, it’s likely thin enough for sprayers, brushes, and rollers.
Thinning Latex Paint with Water
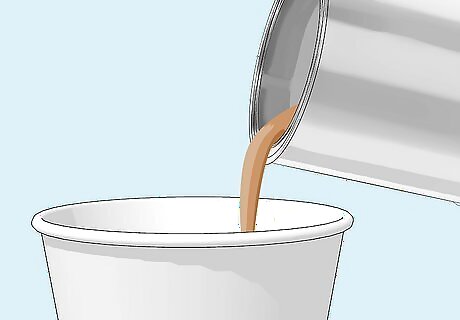
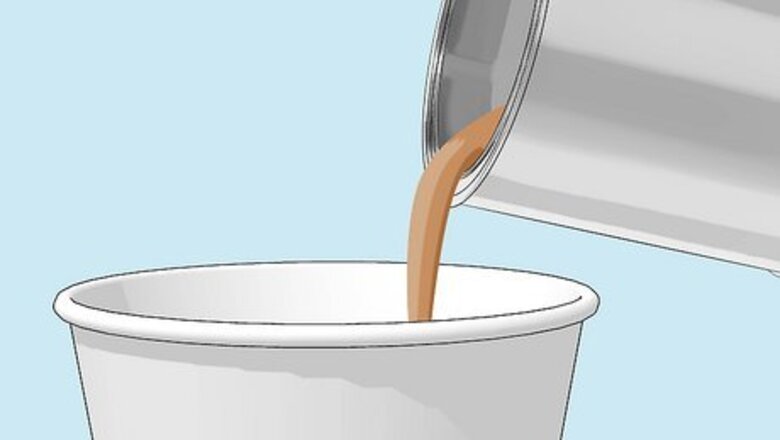
Pour your paint into a large bucket. If you have a large paint job planned or if you need to combine multiple cans of paint, use at least a 5-gallon (19 L) bucket for this project. Thinning a large patch of latex paint all at once will ensure consistent results. For paint quantities under 1 gallon (3.8 L), use a smaller bucket.
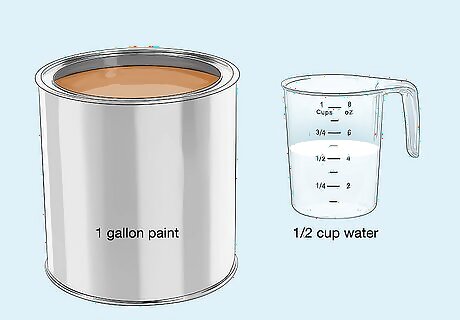
Measure out ½ cup (118 mL) of water per gallon (3.8 L) of paint to start. Use a liquid measuring cup for accuracy, and make sure the water is room temperature (cold water could temporarily thicken the paint). Only use water since latex paint is water-based. Adding chemical paint thinners or other solvents can cause the paint to separate or just plain ruin it. The exact amount of water you need varies from brand to brand. High-quality latex paint is thicker and may need more water than thinner, low-quality paint. Never add more than 4 cups (0.9 L) of water per 1 gallon (3.8 L) of latex paint. If you’re measuring your paint in pints, add 2 tablespoons (30 mL) of water per 1 pint (0.47 L) of latex paint.
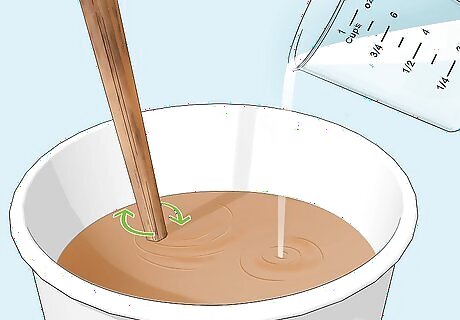
Add the water to the paint gradually while stirring. Use a paint stir stick to mix the paint thoroughly with the water, moving the stick in upward and downward spirals. Pour in the water gradually—dumping it all in at once can ruin the paint, and you might accidentally thin it out too much. Periodically pull the paint stick out and observe how the paint runs off of it. If the paint is still clumpy or clinging to the stick after adding all your pre-measured water, add more in small increments. Repeat until the paint is a smooth, rich, creamy texture. If you don’t have a stirrer, repeatedly pour the paint and water from one 5-gallon bucket to another 5-gallon bucket until it’s evenly mixed.
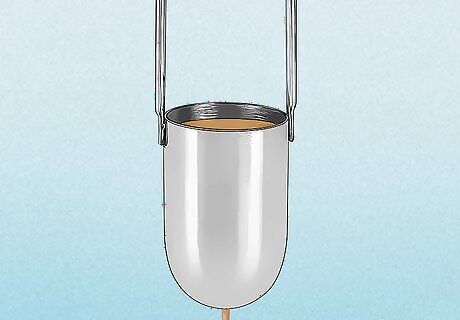
Pour the paint through a funnel or viscosity cup to check its thickness. Use a viscosity cup for the most accuracy—measure how long it takes for the paint stream to break as it pours out of the cup’s hole and compare the result to your sprayer’s specifications. Alternatively, pour some paint through a regular funnel—if it flows freely, then it will also flow through your sprayer nozzle. The paint is ready to spray, roll, or brush on as soon as it reaches the desired thickness. For most sprayers, this is about 100 cps (or about 34 seconds through a Ford No. 4 viscosity cup). If the paint still isn’t flowing freely, slowly add more water until it achieves the correct consistency.
Checking If the Paint Needs Thinning
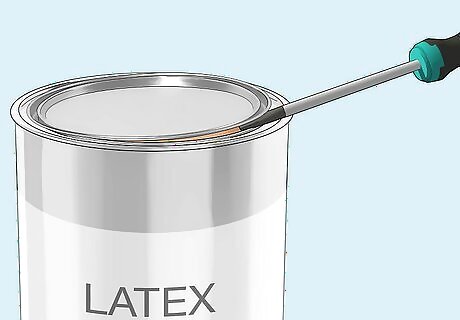
Open your can of paint with a 3-in-1 paint tool or flathead screwdriver. Wedge the flat, square end of the 3-in-1 tool or the flat tip of the screwdriver under the metal lid. Push down gently on the handle of the tool or screwdriver to loosen the airtight seal. Hold the handle of the tool in place with one hand, then use your other to slowly rotate the paint can. When the lid is unsealed, remove it from the paint can and place it in a plastic bag to keep from making a mess. Let the paint sit with the lid open for a few hours to acclimate to room temperature (cold paint will seem thicker than it really is). The rotation technique opens the lid evenly without damaging it, meaning you’ll still have an airtight seal when you put it back on.
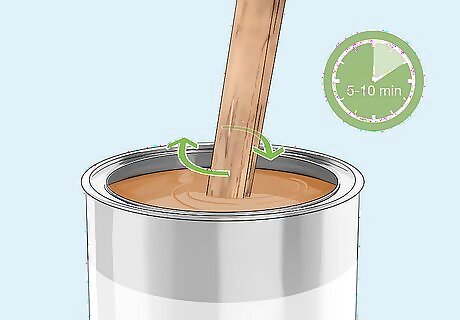
Stir the paint with a paint stick for 5-10 minutes to mix any settled bits. Place your paint can over newspaper (or pour it into a 5-gallon bucket on top of newspaper) and lower your stick into the can. Drag it along the edges and bottom of the can to loosen any settled paint, then stir in an upward and downward spiral motion for 5 to 10 minutes. Alternatively, use an electric drill and a paint mixer drill attachment to blend the paint more quickly. If you have no stirrer or drill, pour the paint back and forth between 2 cans or buckets until it’s mixed evenly. If you’re buying brand new paint at the store, request that an employee uses the special paint shaker machine to thoroughly mix your paint before you leave. Stirring the paint before you test it lets you see if it really needs thickening. It combines the heavy molecules that settled on the bottom with the lighter molecules on the top.
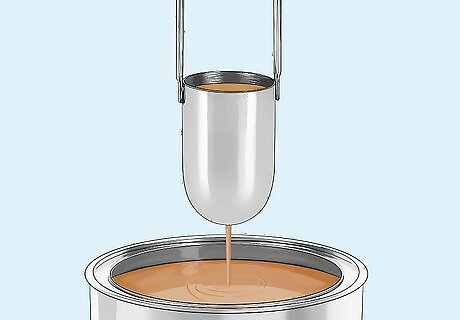
Assess the paint’s thickness with a viscosity cup or kitchen funnel. Choose a Ford No. 4 viscosity cup for the most accurate testing, especially if you’re loading the paint into a sprayer. Dip the cup into the paint (holding it by the long handle), then lift it straight up so the paint drains out the hole in the bottom. Use a stopwatch to time how long it takes for the stream of paint to break (not how long it takes to completely empty the cup). Compare your measurement to the specifications recommended for your paint sprayer to determine the viscosity (most sprayers come with a cup and instructions). If the paint is too viscous (thick), you will have to thin it. Alternatively, pour the paint through a normal kitchen funnel. If it flows freely through the funnel, it’s likely thin enough. If it globs up or can’t flow, it’s too thick. Or, observe the paint coming off the paint stick. If it looks like smooth, thick cream and drips off in under 5 seconds, it’s thin enough to use.
Testing & Using the Paint
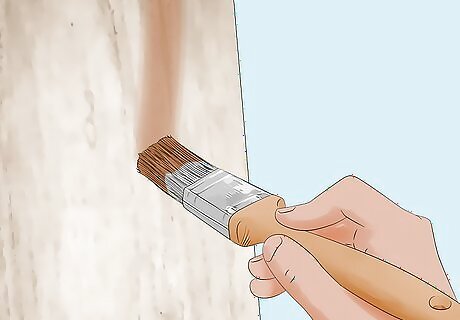
Check how your paint sticks to a piece of cardboard or scrap wood. Apply the thinned paint with a paint sprayer, brush, or roller (choose whichever you’ll use for your project). Let it dry, then add a second coat. Then, observe the results—paint that’s too thin will drip, while paint that’s too thick will look coarse or rough (almost like an orange peel). Paint that’s just right will dry smooth. If you’re using a sprayer, pour the paint through a strainer and into the reservoir (this removes any debris that could clog the nozzle). Cap off the reservoir, then place the nozzle 8 in (20 cm) away from your surface and spray. The paint should flow smoothly. If you’re using a brush or roller, spread the paint smoothly and evenly over your test surface.
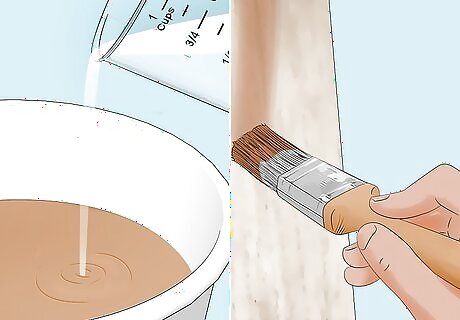
Add and mix in more water gradually, if needed. If the latex paint is still too thick, measure out an additional ½ cup (118 mL) of water per gallon (3.8 L) of paint. Incorporate the room temperature water in increments while mixing until you achieve the desired consistency. Repeat the funnel or viscosity cup test to measure the paint’s viscosity. Test your paint again. Once it’s thin enough, you’re ready to begin your project!
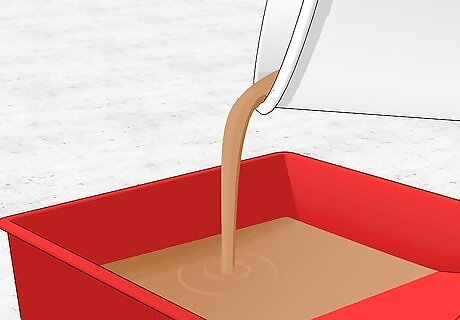
Load your sprayer or fill a paint tray to start your project. If you’re using a sprayer, pour the paint into the reservoir through a strainer—high volume low pressure (HVLP) sprayers are ready to use as soon as the reservoir is full and closed To use airless sprayers, you’ll need to pump and prime it first (check the sprayer’s instructions for specifics). Use smooth, consistent strokes and keep the nozzle about 8 in (20 cm) from the surface. If you’re using a roller or brush, pour the paint into a paint tray. Apply the thinned latex paint smoothly and evenly. Thinned latex paint will probably need multiple coats for full coverage, and the drying time will increase due to the higher water content. Depending on how much water needed to be added, the color may also appear lighter.
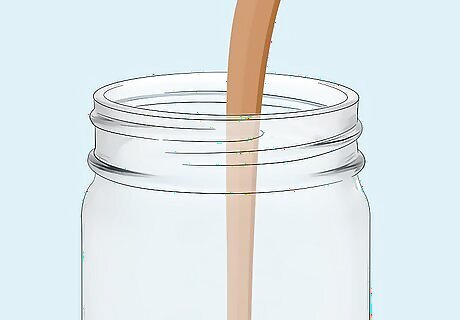
Store your paint in an airtight container at room temperature. Dab a drop of paint on the side of the can so you can easily identify it once the lid is back on, or label the can with a permanent marker. Gently hammer the metal lid back into place or, if it was bent during removal, pour the paint into lidded glass jars or mason jars. Store the paint at room temperature to lengthen its shelf life (no sheds or garages that can get very hot or cold). If you’re using glass jars, keep them out of direct sunlight and consider covering them with a thick cloth or tarp. An airtight seal keeps water from evaporating out of your paint, which will help it stay thin in storage rather than thickening up.


Comments
0 comment