
Adding the Card
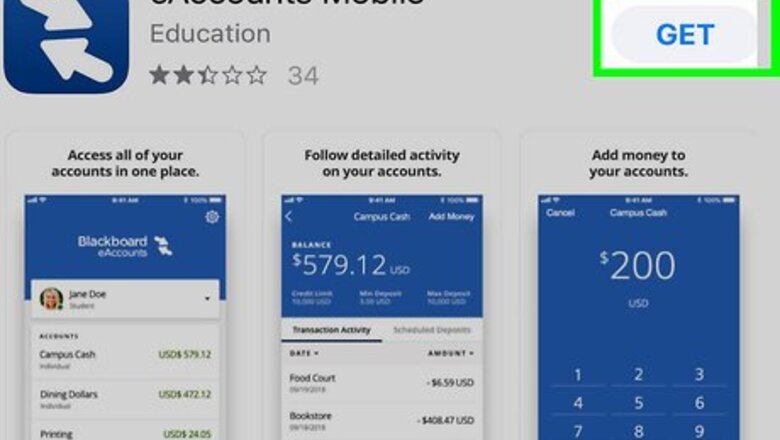
Install the eAccounts app from the App Store iPhone App Store Icon. As long as your school is a part of the eAccounts app (by Blackboard), you can easily add your student ID card to your Apple Wallet. Once the app is installed, move to the next step. You’ll need an iPhone 6/SE or later to use this method.
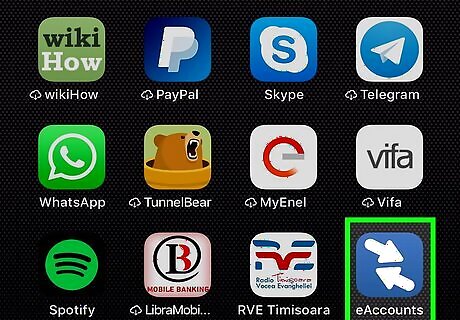
Open eAccounts on your iPhone. It’s the blue icon with two white arrows inside. You’ll usually find it on one of your home screens.
Sign in to your student account. Use the school ID number and password you use to access your account online.
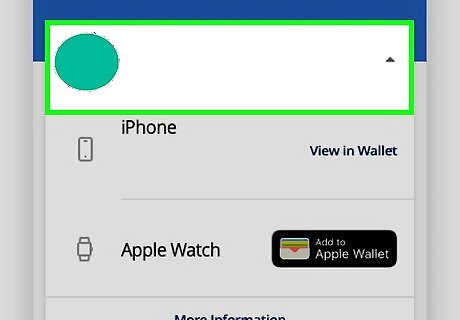
Tap the profile icon. It’s at the top-left corner of the screen.
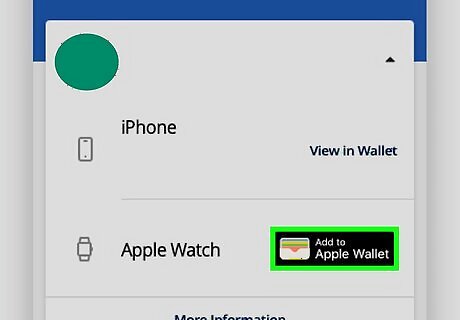
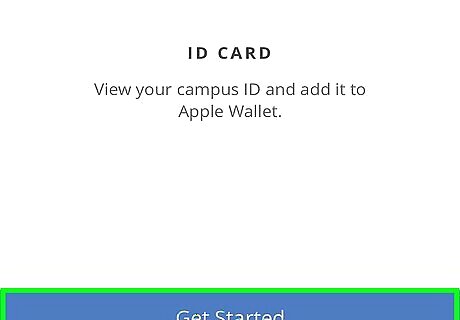
Tap Add to Apple Wallet. If you don’t see this option and you’re trying to add your ID to a new (or second) phone, tap the ″i″ in a circle, then select Add or Remove Campus ID from Wallet.
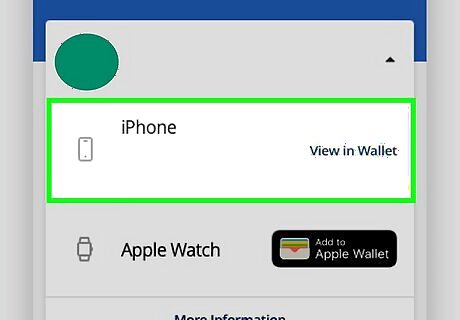
Select your iPhone. Your student ID is now added to your Apple Wallet.
Using the Card

Unlock your iPhone’s screen (iPhone SE, 6, and 6 Plus only). Use your PIN, fingerprint, or other security measure to access your iPhone’s home screen. If you’re using an iPhone 7 or later, your ID was added with Express Mode turned on. This means you don’t have to authenticate. Just continue to the next step with the screen still locked.

Hold your iPhone a few centimeters away from the card reader. You can do this when paying for a purchase, accessing a locked area, or for any other purpose for which you’d need to scan your card.
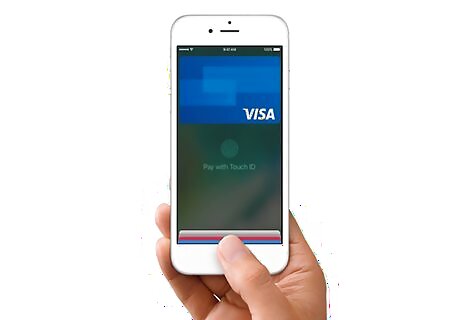
Wait for the vibration. After a few seconds, your phone will vibrate to indicate that the card has been read. If you’re making a purchase, the cost will be deducted from your student account.


Comments
0 comment