
- Templates make it easy to create vibrant presentations no matter your skill level.
- When adding photos, you can adjust their sizes by clicking and dragging in or out from their corners.
- You can add animated transitions between slides or to individual elements like bullet points and blocks of text.
Creating a New PowerPoint
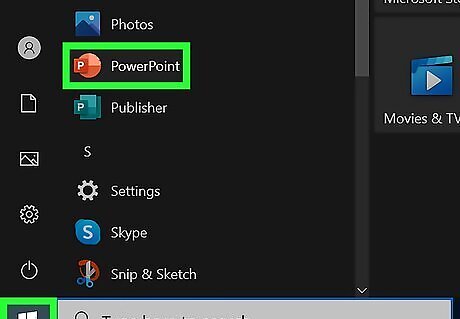
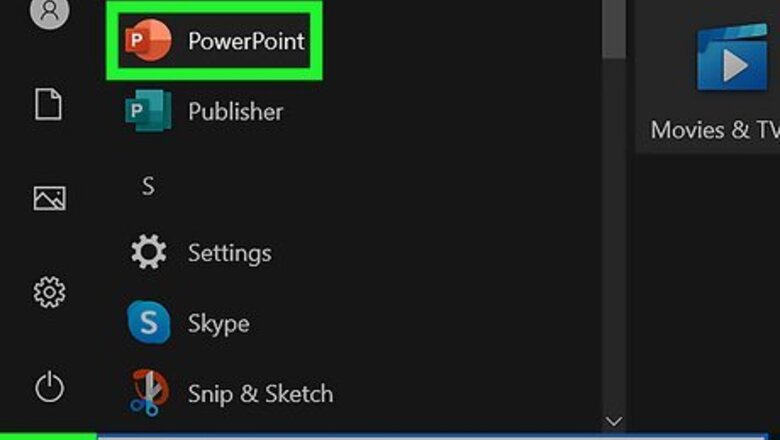
Open PowerPoint. Click or double-click the PowerPoint app icon, which resembles an orange box with a white "P" on it. This will open the PowerPoint templates page. If you don't have a Microsoft Office 365 subscription, you can use the website instead of the desktop app. Go to https://powerpoint.office.com/ to use the website version. You can also use the mobile app to make presentations, though it's easier to do this on a computer, which has a larger screen, a mouse, and a keyboard.
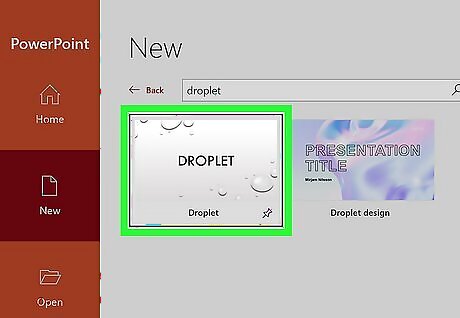
Select a template. Click the template that you want to use. Its window will open. If you don't want to use a template, just click the Blank option in the upper-left side of the page and skip to the next part.
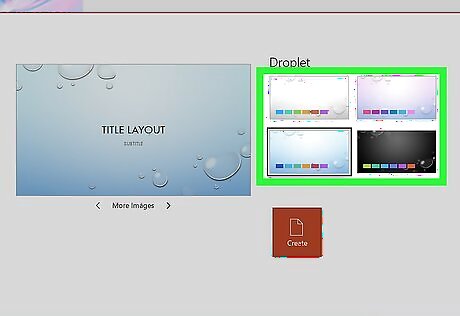
Select a theme if possible. Many templates have different color schemes or themes indicated by colored boxes in the lower-right side of the window; clicking one of these boxes will change the color scheme and/or theme for your template. Skip this step if your selected template has no themes available.
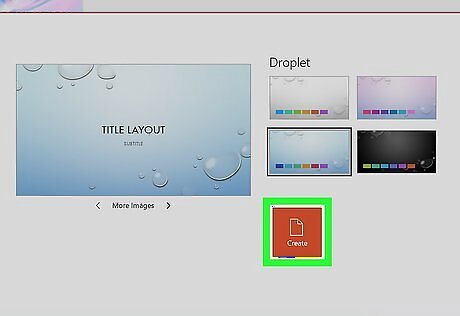
Click Create. It's in the bottom-right corner of the window. Doing so selects your template and creates your PowerPoint presentation.
Creating the Title Slide
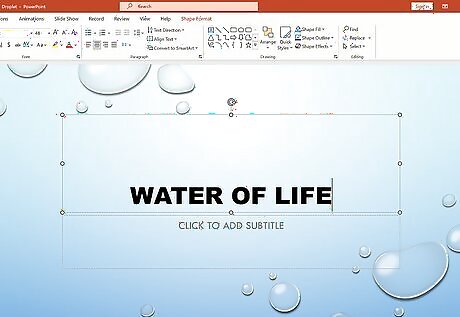
Understand how your title slide should appear. Contrary to the rest of your PowerPoint presentation, your title slide should be completely devoid of content other than the title and subtitle. This is considered a professional must when creating a PowerPoint. If you're creating a PowerPoint presentation for which an elaborate title slide has been requested, ignore this step.

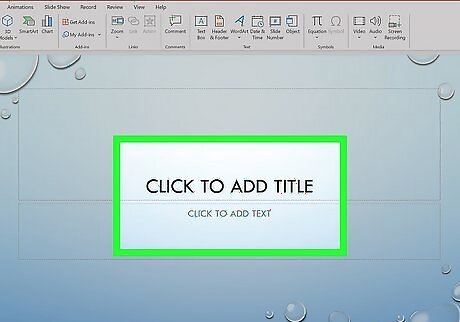
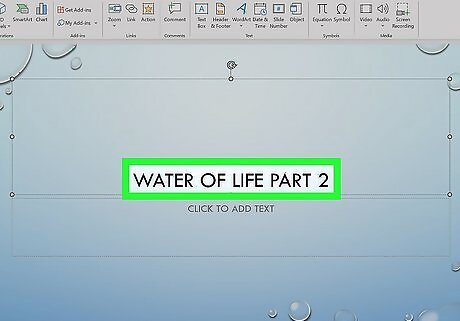
Add a title. Click the large text box in the middle of the first slide, then type in your title. You can change the font and size of text used from the Home tab that's in the orange ribbon at the top of the window.
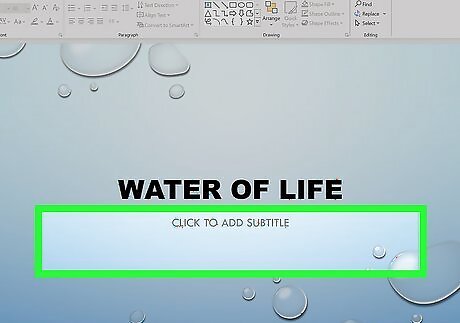
Add the subtitle. Click the smaller text box below the title box, then type in the subtitle you want to use. You can also just leave this box blank if you like.
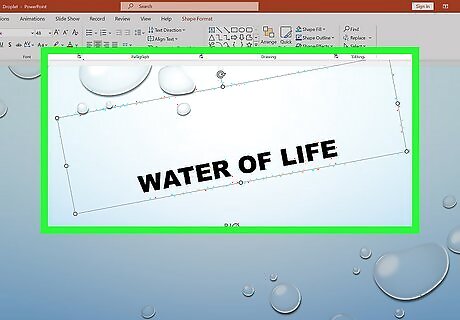
Rearrange the title text boxes. Place your mouse cursor over one of the edges of a title box, then click and drag the box around the slide to reposition it. You can also click and drag in or out one of a text box's corners to shrink or enlarge the text box.
Adding a New Slide
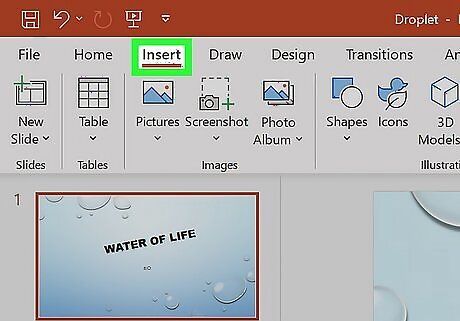
Click the Insert tab. It's at the top of the PowerPoint window. A new toolbar will open near the top of the window. On a Mac, you'll click the Home tab instead.
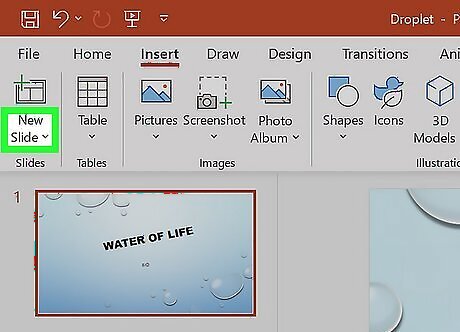
Click New Slide ▼. It's on the far-left side of the toolbar. Doing so prompts a drop-down menu to appear. On a Mac, click the Android 7 Dropdown drop-down arrow to the right of the New Slide icon in the toolbar. Clicking the white slide-shaped box above this option will result in a new text slide being inserted.
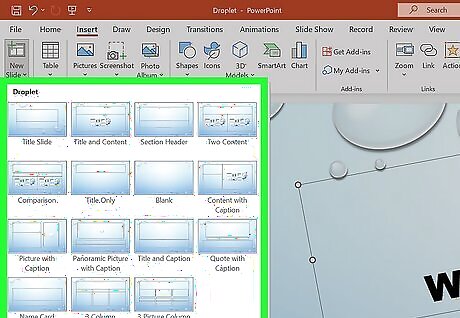
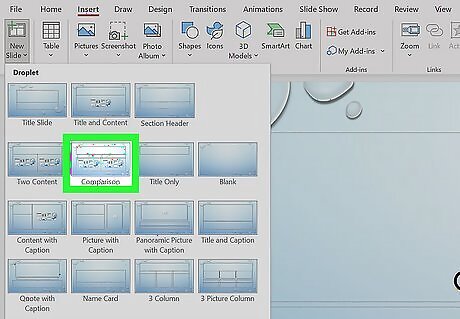
Select a type of slide. In the drop-down menu, click one of the following to add it to your presentation: Title Slide Title and Content Section Header Two Content Comparison Title Only Blank Content with Caption Picture with Caption
Add any other slides that you think you'll need. You can certainly add slides as you go, but adding a few slides up-front will give you an idea of the layout of the presentation as you progress through it.
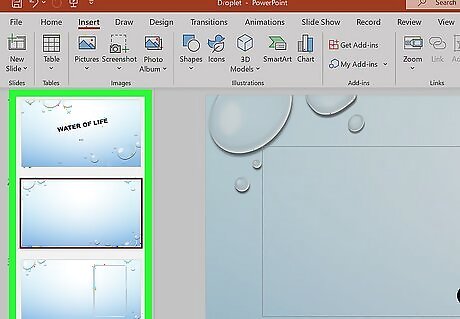
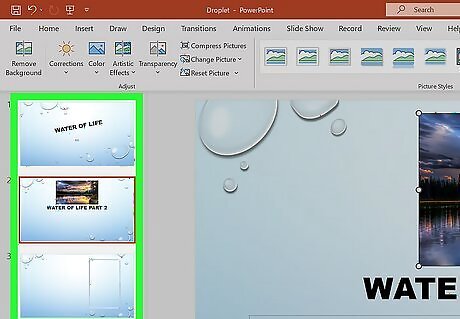
Reposition your slides as needed. Once you have more than one slide in your PowerPoint presentation, you can move the slides around by clicking and dragging a slide's preview box up or down on the left-hand column of the PowerPoint window. Naturally, the title slide should be the first slide in your presentation, meaning that it should be the top slide in the left-hand column.
Adding Content to Slides
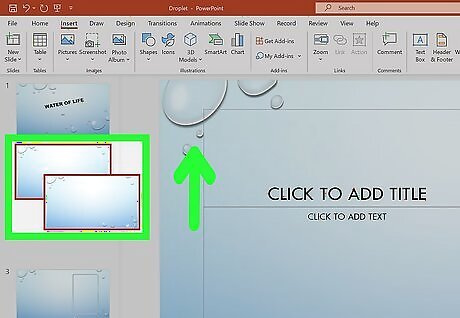
Select a slide. In the left-hand column of slide previews, click the slide that you want to edit. This will open the slide in the main presentation window.
Look for a text box. If you selected a slide that has a text box, you can add text to the slide. Skip this step and the next two steps if your selected slide uses a template that doesn't have text boxes in it.
Add text to the slide. Click the text box, then type as needed. Text boxes in PowerPoint will automatically format the bulk of your text for you (e.g., adding bullet points) based on the context of the content itself. You can add notes that the Presentation will not include (but you'll still be able to see them on your screen) by clicking Notes at the bottom of the slide.

Format the slide's text. If necessary, select the text that you want to change, then click the Home tab and review your text formatting options in the "Font" section of the toolbar. You can change the font of the selected text by clicking the current font's name and then clicking your preferred font. If you want to change the size of the text, click the numbered drop-down box and then click a larger or smaller number based on whether you want to enlarge or shrink the text. You can also change the color, bolding, italicization, underlining, and so on from here.
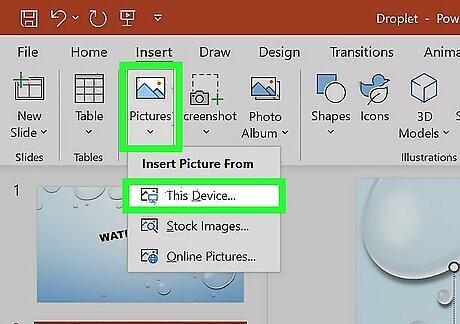
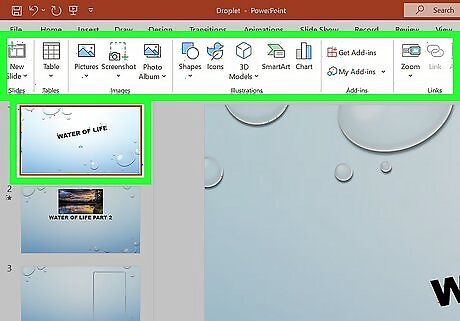
Add photos to the slide. If you want to add a photo to your slide, click the Insert tab, then click Pictures in the toolbar and select a picture.
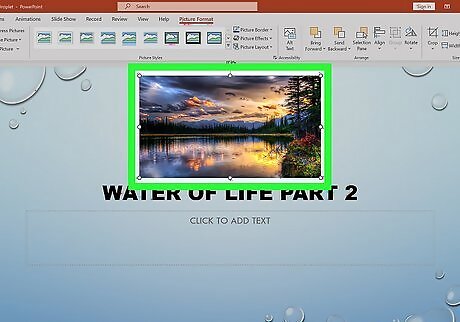
Rearrange the slide's content. Just like your title slide, you can move items around the slide by clicking and dragging them. Photos in particular can be enlarged or shrunk by clicking and dragging out or in one of their corners.
Repeat this for each slide in your presentation. Once you've created each of your presentation's slides, you can proceed to the next part. Remember to keep slides uncluttered and relatively free of distractions. It's best to keep the amount of text per slide to around 33 words or less.
Adding Transitions
Select a slide. In the left-hand column of the PowerPoint window, click the slide to which you want to apply a transition.
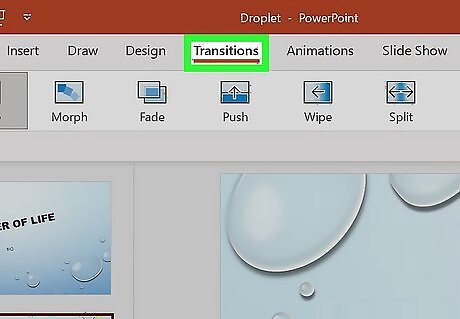
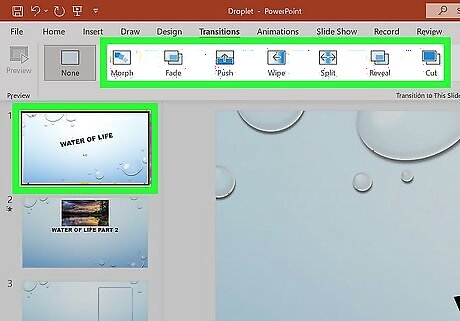
Click the Transitions tab. It's at the top of the PowerPoint window. This will open the Transitions toolbar near the top of the window.
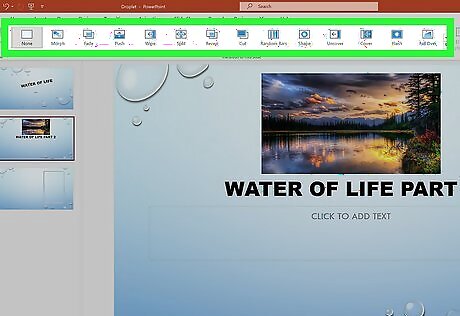
Review the available transitions. Transitions make your slide pop up in an exciting, eye-drawing manner during your actual presentation; you can see the list of available transitions at the top of the window.
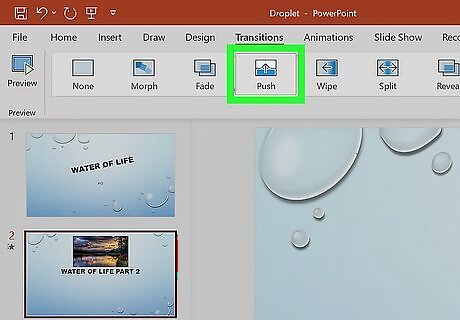
Preview a transition. Click a transition at the top of the window to watch it run on your slide.
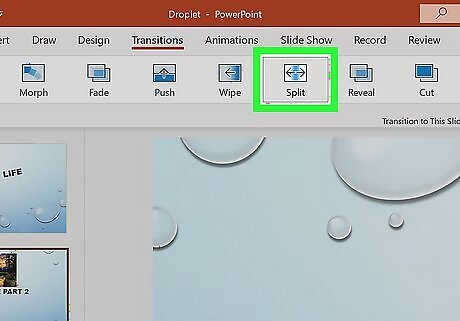
Select a transition to use. Once you decide on a transition, click it to ensure that it is selected. The current slide will use the selected transition.
Add a transition to slide content. You can apply transitions to specific pieces of slide content (e.g., a photo or a bullet point) by selecting the content, clicking the Animations tab at the top of the window, and selecting the transition that you want to use there. Slide content will animate in the order in which you assign transitions. For example, if you animate a photo on the slide and then animate the title, the photo will appear before the title. Make your slideshow progress automatically by setting the speed of every transition to align with your speech as well as setting each slide to Advance.
Testing and Saving Your Presentation

Review your PowerPoint. Once you've finished adding the bulk of your PowerPoint presentation's content, skim through it slide-by-slide to ensure that you haven't left anything out.
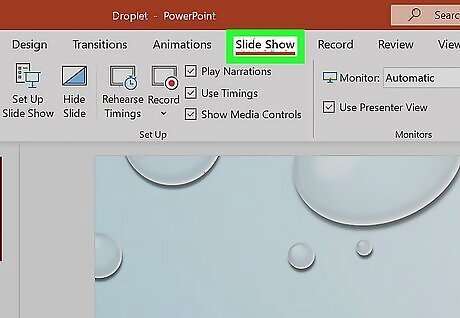
Click the Slide Show tab. This tab is at the top of the window. Doing so opens the Slide Show toolbar.
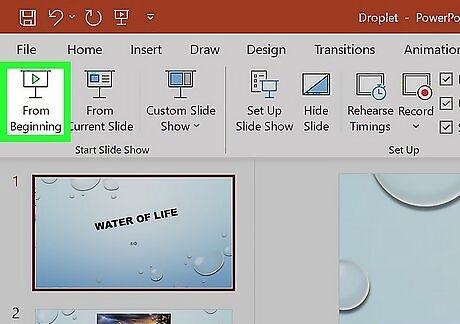
Click From Beginning. It's in the far-left corner of the toolbar. Your PowerPoint presentation will open in slide show view.
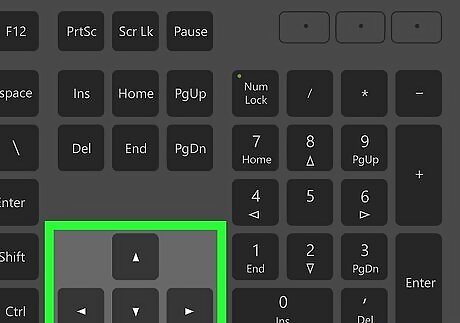
Page through the slide show. You can use the left and right arrow keys to move back and forward through the presentation. If you need to exit the presentation, press Esc.
Make any necessary changes before proceeding. When you're done scrolling through the presentation, add any details that you forgot, delete any content that you want to remove, and so on.
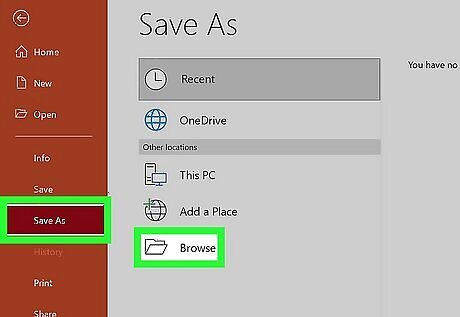
Save your PowerPoint. This will save your presentation as a file which can be opened on any Windows or Mac computer that has PowerPoint installed: Windows - Click File, click Save, double-click This PC, select a save location, enter a name for your presentation, and click Save. Mac - Click File, click Save As..., enter the presentation's name in the "Save As" field, select a save location by clicking the "Where" box and clicking a folder, and click Save.


Comments
0 comment