views
- Make a cleaning solution by mixing baking soda with water or hydrogen peroxide. Scrub the paste into the grout with a stiff-bristled toothbrush until the stains lift up.
- Apply a paste made from Borax and lemon oil to mildew stains and let it sit for 15–20 minutes before brushing it off.
- Scrub oxygen bleach or commercial grout cleaner onto the stains. Resort to chlorine bleach if you still see discoloration on your grout.
Natural Solutions
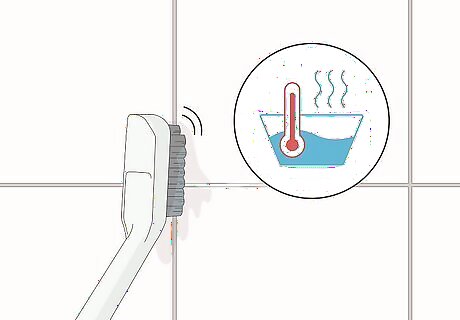
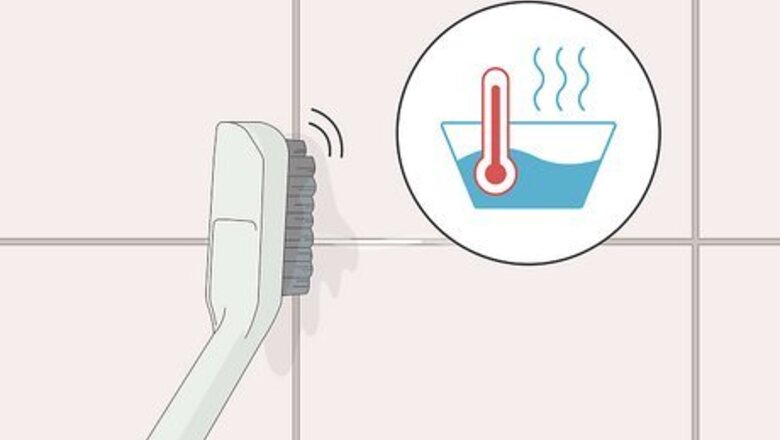
Scrub the tile with a stiff-bristled brush and warm water. Wet the bristles of a scrub brush or a dedicated grout brush with warm water. Gently scrub the grout between your bathroom tiles and apply light pressure to get rid of any stains or discoloration on the surface. An old toothbrush works great if you don’t have a cleaning brush at home.
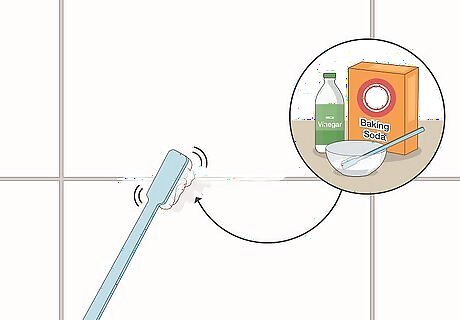
Break down grout stains with a baking soda and vinegar solution. Mix together ⁄2 cup (120 ml) of water, ⁄2 cup (120 ml) of distilled white vinegar, and ½ cup (136 grams) of baking soda. Dip a clean toothbrush or grout brush into the solution, and then scrub the grout in a circular motion to lift the stains. Rinse the solution off your grout with warm water when you’re finished to remove the residual cleaner. Alternatively, try mixing equal parts water and baking soda to form a thick paste. Scrub the paste onto your grout and spray vinegar onto the surface. Let it bubble for a few minutes before scrubbing the grout again. Baking soda is an abrasive that helps scrub and lighten the stain, while vinegar helps kill any mold or mildew on the surface. Avoid leaving vinegar on your tiles or grout since the acidic solution could eat through the material.

Scour your grout with baking soda and hydrogen peroxide paste. Mix ½ cup (136 grams) of baking soda with ⁄4 cup (59 ml) of hydrogen peroxide so it forms a thin paste. Apply the paste onto your grout and let it sit for about 3 minutes so it works into the stains. Then, use the toothbrush to scrub the paste even deeper into your grout before rinsing it off with warm water. If you just used a vinegar solution on your tiles, wait a couple of days before cleaning with hydrogen peroxide. Mixing hydrogen peroxide and vinegar creates peracetic acid, which is extremely corrosive and could cause serious injuries. Hydrogen peroxide acts as a cleaner and disinfectant to help whiten the grout and kill any mold that left behind stains.
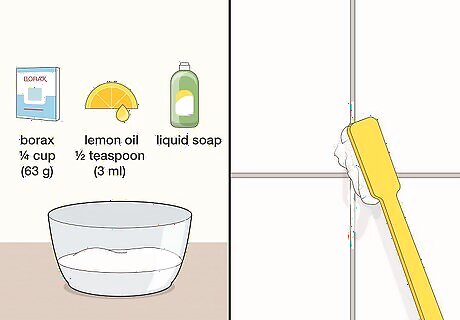
Work Borax and lemon oil into your grout for a more powerful clean. In a small bowl, mix together ¼ cup (63 g) of Borax, ⁄2 teaspoon (2.5 ml) of lemon oil, a pump of liquid soap, and enough water to form a paste. Apply the Borax paste onto your grout and let it work its magic for 15–20 minutes. After that, scrub the paste with a stiff-bristled brush and rinse your tiles clean with warm water. Avoid using Borax and lemon oil on natural stone tiles since you could damage or discolor the surface.

Steam clean the grout. Secure a brush attachment onto the thin, pointed nozzle of your steam cleaner. Fill your steamer with water, turn it on, and let it heat up. Hold the nozzle up against the grout lines, and press the button down to release steam. Follow along the grout lines with the steamer so the heat can help lift up any stubborn stains. Even if the steam cleaner doesn’t get the grout perfectly clean, it will help loosen the rest of the dirt and debris to make it easier to clean with other products. Check local hardware stores to see if they offer steam cleaner rentals if you don’t want to buy your own.
Chemical Cleaners
Try oxygen bleach for standard stain-fighting. Follow the mixing directions on your package of oxygen bleach so it’s at the proper ratio, but typically 2 cups (220 g) of bleach powder and 1 gallon (3,800 ml) of warm water will do the trick. Apply to the affected area and let it sit for up to 1 hour so it can work into the stain. Then, scrub the stain with a stiff brush until the stain lifts up. Work in a well-ventilated area and wear gloves when you’re working with oxygen bleach so it doesn’t irritate your skin. Test the oxygen bleach on a small area of your grout to make sure it doesn’t cause any discoloration or damage.
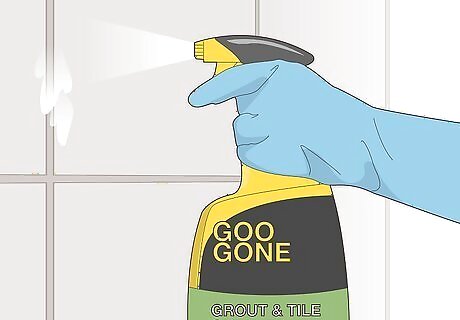
Spray commercial grout cleaner onto the surface. Follow the manufacturer’s instructions for the cleaner you’re using since it may be different from another cleaner. Most times, all you have to do is spray the cleaner onto your grout, let it sit for 5–10 minutes, and then scrub your grout with a brush. Rinse the cleaner off with water once you’re finished. Some effective commercial grout cleaners include: Zep Goo Gone Grout Tilex Tile and Grout
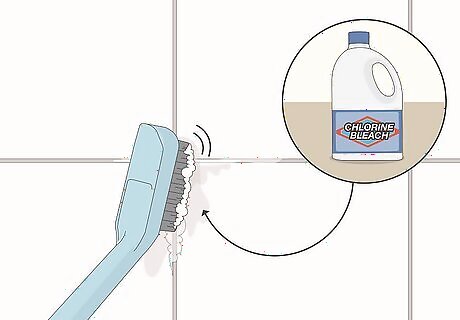
Try chlorine bleach for the most stubborn stains. Put on a pair of rubber gloves and safety glasses, and open a window so your bathroom is well-ventilated. Dip a stiff-bristled toothbrush directly into the chlorine bleach and scrub your grout until it looks clean. After that, just rinse your grout with clean water. Try using a bleach pen instead so it’s easier to clean tight spaces in between your tiles. Avoid using chlorine bleach on colored grout since the cleaner may cause discoloration.
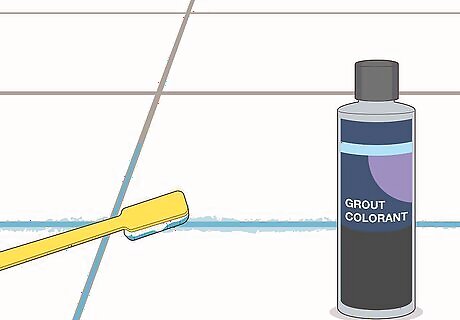
Stain the grout a different color if it won’t come clean. Pour a small amount of grout colorant into a container. First, go over your grout with one of the natural or commercial cleaners listed above to remove residue on the surface. Dip a clean toothbrush or grout brush into the colorant, and apply it to the grout using even, back-and-forth strokes. After applying it, wipe the excess colorant on your tiles off with a paper towel, and let it dry overnight. If you notice any damage or cracks between your tiles, then you’re better off removing and replacing the grout.
Keeping Grout Clean
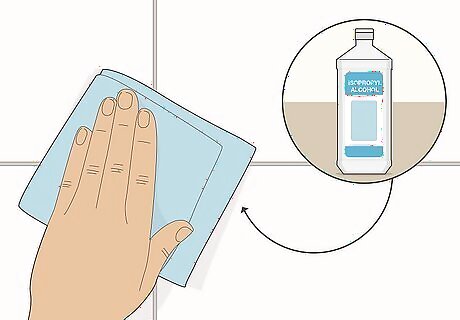
Wipe your shower tiles with rubbing alcohol once a week. Wet a clean cloth with rubbing alcohol and run it over your shower grout at least once every week. Since the alcohol kills mold and mildew on contact, they don’t have a chance to leave any stains or discoloration on your grout. Clean floor tiles with vinegar and a mop to disinfect them and kill any mildew naturally.
Spray your grout with a homemade mold inhibitor. Mold inhibitors prevent mold spores from growing on your tiles so you’re less likely to deal with stains. Many of the cleaners mentioned earlier work well to kill mold, so just apply them 2–3 times a week to help control any issues in your bathroom. Otherwise, you could try using: Equal parts water and vinegar 1 tablespoon (15 ml) of tea tree oil with 1 cup (240 ml) of water Pure hydrogen peroxide

Dry your grout whenever it gets wet. If your bathroom tiles are wet after you shower, run a towel or squeegee over your tiles to wipe away the excess water. Since mold and mildew need moisture to form, drying your grout prevents the spores from taking hold and leaving stains on your grout.

Ventilate your bathroom so it stays dry. Whenever you shower, run the exhaust fan in your bathroom if you have one so all the steam and moisture get sucked out. If you need to vent your bathroom without a fan, keep your bathroom door and window open, set up a portable fan, or run a dehumidifier. Removing the moisture from your bathroom makes it less likely that mold will form between your tiles or on your grout.
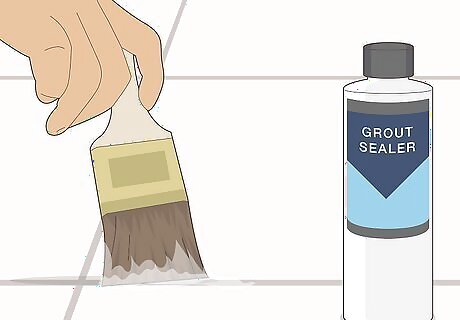
Seal the grout. Pour some grout sealant into a cup and dip a foam brush into it. Start at the topmost row of tiles and apply the sealant between your tiles on your grout lines. Allow it to dry for about 30 minutes before applying a second coat. After the second coat dries, remove the excess sealant from the tiles by wiping them in a diagonal direction with a damp cloth or sponge. Keep your bathroom window open so your room is well-ventilated while you’re applying the sealant. Reseal your grout every 12 months to ensure water doesn’t permeate the surface.


Comments
0 comment