views
When it comes to promising privacy-oriented user experience, Apple is among the first brands that come to mind. From features like Find My iPhone to ‘remote wipe’ that helps you delete essential data remotely if you lose the device, Apple has worked on encryption and data protection to safeguard its users.
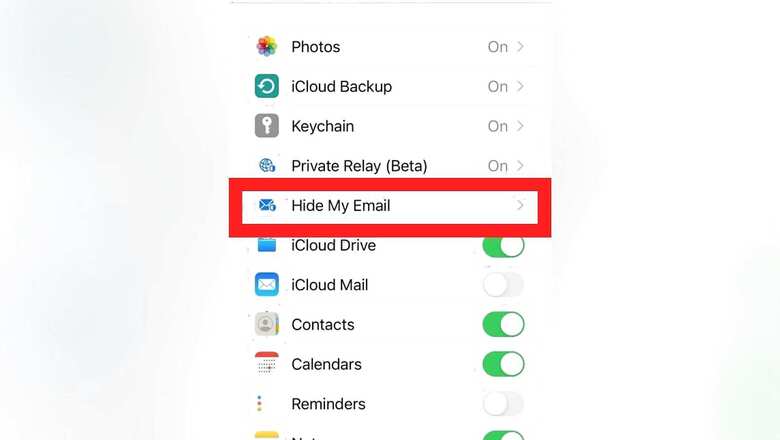
Now, Apple has brought more security features with the rollout of iOS 15.2 and iCloud+ – one of them being the “Hide My Email.” According to Apple, the feature creates a unique random ID and enables users to keep the email address private. It can be used while creating a new account with an app, sending an e-mail or signing up for a newsletter online. However, this security feature is not included in the free 5GB iCloud tier, so users will have to upgrade to iCloud+ to experience it.
Below are the steps to follow on your iPhone or iPad with iOS 15.2 to use the ‘Hide My Email’ feature-
Step 1: Open the settings on your device.
Step 2:Click on your name on the top of the screen.
Step 3: Choose iCloud from the options.
Step 4: Now, click on ‘Hide My Email’ and proceed to create a new address for yourself.
Step 5: Choose the email address where you want the mails to get forwarded.
Step 6: You can also generate any other random email address by clicking “Use different address” or just choose the first one.
Step 7: The feature also allows you to label your multiple email addresses as per their purpose.
Step 8: Press ‘done’ when finished.
Later also you can deactivate or change the label of the aliases by choosing “Manage Sign in with Apple Settings.” Other security features introduced with iOS 15 and 15.2 are ‘Hide IP address,’ ‘Share your current location just once’, ‘App privacy report’ among others.
Read all the Latest Tech News here


Comments
0 comment