views
Using an External Microphone
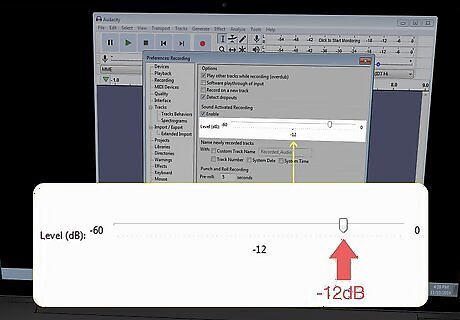
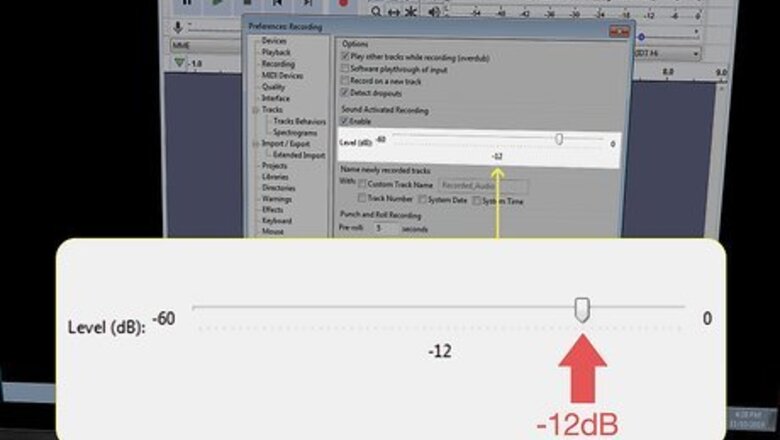
Make sure the gain is set at the appropriate level. Gain makes your microphone more sensitive. If the gain is too high, you will hear clipping and distortion in the audio. Lower the gain to around ¾ of the original level. If you’re looking for a more technical measurement, try adjusting your input levels to read -12 dB. Sometimes, it’s easier to manage your volume and input levels by working in a digital audio workstation (DAW), like Audacity, Reaper, or Adobe Audition, or using a decent mixing board if you are working in a live situation. Make sure the channel the microphone is on is in the green at the loudest levels.
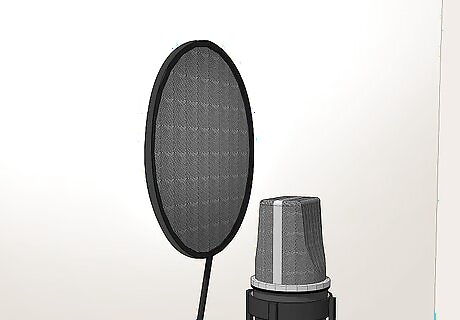
Use a pop filter. You can use this circular filter to reduce breathy or hard popping sounds called "plosives," such as those that happen when you make a hard "P" sound into the microphone. Use a clamp to attach it to your microphone stand, positioning it about 2 to 3 inches (5.1 to 7.6 cm) in front of the microphone. The price of a pop filter can range from $15 to $40, but it could be a good investment for musicians or podcasters looking to take their recordings to the next level. If you angle your microphone to be slightly above or below your mouth, or in some way where you’re not singing directly into the microphone, you won’t record as many popping or breathing sounds. You can find pop filters online for a reasonable price.Did you know? If you’re trying to make a mini recording studio in your home, try using a longer, expandable mic stand.
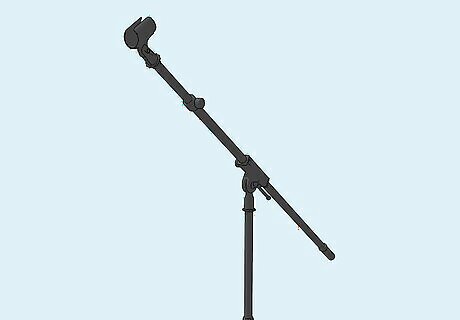
Use a microphone stand or boom arm. Some microphones come with a small stand or tripod that you set on your desk. The problem with this is that it will be too far away from your mouth and too close to other items that make noise, such as your keyboard, mouse, and desktop computer. Instead, use a microphone stand or a boom arm that allows you to place the microphone directly in front of you. If you are singing or speaking on a stage, make sure you holding the microphone properly so that you get the best sound.
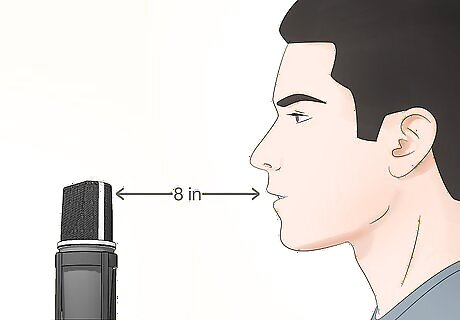
Position the microphone about 6 in (15 cm) to 10 in (25 cm) in front of you. Stay a short distance from your microphone to keep the recording quality balanced and consistent. When the mic is too far away, your voice starts to sound thin and distant. If it is too close, your voice will sound muddy and boomy. Also make sure you are speaking into the right side of the microphone. Some microphones are designed to be spoken into from the front, while others are meant to be spoken into from the side. Check the user's manual to make sure you are speaking into the correct side.
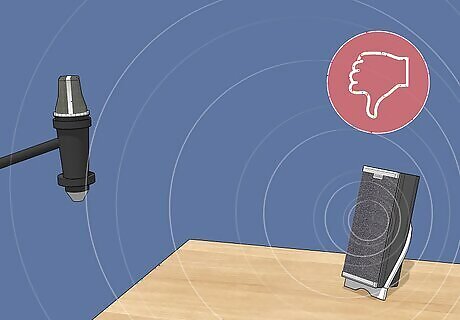
Aim the microphone away from objects that make noise. If other objects in the room make noise (i.e., speakers, fans, computer keyboard), be sure to aim the microphone away from these objects. This is especially true if you are using external speakers, as this will prevent feedback.
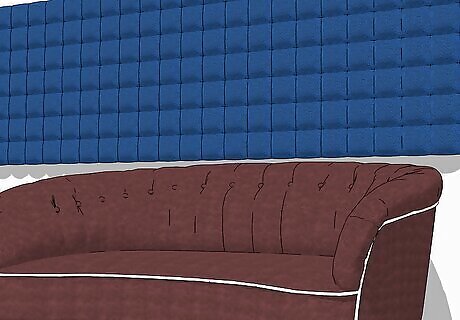
Record in a room with lots of soft surfaces. Sound bouncing off bare walls, tile floors, and other hard surfaces causes echo or reverb. Instead, try to set up a recording space in a room with soft furniture and things on the walls. If you have enough room in a closet, try setting up your microphone in there, where clothing will muffle the echoes.Tip You can always use blankets, coats, or other soft objects to cover hard corners that are causing echoes.
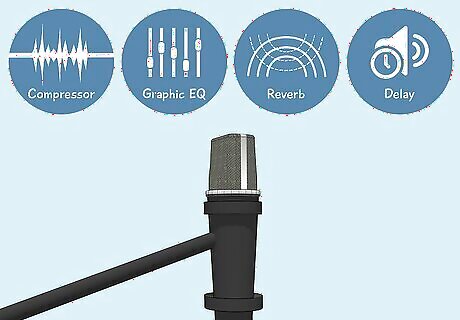
Apply effects to your microphone channel. If the sound you get from your microphone sounds too dry, you can use effects to make the sound a little better. If you are using a DAW, it should have some effects built-in. You can also use external effects or an effects board. The following are some effects you can try to improve your microphone sound quality: Compressor: A compressor equalizes the overall dynamic range of your sound. It makes the quiet parts sound louder, and the loud parts sound quieter. Graphic EQ: You can use a graphic equalizer to boost or reduce certain frequencies in an audio signal. For example, if your voice has too much bass, you can reduce the bass and boost the treble. Reverb: Reverb makes it sound like you are recording in a larger room with hard surfaces. It can make a dry recording sound a little more full and spacious and less dry and dull. Delay: If reverb isn't enough, you can add some delay. Delay adds an echo effect to your audio signal. A slight delay can make your audio signal sound more full and spacious.
Enhancing Your Phone’s Microphone
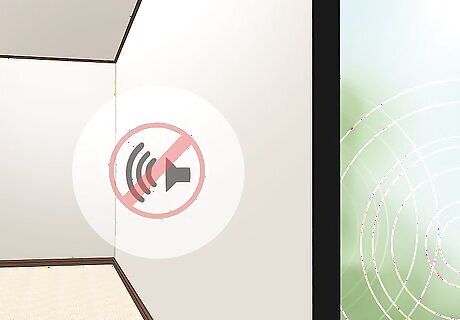
Record in a quiet space with no background noise. While smartphones are smaller than external mics, you can’t fine-tune how much or how little noise they pick up. To improve the sound of your recordings, find a place with no background noise that could make your audio sound bad, like a nearby conversation or a noisy air conditioning vent. You can make your audio a lot better by ensuring that your voice is the focal point of each recording—as it should be. It can be especially useful to record in a place with less furniture or hard surfaces, so the sound can’t bounce or echo as much.
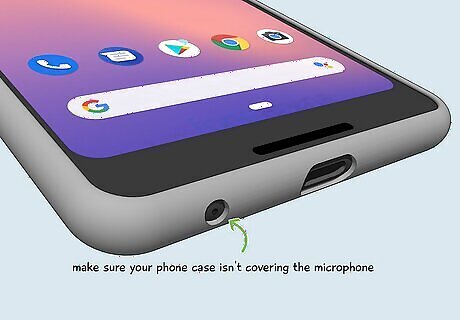
Make sure nothing is covering your phone's microphone. If the audio quality from your phone's microphone sounds muffled, make sure your phone case isn't covering the microphone. Also, make sure you aren't holding your phone in a way that is covering the microphone. Conversely, if you find your phone's microphone is too sensitive, you can try putting a piece of tape over your phone's microphone.
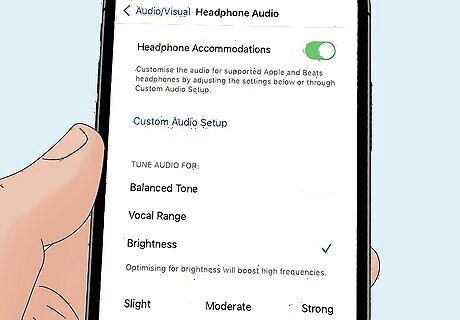
Check for audio enhancements in the Settings menu. Depending on which app you are using, open the Settings menu and see if there are any audio enhancement features you can turn on or off. Experiment and see how the sound quality sounds with the audio enhancements turned on and off. You can also check your phone's Settings menu to see if there are any audio enhancements in the General, Audio, or Accessibility sections of the Settings menu.
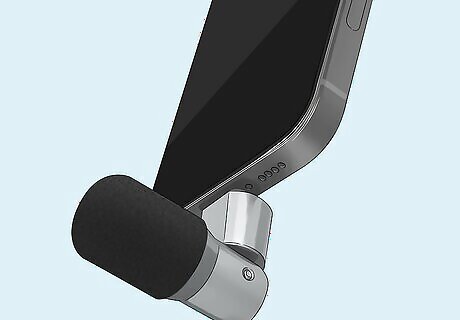
Purchase an external microphone. While audio and camera technology gets better with each generation of smartphones, using an external microphone may give you the best audio quality. Many external microphones are compatible with Android and iOS devices. You can get a Lavalier mic that you clip to your lapel or an external mic you place on your phone stand.
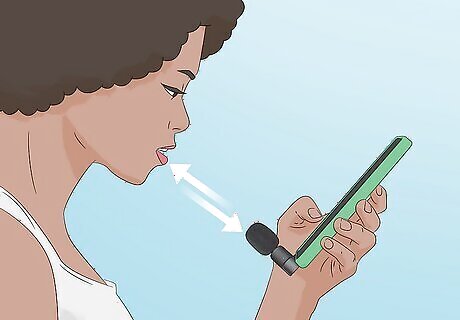
Make sure you are the right distance from the microphone. Whether you are using an external mic or your phone's built-in mic, distance will make a huge difference. If you are too far away, your voice will sound thin, and the mic will pick up other sounds in the room. Being too close can cause a proximity effect that makes your voice sound too boomy and muddy. Experiment with different mic placements and see what sounds best to you.
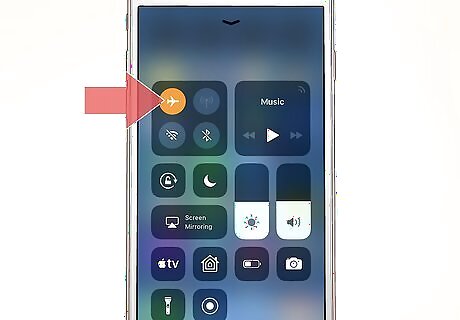
Keep your phone on airplane mode to prevent notifications from going off. Don’t let a perfectly good recording go to waste because of an unwanted text notification. Instead, switch your phone to airplane mode so it gets no internet (which means no texts).
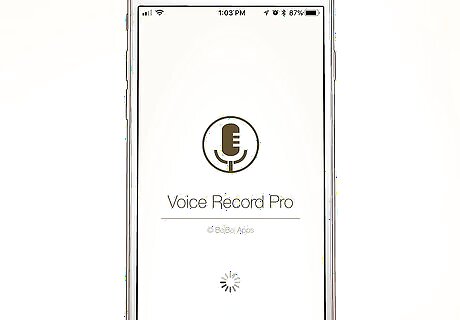
Invest in high-quality recording apps for your phone. Look into applications that automatically reduce the level of junk and background noise that gets recorded. If you’re okay with spending a little bit of money, there are a variety of apps that you can purchase if you so desire. For iPhone users, look into apps like Voice Record Pro and Voice Recorder & Audio Editor. If you use an Android, try looking into Titanium Recorder or Recforge II. All of these apps are under $10, and many are also free with advertisements running in the background. There are also apps that allow you to clean up an audio recording after you have finished recording.


Comments
0 comment