

- On Windows, go to Data > From Web, enter the URL, and click Connect to select and import web data.
- On a Mac, you will need to create a text file with a .iqy suffix that contains the URL, then use Run Web Query to import the data.
- While any text editor should theoretically work on Mac, TextEdit may produce the most reliable results.
Windows

Click an empty cell in the spreadsheet. Choose the cell where you'd like the pasted data to begin.

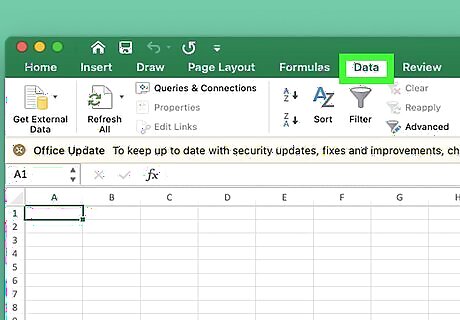
Click the Data tab. This tab is located between Formulas and Review at the top of the app window.

Click From Web on the Data ribbon. You will see this in the upper-left corner of Excel on the "Get & Transform Data" panel. This option is in the upper-left corner of your Data ribbon. This opens the "From Web" window. If you don't see this option, click the Get Data drop-down menu at the top-left, select From Other Sources, and then select From Web.
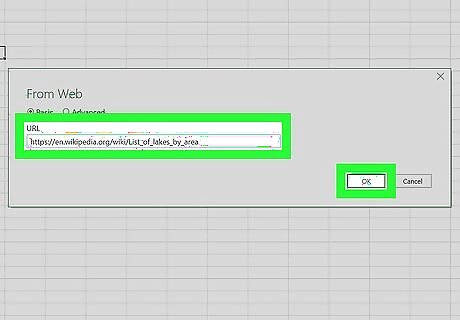
Enter the website URL and click OK. The address you enter or paste into the typing area should be the URL that contains the data you want to import.
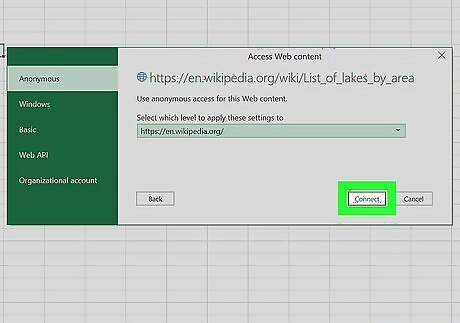
Click Connect to access the site anonymously. If the data is on a public website, this will display the tables in Table View. If the site requires a login: If you usually sign in to this page by entering a username and password into the site's own login/sign-in fields, select Basic, enter your login details, and click Connect. If you need to log in through a work or school account, select Windows to use a Windows network login, or select Organizational account and then Sign In to log in through your organization's server. If you have an API key, select Web API, enter the key, and click Connect.
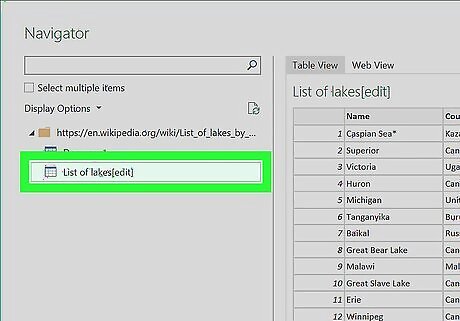
Select a table. The list of tables appears in the left panel of the Navigator window. When you select a table, the data will appear in the panel on the right. If you're not sure which table you need, click the Web View tab at the top of the right panel to display the website, and then click the table to select it. To import more than one table, check the box next to "Select multiple items" near the top-left.
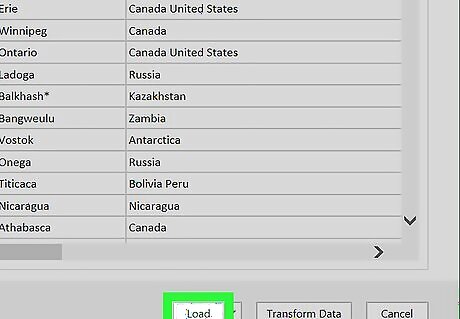
Click the Load button. This will import the selected table data into your Excel spreadsheet.
Mac

Open TextEdit and create a new document. Because Excel for macOS, even the one that comes with Office 365, doesn't have an option to import data from the web, you'll need to do a little workaround that involves creating a query in a text editor first. We got the best results using Mac’s built-in TextEdit app. To find TextEdit, click the Mac Spotlight Spotlight search button at the top of the screen and type in textedit. Click the first result that comes up.
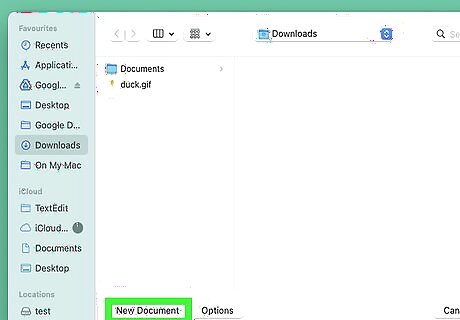
Click New Document. When you open TextEdit, a window will open where you can browse files to open. Click the New Document button at the bottom of the window, or close the window and select New from the File menu.

Type or paste the URL you want to import from. It's important that the URL be in plain text. Type it in directly or copy and paste it from the navigation bar at the top of your browser. The copied URL should be the only text in the file you're creating.

Click Format and select Make Plain Text. Open the Format menu in the bar at the top of the screen and choose the Make Plain Text option. This will allow you to save the file in the correct format.
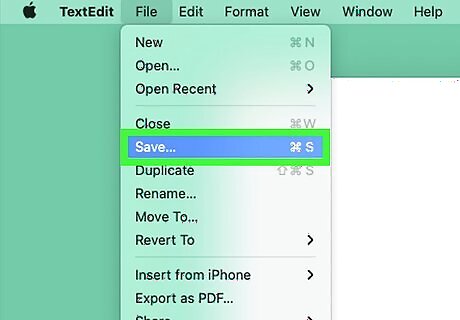
Click the File menu and choose Save…. Now that you’ve set the file to Plain Text, it will save to the correct file format (in this case, the Unicode (UTF-8) plain text format). Click Save in the File menu.
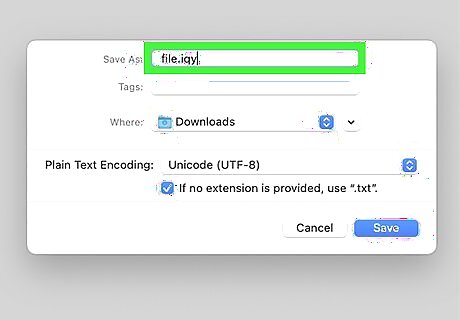
Give the file a name that ends with .iqy. Even though you're saving the file as a Unicode plain text file, you'll need to make sure the file has the .iqy file extension. For example, my_query.iqy. Enter your desired name with the .iqy ending in the Save As: text box at the top of the Save pop-up window.

Uncheck the box to add a txt extension. You’ll see a check box in the Save window that says If no extension is provided, use “.txt”. If that box is checked, uncheck it before you save. Your file will now be saved with a .iqy extension.

Select a location and click Save. It doesn’t really matter where you save your file. Just pick a location you’ll remember, like Desktop or your Documents folder.

Open your spreadsheet in Excel. Now that you have a query to work with, you can import it into Excel. Create a new spreadsheet or open a pre-existing one where you’d like to import your data.
Click the Data menu in the menu bar. Note that there are two Data menus while Excel is open—one in your Mac's menu bar at the top of the screen, and another in the menu bar at the top of the Excel spreadsheet. These two menus are different. You will need to click the Data menu in the menu bar at the top of your Mac's screen, not the one at the top of the spreadsheet.
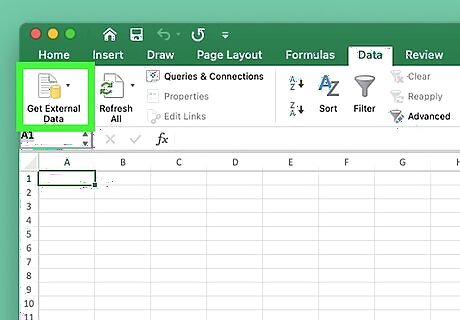
Select Get Data (Power Query). Additional options will expand.
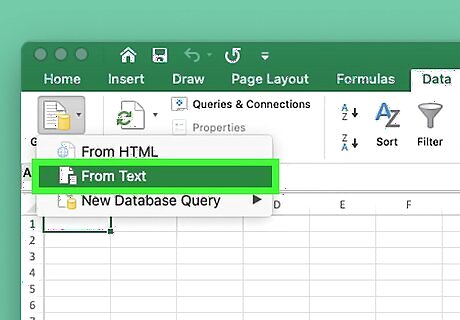
Click Run Web Query…. This will open a Finder window.
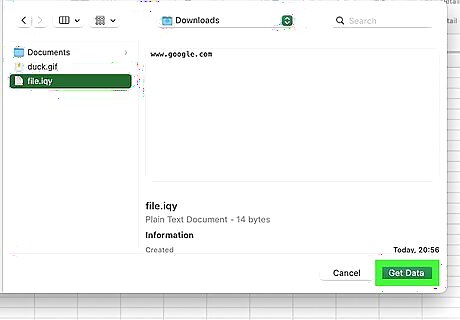
Select your IQY file and click Get Data. Navigate to the location where you saved your text file and select it, then click Get Data. You'll be prompted to choose where to import the data.

Choose where to import the data and click OK. You can import the data into the current sheet at a particular cell location, or create a new sheet for the data. Once you click OK, Excel will go to the URL you added to your IQY file and import the web data into your sheet.


Comments
0 comment