views
How to Find MP3 Album Art
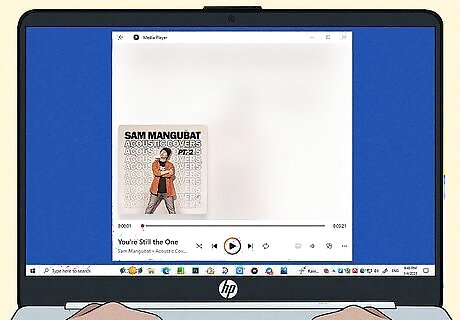
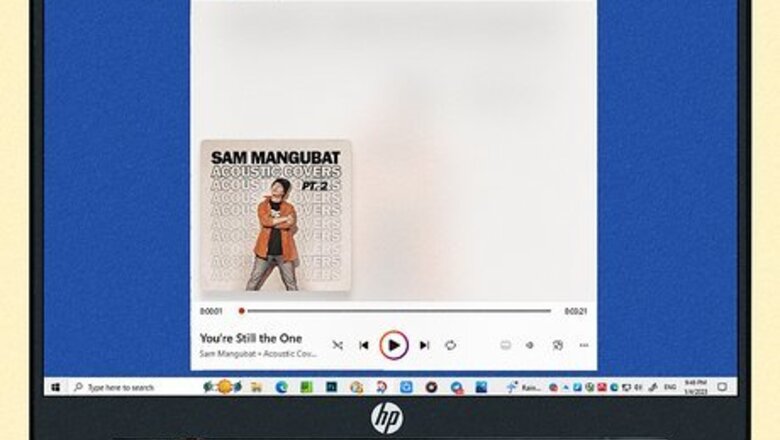
Depending on the tool you use to listen to or manage your MP3s, you might be able to find album art automatically. If you don't want to search the web for album art, our sections on using VLC Media Player, iTunes, Windows Media Player, and MP3tag (an MP3 tag management tool) will be most helpful. iTunes can even scan your entire MP3 library at once and update all of your album covers.
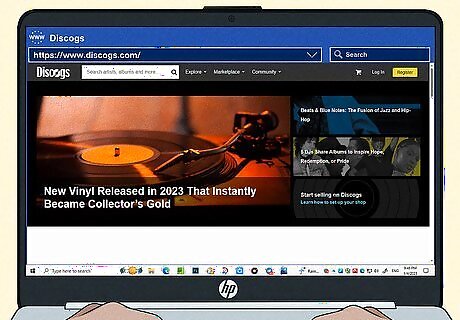
If you can't (or don't want to) get album art automatically, there are places to find and download album covers online. If you have rarer MP3s or you're using Groove Music or an online tag editor), you can replace your album art manually. These sites are great places to download album JPEG & PNG album covers for even the rarest of MP3s: Discogs: On Discogs, you'll often find several options for album art, including covers from different editions of albums. MusicBrainz: This site is home to all sorts of music metadata, not just album art. After downloading the images you want for your MP3s, explore the site to find other information you may be missing from your MP3 metadata. Album Art Exchange: This site has lots of high-quality album covers, so if you're looking for higher-resolution quality, make it your first stop. You can also search Google and filter the search results to show only images. You may also want to try searching Amazon.com or other retailers that sell CDs.
Using Groove Music
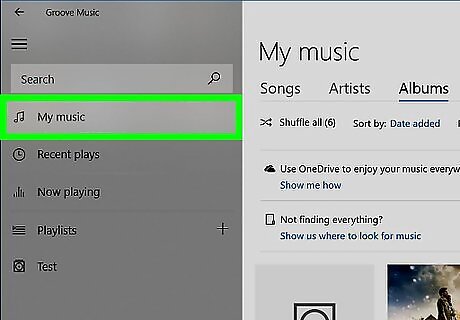
Open Groove Music (Windows 10) or Groove Media Player (Windows 11). You can open Groove quickly by pressing Windows key + S, typing Groove, and clicking Groove Music (Windows 10) or Media Player (Windows 11).
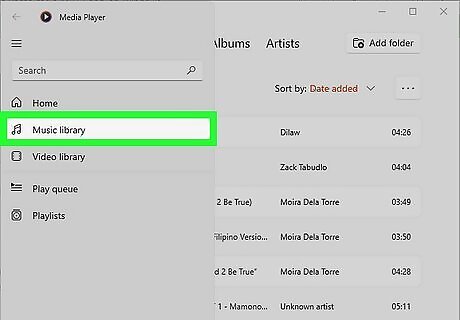
Open your Music Library. If you see tabs for Songs, Albums, and Artists at the top of the screen, you can skip this step. If not, click the three lines at the top-left corner and choose Music library.
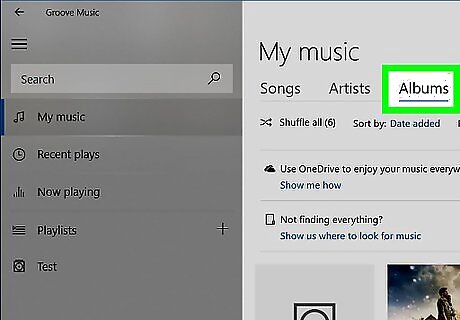
Click the Albums tab. This option is near the top of the Groove window. You should now see all of your albums. If your albums aren't listed, you'll just need to add their folder to Groove. Click the three-line menu, click the Settings gear, and then click the button next to "Music library locations to add the folder that contains your MP3 files.
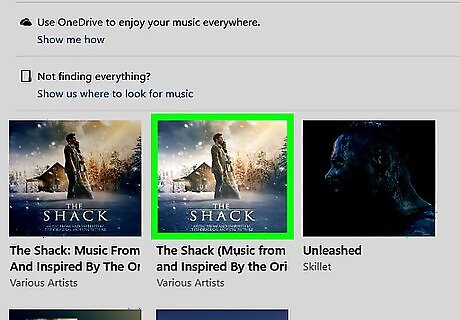
Select an album. Click an album that you want to edit. You cannot edit album artwork for individual songs in Groove Music.
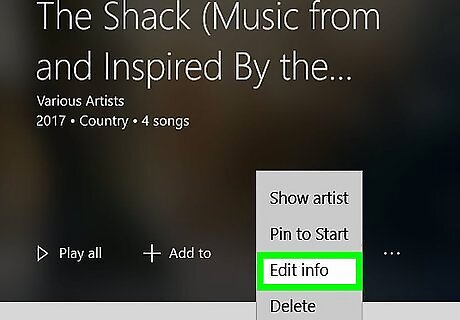
Click the three dots and select Edit info. You'll see the three-dot icon at the top-right corner of the album's page. Doing so will open the "Edit Album Info" window for your album. For songs that don't have an album listed (or "Unknown Albums"), there will not be an "Edit info" button. Instead, you'll have to right-click a song, select Edit Info, enter something into the "Album Title" field, and then Save.
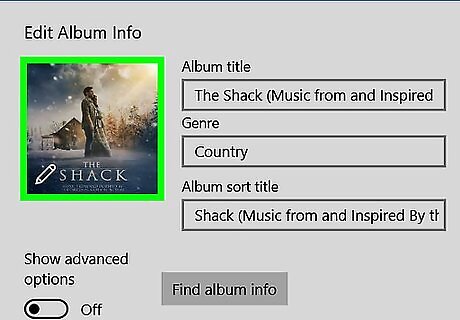
Click the current album art. It's a square image in the upper-left corner of the "Edit Album Info" window. If there isn't any album art associated with the album, the album art square will be blank with a pencil icon in the lower-left corner.
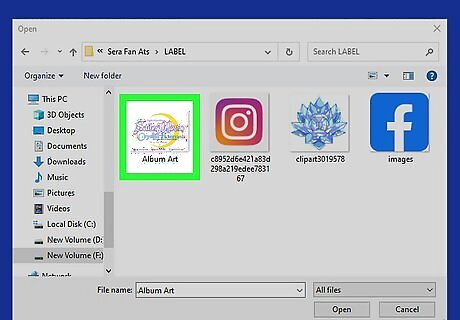
Select your new image and click Open. Click the photo that you downloaded earlier, or any existing image on your computer, and then click Open to add the image. If the File Explorer window opens to a different folder than the one in which your preferred art is, first click the folder that you want to use on the left side of the window.
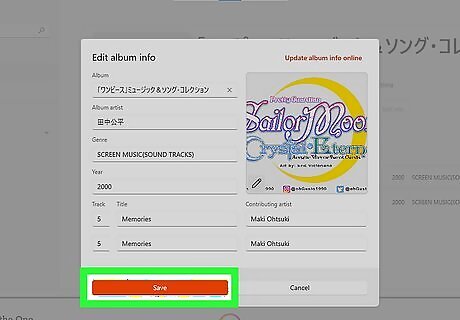
Click Save. This is at the bottom of the "Edit Album Info" window. Your album will now display its new artwork.
Using Windows Media Player
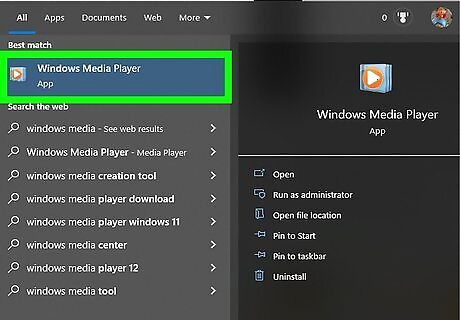
Open Windows Media Player. If you're using an older version of Windows or just prefer Windows Media Player, you can use this tool to change your MP3 album art. To launch the app, press the Windows key on your keyboard, type windows media, and then click Windows Media Player. You'll have the option to search for new album art online or select an image you downloaded to your PC.
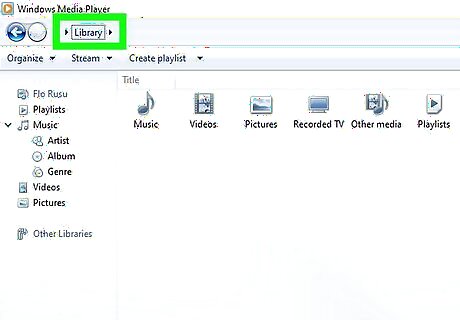
Click Library. This tab is in the upper-left corner of the window.
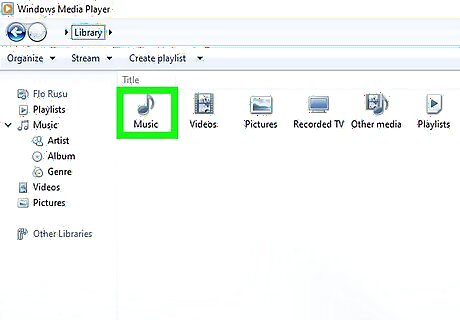
Click the Music tab. It's on the upper-left side of the Windows Media Player window.
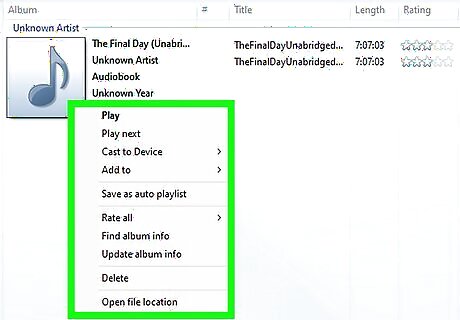
Right-click the cover of the album art you want to update. Scroll down through your library until you find the album that you want to edit, then right-click it to bring up a menu. Albums that don't have art will have an image of a musical note on a grey background. If you use a trackpad instead of a mouse, use two fingers to tap the trackpad or press the bottom-right side of the trackpad.
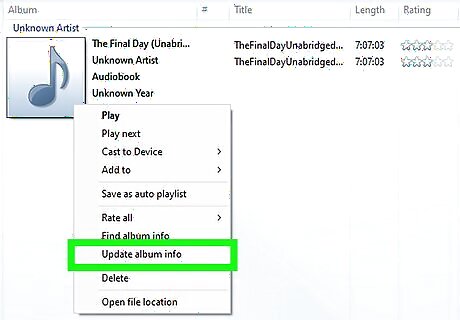
Click Update album info on the menu. Doing so will search online for the album's art. If album art is available, it will download and replace the existing album cover. It may take a few moments for the new album cover to show up. If this doesn't result in the correct album cover, continue with this method to replace the album cover with album art you downloaded.
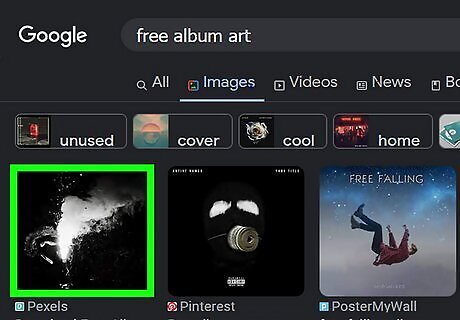
Open the album art you downloaded from the web. If you couldn't automatically update the album art, you can easily use the image you found online as your new art. Start by locating the downloaded image on your computer and double-clicking to open it. Downloaded images are typically in your Downloads or Pictures folder.
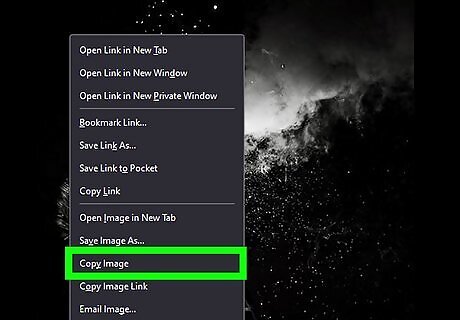
Right-click the picture and select Copy. This copies the album art to your clipboard.
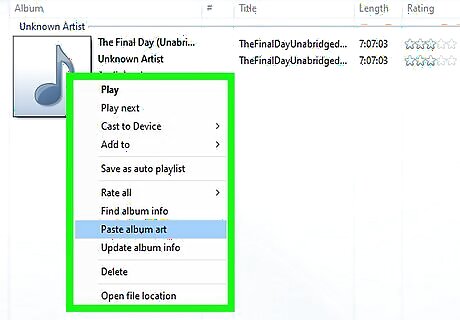
Return to Windows Media Player and right-click the album cover. You'll see a menu with several options, including the option to paste the copied album cover.
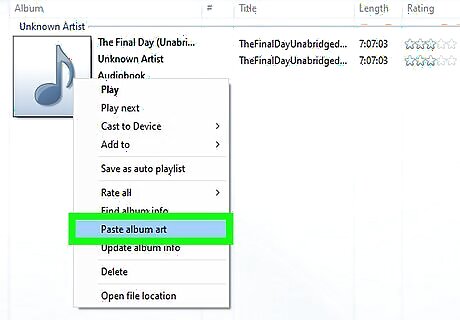
Click Paste album art. It's in the middle of the drop-down menu. You should see the art appear on the album's cover. It may take a few seconds for the album art to update. If you don't see Paste album art, try downloading and copying a smaller version of the art.
Using VLC Media Player
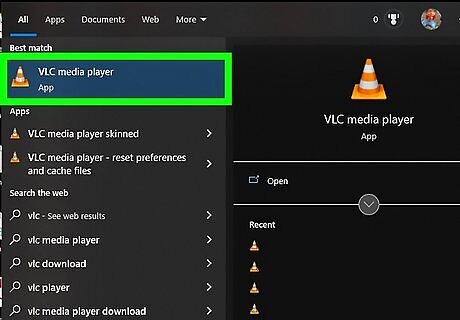
Open VLC Media Player. VLC makes it pretty easy to automatically find and download album cover art for your MP3 files. If you've already installed VLC, you'll find it in your Windows menu. If not, you can download this free media playback and management app from https://www.videolan.org/vlc/index.html.
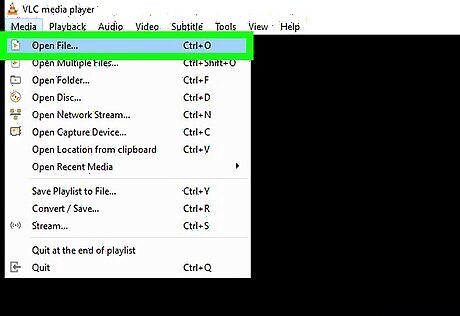
Open the song or album you want to edit. If you just need to change the album art for a single MP3 file, you can open it using Media > Open File. To open multiple files at once, use Media > Open Multiple Files instead. Alternatively, you can open an entire folder using Media > Open Folder.
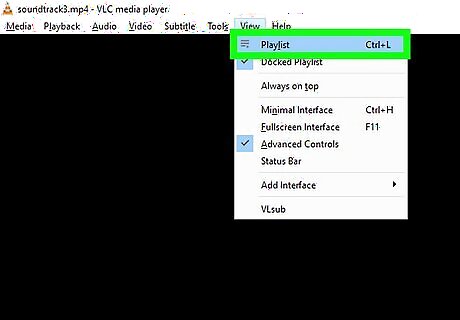
Switch to Playlist mode. This will make it easier to view and edit the album art. To do this, just click the View menu and select Playlist. Now you'll see the song(s) you've opened in playlist format.
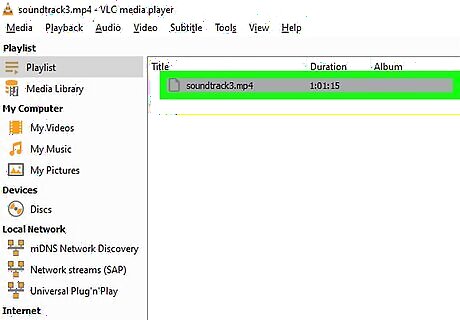
Select the song you want to edit. If you want to change the cover art for more than one song, hold down the Ctrl key as you click each track name. If you're selecting multiple songs, make sure you choose songs from the same album.
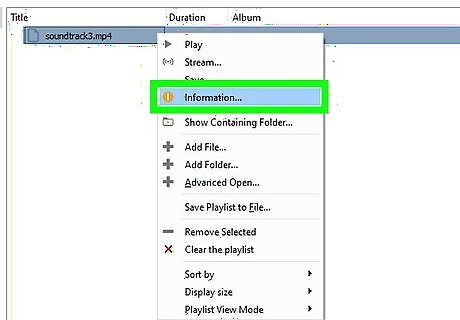
Right-click the selected song(s) and click Information. This displays media information about the track, including the current album art at the bottom-right corner. If there is no album art yet, you'll see a traffic cone icon.
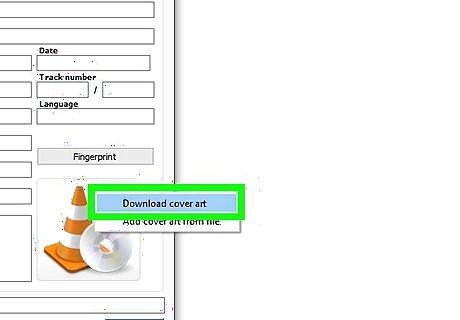
Right-click the current album art (or traffic cone) and select Download cover art. This feature queries MusicBrainz to locate the correct album art for the selected track. If you are not able to find album art this way, try clicking the Fingerprint button to identify the track first. If you still can't find the right album art, you can download album art manually. Once you find the correct album cover, right-click the current art or traffic cone again, select Add cover art from file, and select replacement art.
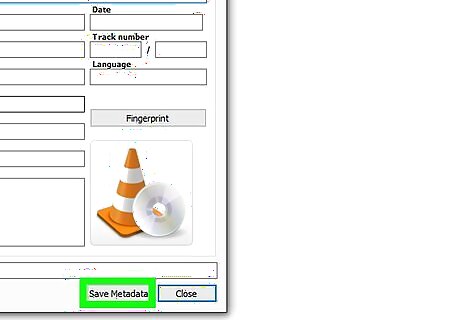
Click Save Metadata to save your changes. Your new MP3 cover art is now embedded into the selected file(s).
Using iTunes
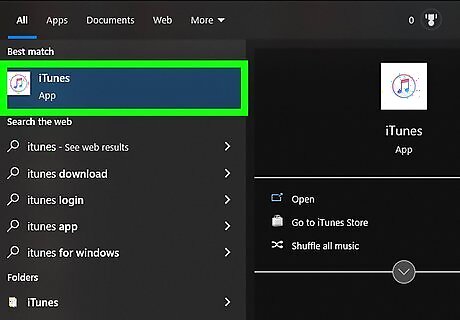
Open iTunes on your PC. If you use iTunes to manage your MP3 library, you'll find it very easy to update your album art. With iTunes, you can change the album art for individual files or multiple files at once. If you don't have iTunes, you can install it from the Microsoft Store or https://www.apple.com/itunes.
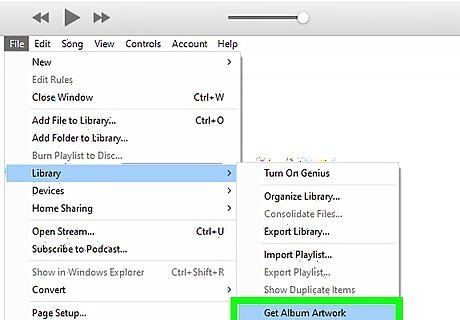
Retrieve all album art manually (optional). If you want iTunes to attempt to find, download, and replace all of your album art with the most up-to-date versions, you can run this really quick option. If you downloaded album art already, you can skip this step. Click the File menu. Click Library. Click Get Album Artwork.
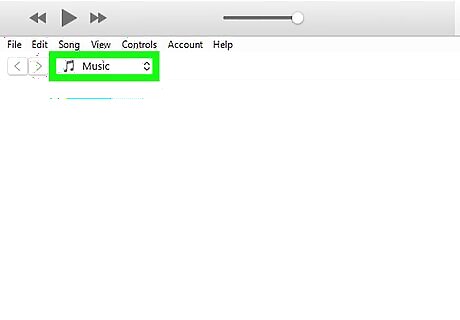
Select Music from the drop-down menu. You'll see this menu in the upper-left corner of the iTunes window.
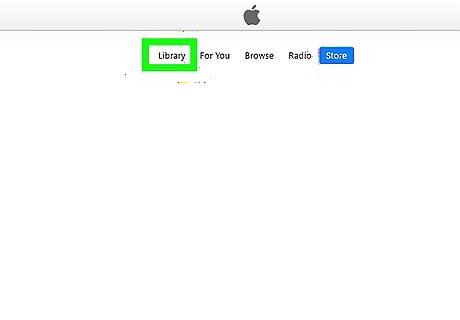
Click the Library tab. It's at the top of the window to the left of "For You."
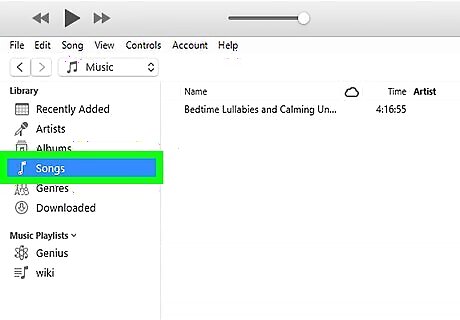
Select the song(s) or album you want to edit. If you want to select one or more songs to edit, click the Songs tab in the left panel under "Library," then select the song(s). To select more than one song at once, hold down the Ctrl key as you click multiple songs. To select an entire album, click Albums in the left panel under "Library," then click the album you want to edit.
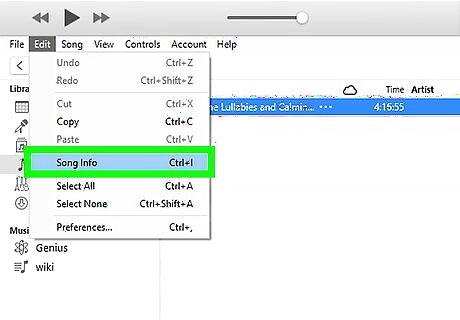
Click the Edit menu and select Album info or Song info. The menu option you'll see will depend on whether you selected an album or song.
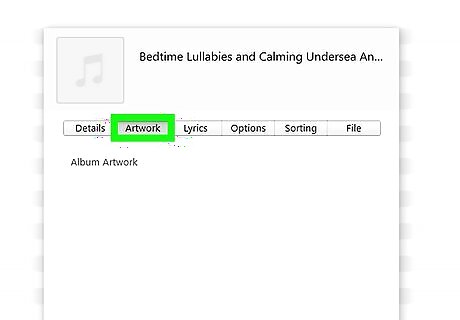
Click the Artwork tab. You'll see this at the top of the window just below the current album artwork.
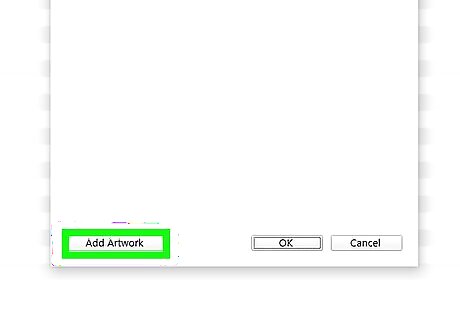
Click the Add Artwork button. Now you'll be prompted to select a file from your computer to replace the current album art.
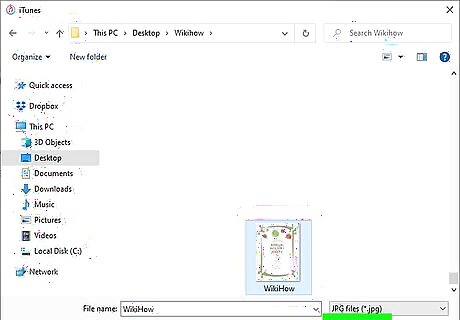
Select your new album art and click Open. Your new album art now appears in the upper-left corner.
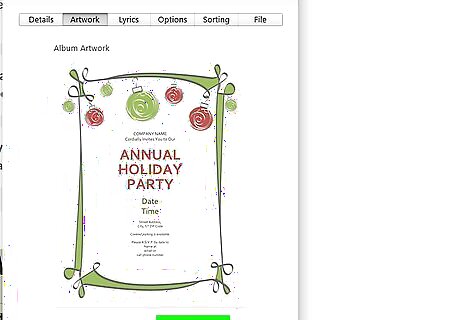
Click OK to save your changes. Your changes are now saved permanently.
Using Mp3tag
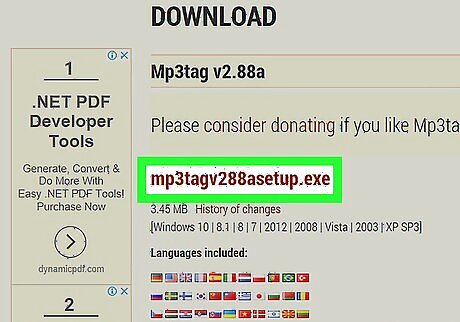
Download and install Mp3Tag. Mp3tag isn't a music player—it's a useful free program you can use to tag and organize your MP3 collection. Mp3tag has a feature that will automatically scan for and download cover art (and any ID3 tags you're missing) from sources like Discogs and MusicBrainz. We'll show you how to do this, as well as manually replace album art with images you've downloaded. To download and install Mp3tag: Go to https://www.mp3tag.de/en/download.html in your web browser. Click the mp3tagv318setup.exe link for your version of Windows at the center of the page. If you're not sure whether you need the 32-bit or 64-bit version, here's how to check. As newer versions are released, this file and link name may change. Double-click the MP3tag setup file. Click through the MP3tag setup wizard until you've installed MP3Tag.
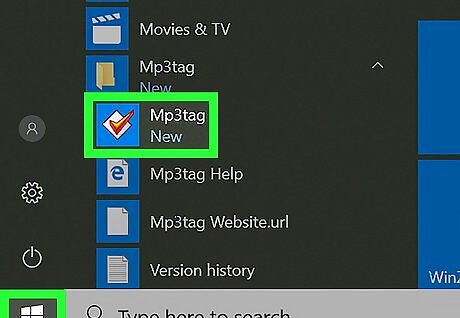
Open MP3tag. Click the new Mp3tag icon in your Start menu, or press the Windows key on your keyboard and type mp3tag to find it.
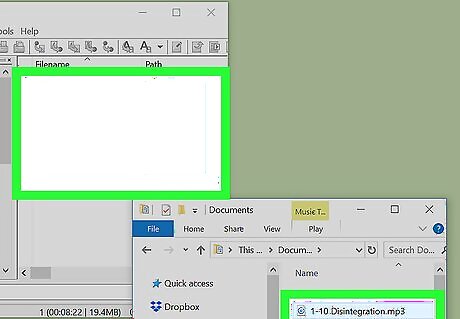
Add your music to Mp3tag. When you first open Mp3tag, there won't be any music to edit. You can either add your entire library or just the albums you want to edit. To add music: Click the File menu. Click Add directory. Select the folder you want to add. Click Select Folder.
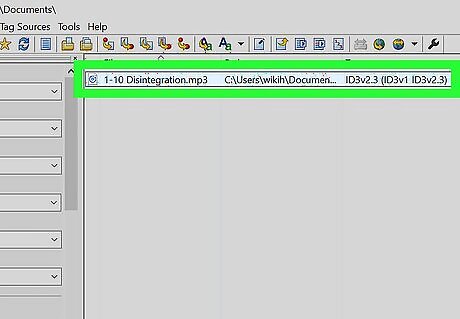
Select an album or song(s). If you just want to edit one song, click the song once to select it. Alternatively, you can select an entire album at once by holding down Ctrl while clicking each song on the album.
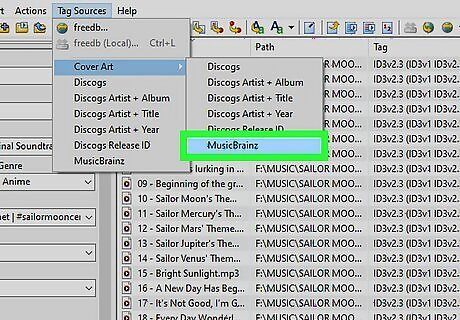
Locate the album art automatically (optional). If you want Mp3tag to locate the proper album art for you, it's easy now that you've selected the song(s) or album: Click the Tag Sources menu. Click Cover Art. Click MusicBrainz (or, if you have a Discogs account, you can choose Discogs. You'll be prompted to log in to your account before you can search the database with Mp3tag). Click Next to search. If more than one album or release matches your search, you'll see several results. You can click a result and then Preview to see the album art in your browser, or just select an album and choose Next. Click OK to accept the new album art.
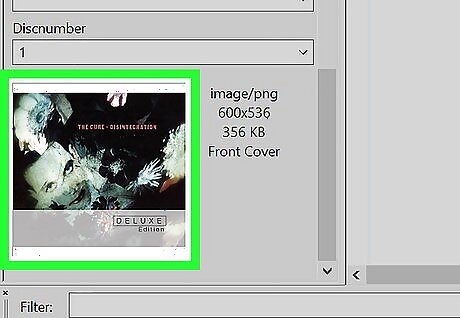
Right-click the cover art. If you want to use an image you downloaded from the web, you can continue with this method. While your files are selected, you'll find this box in the lower-left side of the window. If there isn't any cover art for your selected song(s), this box will be blank. If your computer uses a trackpad instead of a mouse, use two fingers to tap the trackpad or press the
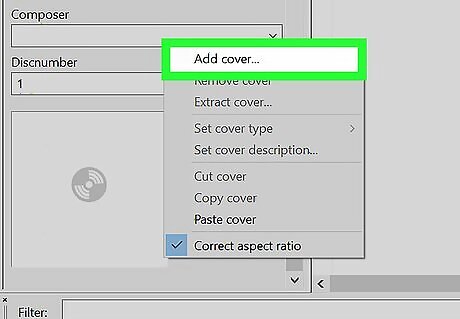
Click Add cover…. It's at the top of the menu. A File Explorer window will open.
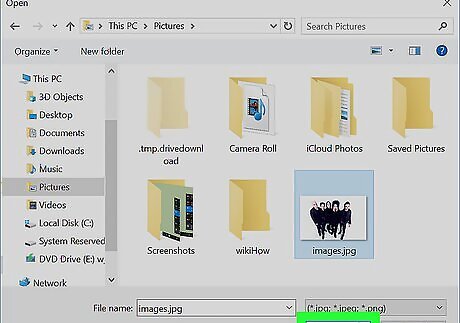
Select an image and click Open. Go to the location of the photo you want to use, then click the photo. Once you click Open, you'll see your new album art in place of the old cover.
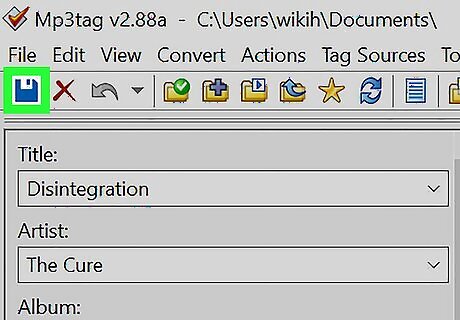
Click the "Save" icon. This floppy disc icon is in the upper-left corner of the window. Your changes are now saved permanently to the file.
Using an Online Editor
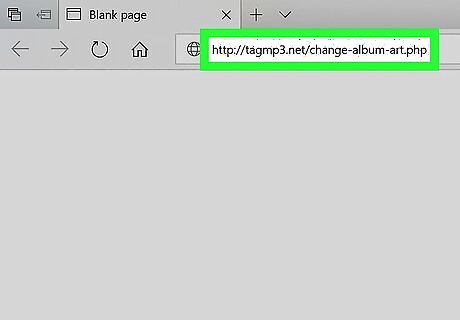
Go to http://tagmp3.net/change-album-art.php in your web browser. If you just need the cover art for a few songs, an online MP3 tag editor like TagMP3 is a great option. Online MP3 editors won't be ideal if you want to get cover art for multiple albums or larger files, as you'll have to upload and then re-download the files later. This tool won't automatically search the web for cover art, so you'll need to make sure you've downloaded some artwork.
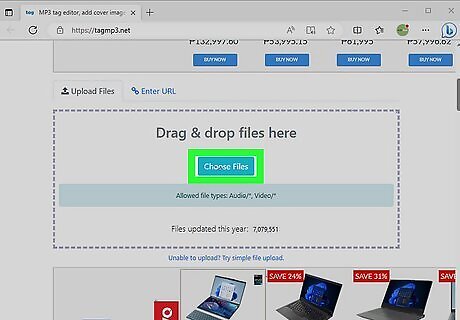
Click Choose Files. You'll find this button in the middle of the window.
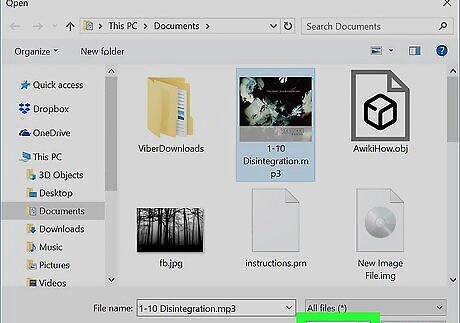
Select an MP3 file and click Open. Go to the location of an MP3 file to which you want to assign artwork, then click the MP3 file. If you want to edit the cover art for multiple different songs, hold down Ctrl while clicking each song you want to use.
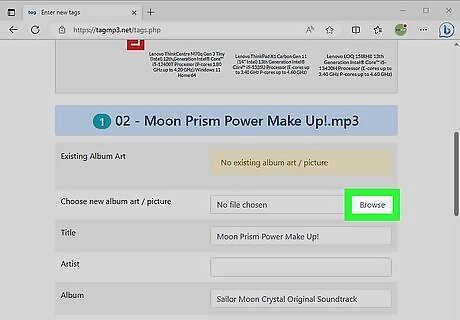
Select new cover art for your MP3 file. Click the Browse button next to "Choose new album art / picture" to select the album cover you downloaded from the web. When you click Open, the new album cover will appear. If you selected multiple songs, scroll down to do the same for all songs on the page.
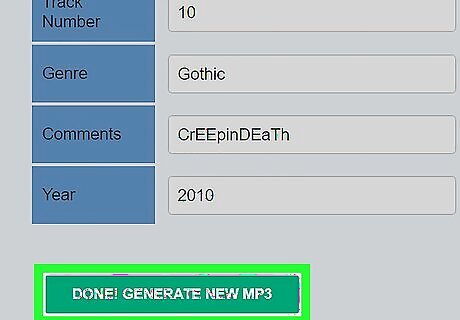
Scroll down and click Done! Generate New Files. Once the tagging is complete, your files will be available for download. Click each file name to download the new file with its newly-embedded album art.


Comments
0 comment