
How to Clean a Stanley Cup

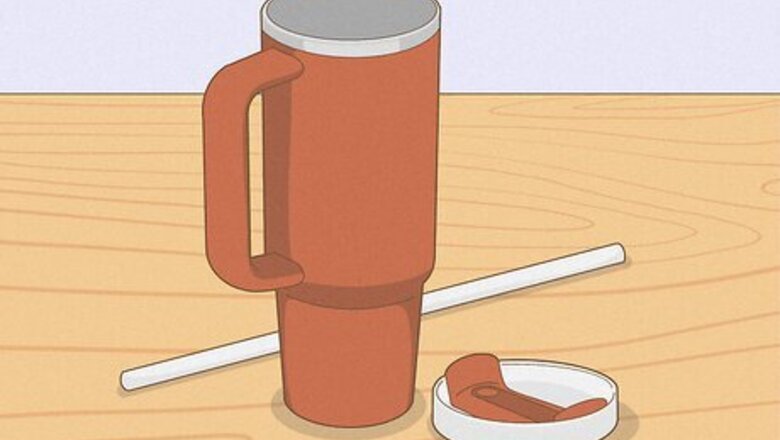
Disassemble your Stanley cup. Remove the straw, spout protector, and any other removable parts. Unscrew the lid from the cup and remove the straw. On the inside of the lid, squeeze the part where you insert the straw to pop off the rubber piece. This makes it easier to clean hard-to-reach areas.
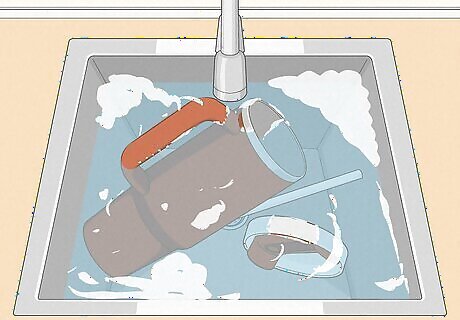
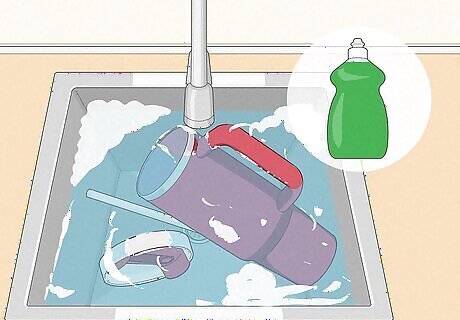
Soak the parts in warm, soapy water for 10-15 minutes. Fill a sink or basin with warm water and a few drops of mild dish soap and mix until suds form. Then, submerge all of the cup’s parts and let them soak to loosen dirt and grime. Add a splash of white vinegar to the soapy water for extra cleaning power.
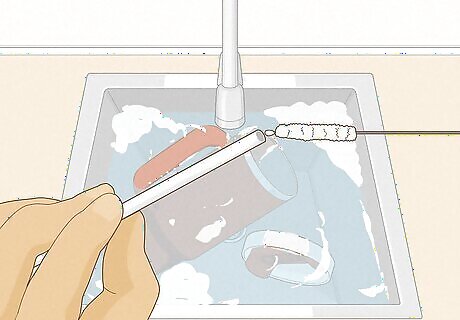
Scrub each part with a soft-bristle brush. Wet a soft-bristle brush or toothbrush with the soapy water and begin scrubbing each part to remove dirt and residue. Be sure to scrub the straw and spout protector extremely well, as moisture can accumulate and cause mold and bacteria to grow in these areas. Try using a cotton swab to clean grime in hard-to-reach areas. Use a straw cleaning brush to thoroughly clean the inside of the straw. Don’t use rough cleaning tools like steel wool when scrubbing your Stanley, as they could damage the cup.
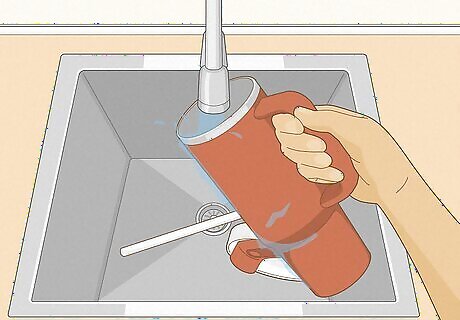
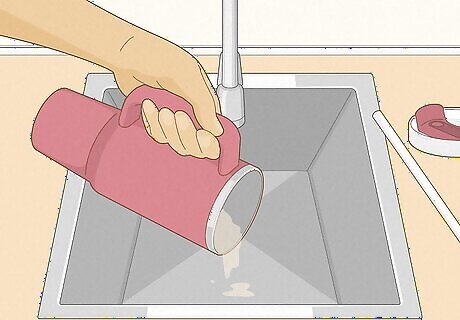
Rinse everything with clean water. After scrubbing, rinse each piece of your Stanley under clean, warm water to remove all soap and debris. It’s important to do this step thoroughly to prevent a lingering soap taste.

Dry each piece with a towel before reassembling. Pat everything down with a clean, dry towel, or allow each component to air dry on a drying rack. Make sure everything is completely dry before reassembling to prevent mold and mildew. Then, gently wipe your reassembled cup with a microfiber cloth to remove any fingerprints or smudges. To dry your straw, position it vertically so the excess water drains out before putting it away.
Can you put a Stanley in the dishwasher?

Most Stanley products, including the Quencher cup, are dishwasher safe. Just be sure to disassemble the cup first. It’s still a good idea to give your Stanley a quick scrub by hand before putting it in the dishwasher to make sure it gets as clean as possible. To keep your Stanley’s paint or finish looking its best, avoid using the dishwasher too frequently. Hand washing is best to keep it in tip-top shape. Always check the bottom of your Stanley cup (or other product) to make sure it’s dishwasher-safe. Place all components on the top rack of the dishwasher to avoid heat damage. If necessary, scrub each piece with warm water after the dishwasher has completed its cycle.
How often should you clean a Stanley cup?
Clean your cup daily or after every use. This may sound obvious, but the best way to prevent mold is to clean your Stanley after every use—even if you just drink water. When you’re done using your cup for the day, simply wash it with water and a bit of dish soap and let it dry overnight. Take the cup all the way apart at least once a week to deep clean all of the components, including the straw and lid.
Cleaning Hard-to-Reach Areas & Small Products
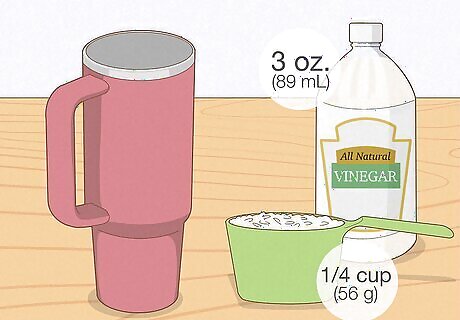
Loosen debris and sanitize difficult areas with raw rice and vinegar. This method is particularly useful for hard-to-reach-inside Stanley products like thermoses and flasks. Fill your Stanley with ¼ cup (56 g) of uncooked rice and 3 oz (89 mL) of distilled white vinegar. Seal the cup and shake it vigorously for a minute, then let it sit for 5-10 minutes. Shake again for another 1-2 minutes, then empty it and rinse with warm water. Leave it open until it dries completely. If you’re cleaning a Stanley cup, be sure to disassemble the straw and lid piece and hand clean them with soap and water.
Removing & Preventing Mold and Bacteria
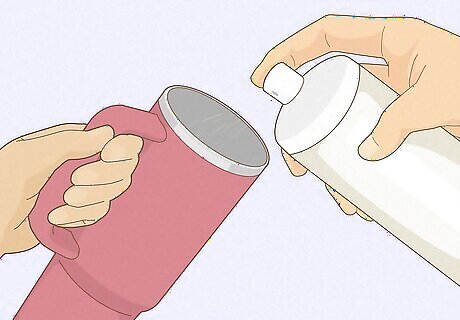
Spray your Stanley cup with white vinegar. To disinfect your Stanley and remove mold, fill a spray bottle with distilled white vinegar or hydrogen peroxide. Spray the cup’s surface and let the product sit for 5-10 minutes before rinsing with clean water. If necessary, repeat the process with the other product. For example, if you originally sprayed the cup with vinegar, you can then spray it again with hydrogen peroxide. Just don’t use the two products simultaneously. If you notice black gunk in your Stanley, don’t panic. It’s more likely to be bacteria from your mouth than mold. While that may sound gross, it’s organic material that’s relatively harmless. Even if there is mold in your cup, it probably won’t make you sick. Just wash it out and you should be good to go.
Do not store food and drink indefinitely. Because Stanley products are well-insulated and keep food and drink hot or cold for a long time, people sometimes think they can store food past its expiration. This is not the case, however, so always empty your cup or other Stanley products after each use and clean them thoroughly.


Comments
0 comment