views
- To create a fillable document, you first need to show developer tools.
- With developer tools showing, you can create checkboxes, drop-down menus, and fillable fields.
- Finally, protect your document so anyone can interact with the form without accidentally editing the document.
Using Windows
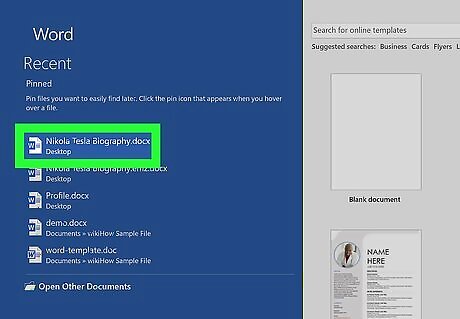
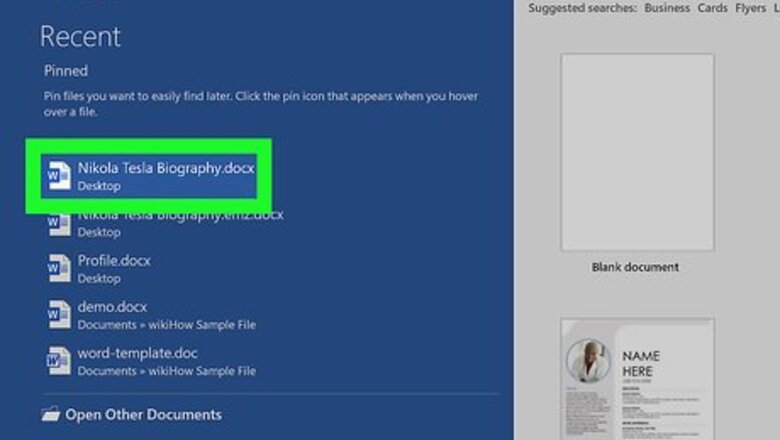
Open your document in Word. Click the Word logo in your Start menu, then you can either open a new document, create a new document from a template, or open an old document.
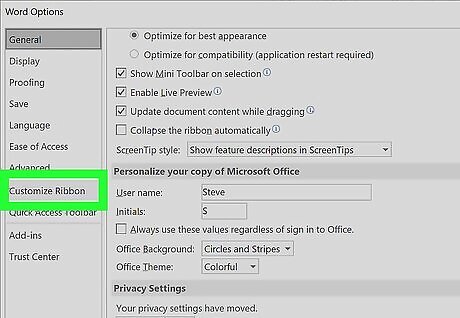
Click Options and Customize Ribbon in the File menu. You’ll find the File at the top of your program window, and a panel on the left side of the window will open. Options will be in the last option in the menu. The Customize Ribbon button is in the middle of the menu in the window that pops up.
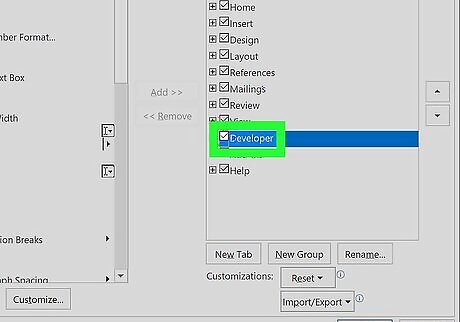
Check the “Developer” box in the Customize Ribbon panel. You'll see this under the "Customize the Ribbon" header over the right panel. If you don't see this checkbox, make sure the drop-box says "Main Tabs."
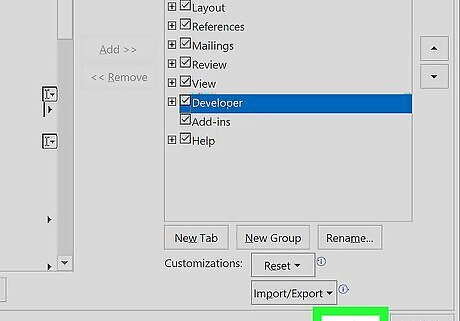
Click Ok. Doing so will add the "Developer" tab to your editing ribbon so you can create an interactive Word document.
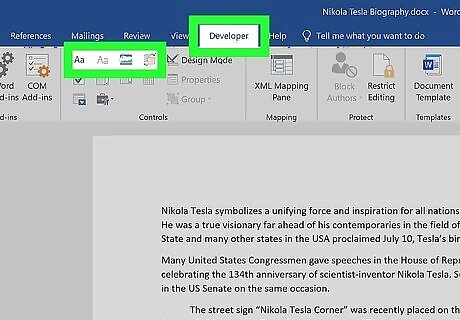
Create your form. Click the icons in the Developer tab to add elements, like checkboxes and fillable fields. You'll see the icons in the "Controls" grouping next to "Design Mode." The first “Aa” icon on the right side of the panel says “Rich Text Content Control” when you hover over it. This inserts an empty field into the document that can be filled with images, videos, text, and more. The second “Aa” icon says “Plain Text Content Control”. This will insert a blank fillable field into your document that the user can fill with text. The “Combo Box Content Control” icon is next to the check box icon, and this will insert a drop-down menu into your document. The "Properties" button will open options for you to add more items to the drop-down menu. The “Date-Picker” icon looks like a calendar and will insert an empty box that will launch a calendar so your form user can pick a specific date. The "Properties" button will open options for you to choose the box format and display. The check box icon adds a check box to your document. After this, you've created your fillable form! However, you can't use it completely until you've restricted editing of the document. By continuing on to the next steps, you can use keyboard shortcuts like Tab to go to the next question.
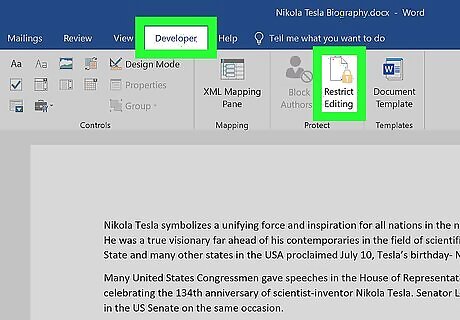
Click Restrict Editing in the Developer tab. This will pull out a panel from the right of your program window. Find it in the "Protect" group.
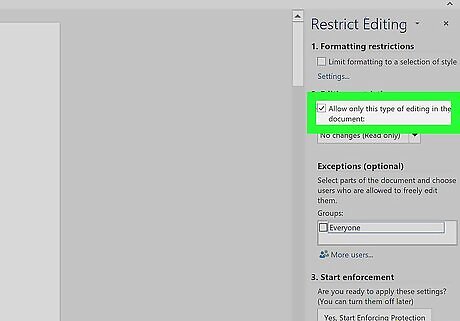
Check the second box next to “Editing Restrictions”. This will lock the document so no one can alter the text not in text boxes. If it's not automatically selected, make sure the drop-box says "Filling in Forms." If it doesn't, you can simply pick that option from the drop-down list.
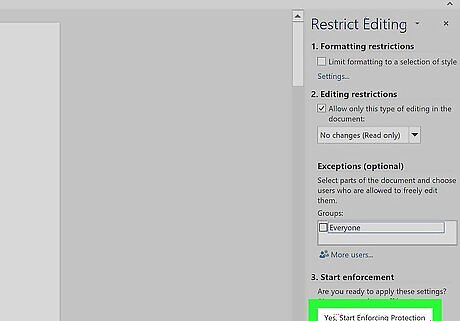
Click Yes, Start Enforcing Protection. A box will pop up asking for a password. You can enter a password if you want to allow other people with that password to edit your document. If you share the document without the password, others will only be able to use the fillable forms.
Using a Mac
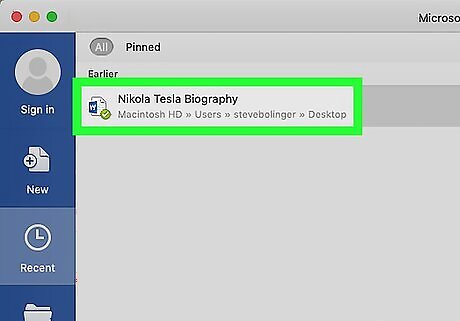
Open your document in Word. Launch Word from your Dock, Launchpad, or Applications folder. Then you can either open a new document, create a new document from a template, or open an old document.
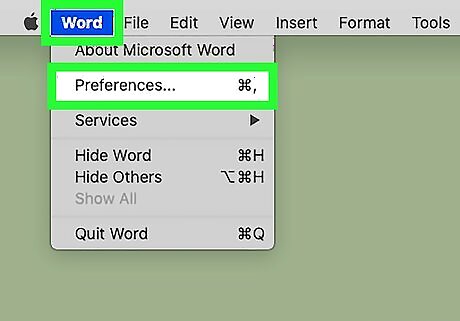
Click the Preferences tab under Word at the top of your screen. You'll see this next to the Apple icon Mac Apple. A new window will pop up.
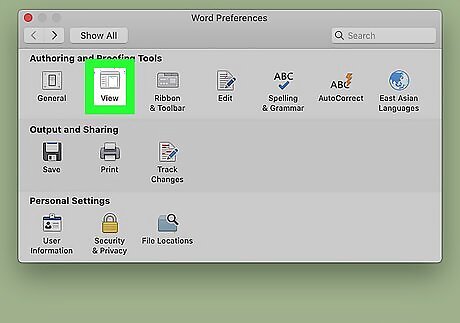
Click View. It's under the “Authoring and Proofing Tools” header next to General and Ribbon & Toolbar.
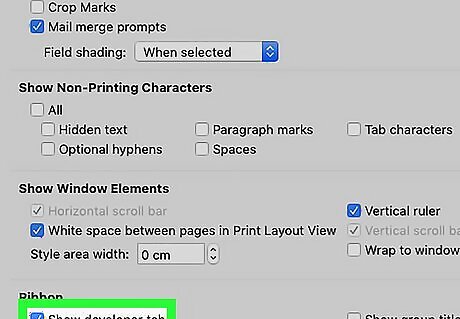
Check the “Show developer tab” box under “Ribbon”. You want to make sure the box is checked so the toolbar appears.
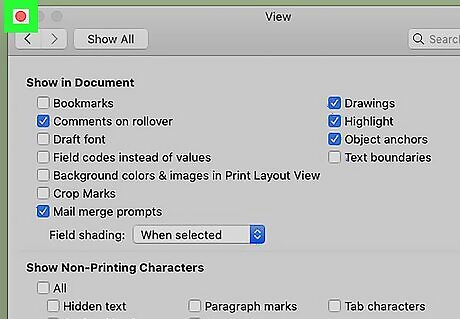
Close the window. Click the red button to close the window and return to your Word document. Alternatively, you can enable the Developer tab by going to Word > Preferences > Ribbon & Toolbar, then checking the box next to Developer in the list of options under the Customize the Ribbon header. Make sure Main Tabs is selected in the dropdown menu at the top of the list. Click Save.
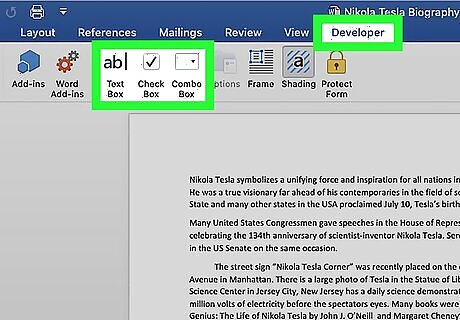
Create your interactive form. Click the icons in the Developer tab next to Options. The Combo Box icon creates something like a drop-down menu. Click the Options icon next to the Combo Box icon to access options to turn your combo box into a drop-down menu. The Check Box creates checkable boxes. The Text box adds fillable fields that control how text appears on a form. For example, instead of a document line with Name:_______ where the user can make a mess of the lines, you can use these fillable text fields to control where the text goes and how it appears. You can click the Options icon to open an options box where you can choose the input type. For example, if you have a text box, but are looking for a date, you can pick Date under the “Type” heading for this and the user will only be able to enter a date. After this, you've created your fillable form! However, you can't use it completely until you've restricted editing of the document. By continuing on to the next steps, you can use keyboard shortcuts like Tab to go to the next question.
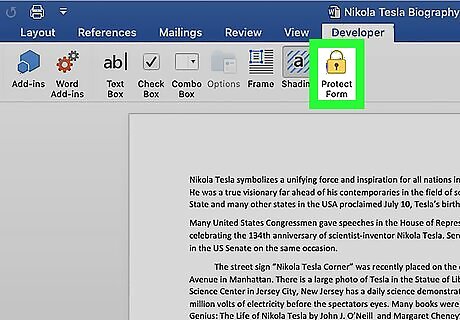
Click Protect Form. This will prevent you from making any edits to your fields, but will activate them so they are usable. If you want to password protect your document, you can go to the Review tab and click Protect Document.


Comments
0 comment