views
Using Windows Media Player on Windows 10
Open Windows Media Player. To find the program easily, type Windows Media Player in the Start menu and click the program search result. Insert the CD that you want to rip into your computer. Make sure that you place the CD logo side up in the CD slot or tray. If your computer doesn't have a CD slot or tray, you'll need to use a USB CD reader. Windows Media Player is only available to Windows computers running 10 and older.
Click Organize. You'll see this button that looks like a drop-down menu in the top left corner of the app.
Click Options. It's the last option in the menu.
Click the Rip Music tab. You'll see this tab near the top of the window.
Change the format to MP3. You'll see it under "Rip settings" in the format drop-down menu. By default, ripped music goes to your music folder, but you can click Change if you want to have the ripped files saved somewhere else. If you don't change this format, the files will be ripped in WMA format, which many iPods and Apple products do not play. Click Apply and OK to close this window.
Click Rip CD. It's at the top of the Windows Media Player window. You won't see this option if you don't have a CD inserted.
Using Windows Media Player Legacy on Windows 11
Open Windows Media Player. To find the program easily, type Windows Media Player in the Start menu and click the program search result. Insert the CD that you want to rip into your computer. Make sure to place the CD logo side up in the CD slot or tray. If your computer doesn't have a CD slot or tray, you'll need to use a USB CD reader.
Click Organize. You'll see this button that looks like a drop-down menu in the top left corner of the app.
Click Options. It's the last option on the menu.
Click the Rip Music tab. You'll see this tab near the top of the window.
Change the format to MP3. You'll see it under "Rip settings" in the format drop-down menu. By default, ripped music goes to your music folder, but you can click Change if you want to have the ripped files saved somewhere else. Click Apply and OK to close this window.
Click Rip CD. It's at the top of the Windows Media Player window. You won't see this option if you don't have a CD inserted. Alternatively, use Media Player. It's different than the Windows Media Player app! However, the program does not let you change the format to MP3 and you can only copy music from your CD in AAC, WMA, FLAC, and ALAC format. You can use third-party tools like Foobar 2000 and EZ CD Audio Converter.
Using Music on Mac
Open the Music app on your Mac. It looks like music notes on a red background.
Insert the CD that you want to rip into your computer. Make sure that you place the CD logo side up in the CD slot or tray. If your computer doesn't have a CD slot or tray, you'll need to use a USB CD reader.
Choose what music to import to your computer. As soon as your computer recognizes the audio disc, you'll see a window pop up with options. Select to import all the songs from the disc or certain songs. If the import settings are different than MP3, go to Settings > Files > Import Settings and choose "MP3." There will also be other choices you can make for quality, but the default settings are usually ok.
Click Ok. This will begin importing your music from your CD to MP3. If your CD is importing too slow, go to Settings > Files > Import Settings and check or uncheck the box next to "Use error correction when reading Audio CDs." Another reason for a slowly importing audio file is that the disk is dirty or scratched. Eject the CD and try to clean it.
Using iTunes on Windows

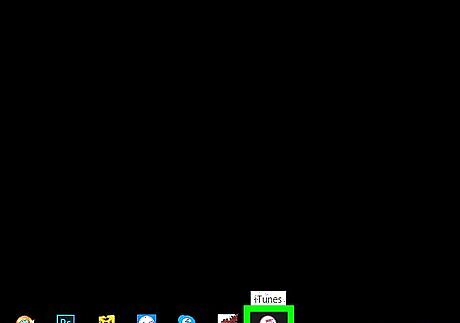
Open iTunes. The iTunes app icon resembles a multicolored musical note on a white background. You can still use iTunes on Macs running Mojave or earlier.
Click the Edit tab and select Preferences. This will open another window.
Click General and select Import Settings. You can change the format that your music rips as.
Select "MP3" then click Save. You've changed the format of the music you're about to rip.
Insert the CD into your computer. Make sure that you place the CD logo side up in the CD slot or tray. If your computer doesn't have a CD slot or tray, you'll need to use a USB CD reader. As long as you insert the CD after iTunes is opened, you'll be prompted if you want to import the songs into iTunes. If you don't see a prompt or if iTunes doesn't automatically import your music, click the CD icon near the top left of the window. Import the songs you want by clicking the checkboxes next to each song.


Comments
0 comment