views
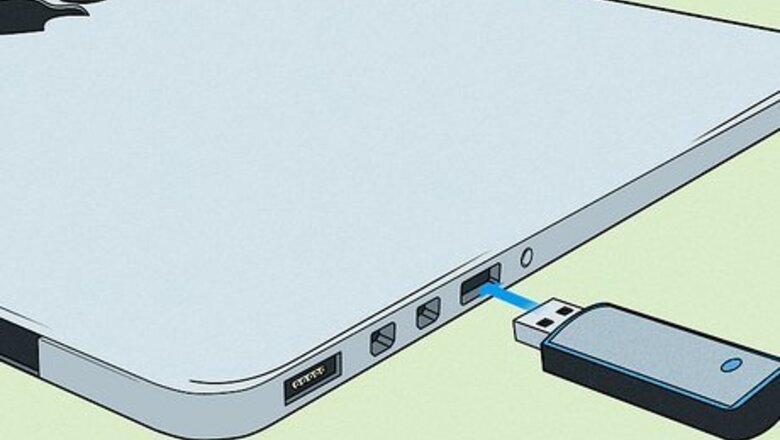
- Your computer should open your USB flash drive's contents as soon as you plug it in and the computer discovers it.
- If you're using a Mac, double-click the drive on your screen to see your flash drive's contents.
- If you're using Windows, go to "File Explorer" and click your drive's name in the panel on the left.
Using a Mac
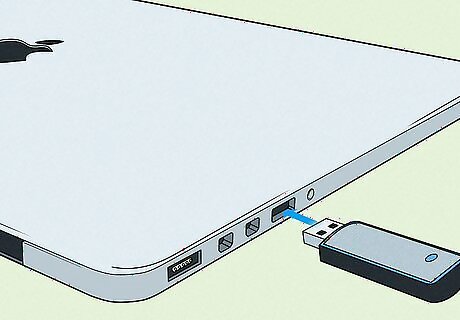
Plug the drive in any available USB port. Wait a few moments while the computer automatically sets the drive up to be accessed. If the flash drive has been formatted using the NTFS filesystem, then it will not be recognized in Mac OS X. The flash drive must be formatted in the FAT32 filesystem. This means that a USB drive that you used on a Windows computer cannot be used to transfer files or music to a Mac unless it's formatted in the exFAT filesystem.
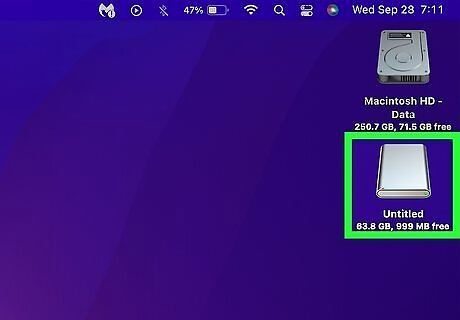
Wait for the drive to appear. Once the drive is successfully installed, it will appear on your desktop. You can double-click it to open it and browse the files as you would any folder on your system.
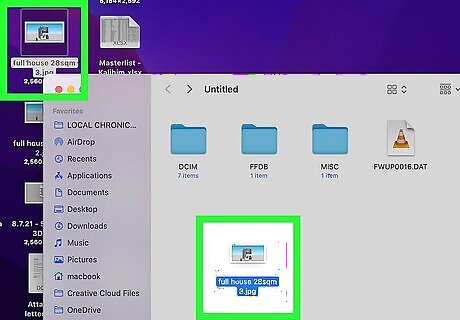
Copy and paste or click and drag files and folders onto the drive. Once the transfer process is complete, you can remove the drive from the computer. To safely eject your drive from your Mac, make sure the trash is empty, then click the eject icon next to your drive's name in Finder. When your USB flash drive stops blinking, your Mac has stopped using it and ejected it. You can remove it from the port.
Using Windows
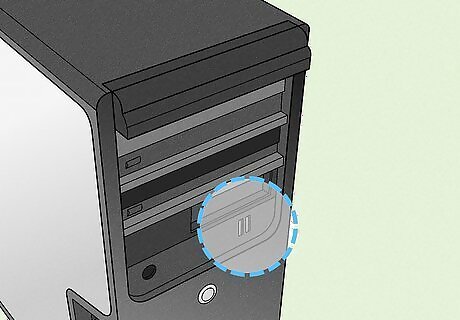
Find a USB port. On laptops, they are typically located on the sides or on the back panel. For desktop computers, most have front ports, as well as several ports on the backside. The front ports may be hidden by a flap.
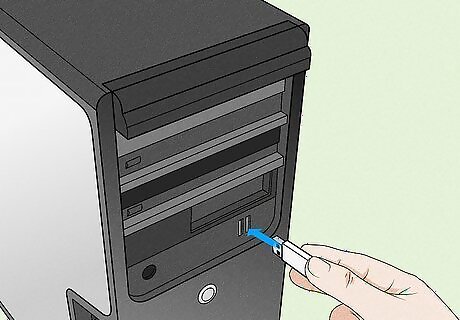
Insert the USB drive into the port. If you plan to use it frequently, insert it into the front port for accessibility reasons. You shouldn't try to force it in. Generally, USB drives insert one way, so if it doesn’t fit, try turning it upside down. When you insert the flash drive, Windows will install the drivers for it automatically. You will see notifications about this in the bottom right corner of the desktop. NOTE: If Windows isn't able to identify the device or install the drivers automatically, you may either visit the manufacturer's webpage for the appropriate driver (it is often located in the support or download section of the website) or visit the Windows Compatibility Center which lists thousands of devices and links to their respective webpages. Unless it has been disabled, the Autoplay window will open when you insert your USB drive. It will list several options depending on what is stored on the flash drive. The most common one is “Browse files…” If it doesn't, press Win +E to open File Explorer. This will list the devices attached to your computer in the panel on the left side of the window. You should see your USB flash drive here. It is often named for the manufacturer of the drive. Double-click it to open the drive. If you don't see the drive, try moving it to another USB port on your computer. The port you're currently using might not be working. If it still doesn't work in a different USB port, test it with another computer to see if your drive is working. You'll know your drive is bad if another computer doesn't locate it.
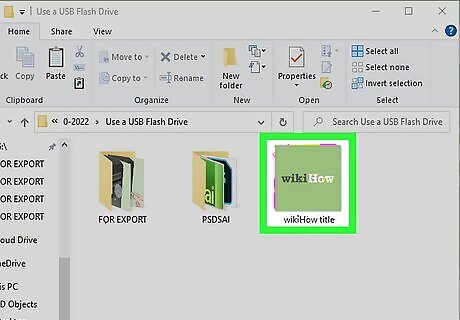
Find the file you want to copy. Then, navigate to the file(s) you want to copy to the flash drive. You can either copy and paste them to the flash drive, or click and drag them.
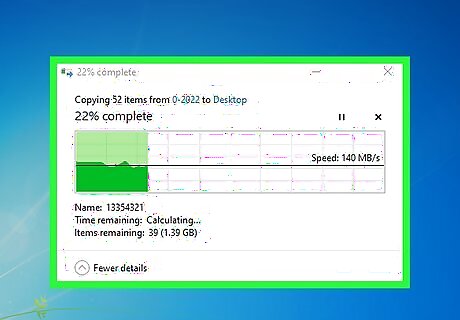
Wait for the transfer to complete. This could take several minutes depending on what you are copying. Once the transfer is complete, you can remove your flash drive. Since Quick Removal is usually the default setting on most Windows 10 computers, you can easily remove the USB flash drive from your computer without needing to click anything. Just make sure nothing is being copied to or from the flash drive before pulling it out. To remove the USB Flash Drive safely if you have "Quick Removal" off, click "^" in the taskbar and click your USB icon then click "Eject."


Comments
0 comment