views
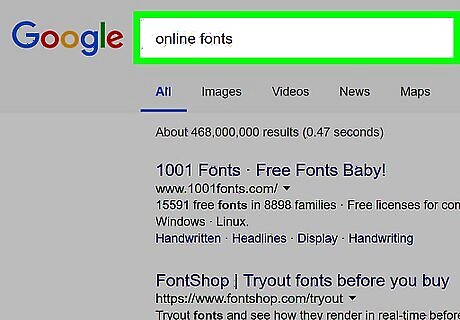
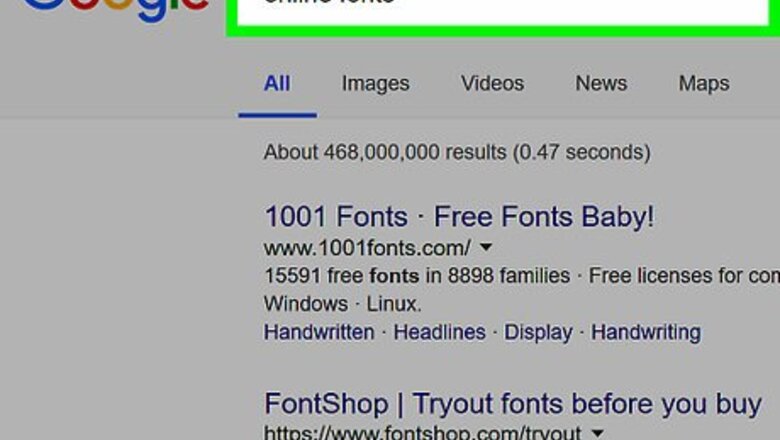
Get the fonts. If you're talented, you might want to make your own font. Just make sure the font works and its in .ttf or else it won't work. If you don't want to make your own font, you can download the font online from one of the many font websites. Choose the fonts, and just click download.
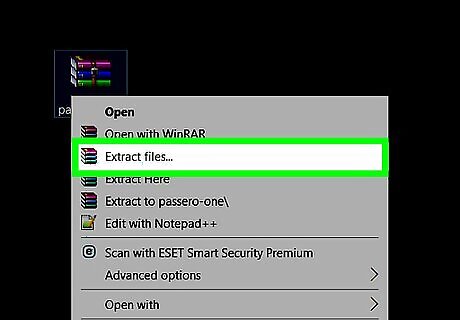
Unzip the fonts. Most fonts downloaded from the internet are zipped, and you have to unzip it before you go onto the next step. Download a unzip app, any unzip app will work, then just simply unzip the font folders. You can find the folders from MyFiles > Device > Download.
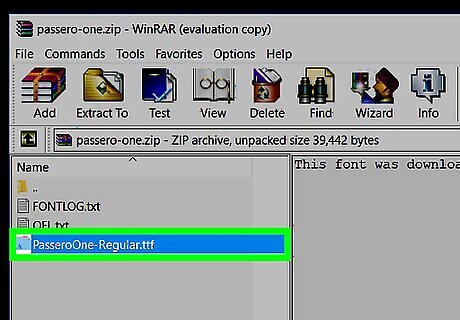
Transfer the TTFs. Make sure the font content are in .ttf , or else it won't work with PicsArt. Copy the TTFs to Device > PicsArt > Font folder. If you cannot find the "font" folder, simply create one. If you cannot transfer files by your phone, do this by a computer.
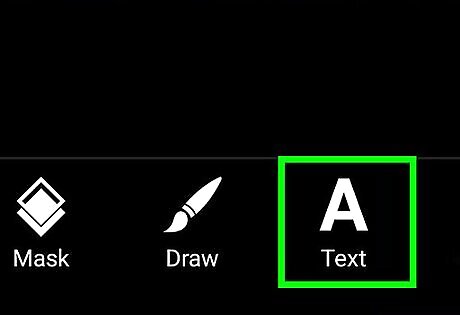
Open PicsArt and click TEXT.
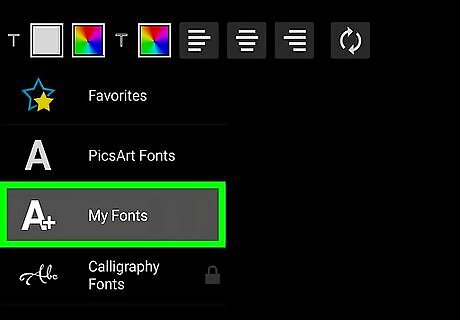
Click on "My Fonts". Now you can see all your downloaded fonts!


Comments
0 comment