
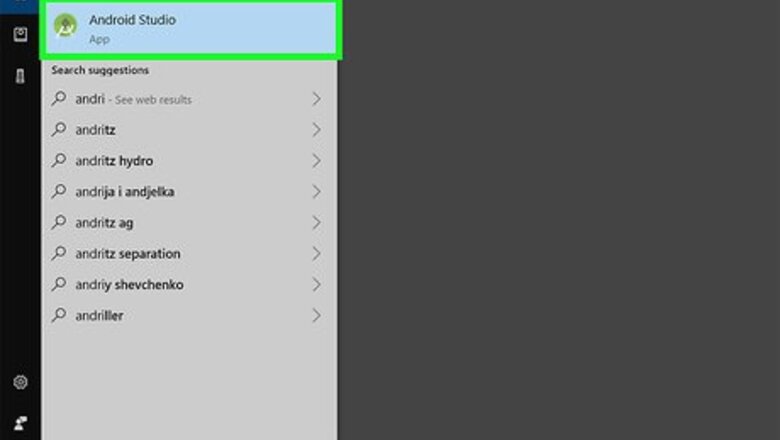
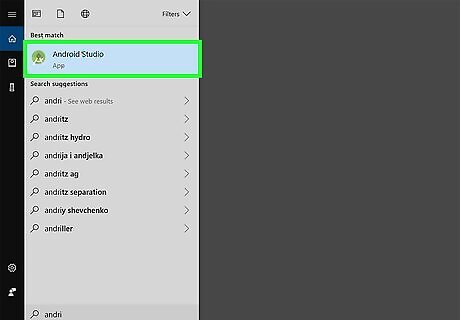
Launch Android Studio. This will produce a pop-up window with a list of options. You can find Android Studio on your desktop or by clicking on the Windows Start Start button and searching for Android Studio in the search bar. The app icon looks like a drafting compass on a green circle. If you do not have Android Studio installed, it can be downloaded for free by going to https://developer.android.com/studio#downloads and selecting Download Android Studio. You can also select Download Options for other options, such as the Mac or Linux versions of the program. Agree with the terms to start the download. Follow any onscreen instructions to finish setting up the program.
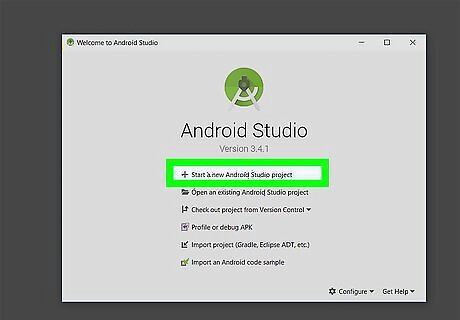
Select Start a new Android Studio project. Click Open an existing Android Studio project to edit a project you’ve already been working on. If you are starting a new project: Start by selecting a device type by clicking on one of the tabs at the top of the pop-up window, and by selecting an activity type. Click Next to continue. Name your project, choose a programming language, and the minimum API level required.
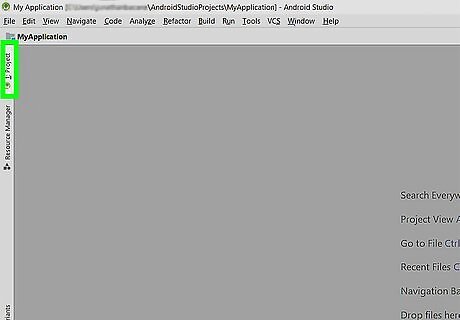
Click on the name of the project on the far left-hand side of the window.
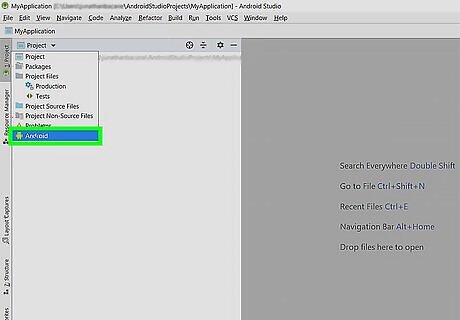
Select the Android 7 Dropdown arrow next to the project name and select Android.
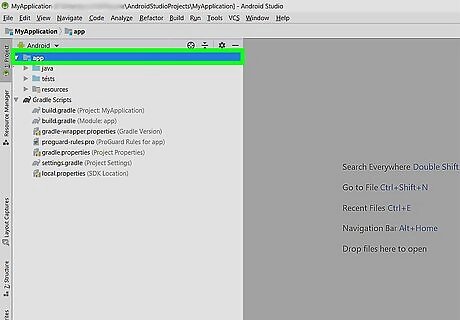
Expand the drop-down menu Android 7 Dropdown arrow next to App.
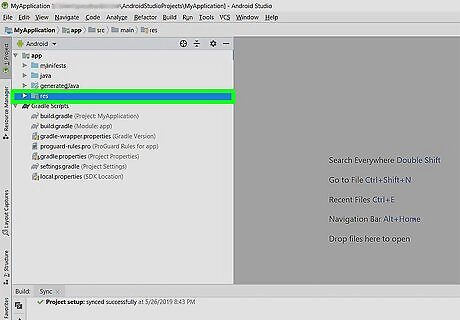
Expand the drop-down menu Android 7 Dropdown arrow next to res.
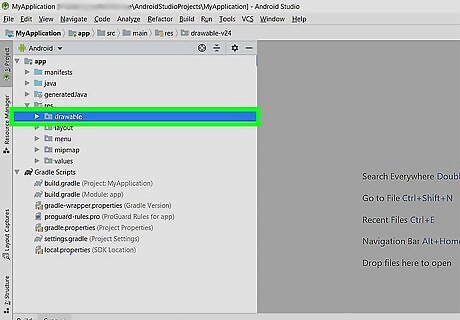
Click on the drawable folder. The desired folder will be drawable within the res folder.
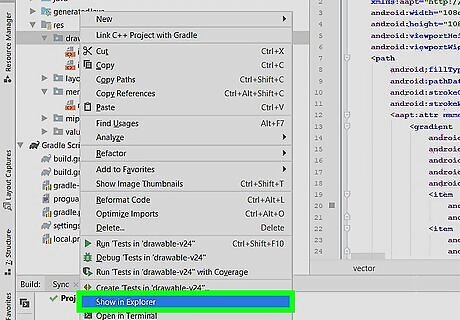
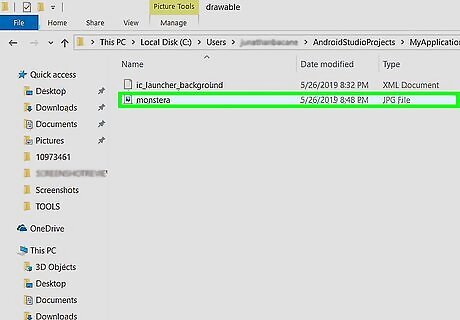
Drag the image file to the drawable folder in Android Studio. This will produce a pop-menu titled Move. You can also copy and paste the image file to the drawable folder instead of dragging and dropping. To find the image file, click on the Windows 7 Explorer Explorer icon on your taskbar or the Start icon Windows Start to navigate to Explorer. Use Explorer to find the folder containing the desired image.
Select OK in the pop-up window. You can double-check that the directory listing is correct by looking for drawable listed at the end of the listing.
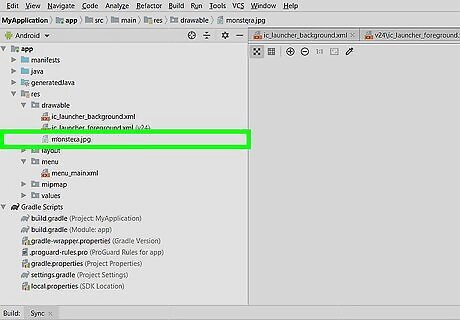
Double-click the image name under drawable. You have now added an image to a project in Android Studio.


Comments
0 comment