views
Setting Up a Changing Space
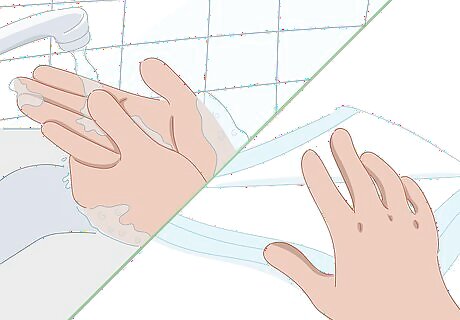
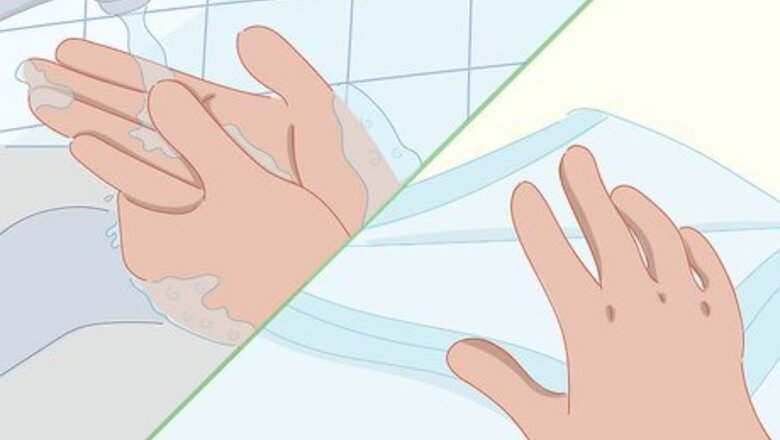
Prepare in advance. You’ll want to prepare yourself, your child, and an area to change the diaper. It helps to set things up in advance, as you won’t be able to leave your child unattended once you begin. Be sure to have time set aside for this alone, as you won’t be able to start and stop again. Wash and dry your hands. If you’ve got to keep an eye on your child, use baby wipes to clean your hands. Find a comfortable surface on which to change the child’s diaper. Make sure it isn’t cold to the touch, and that you’ve got something padded like a towel or changing mat on which to put the child. If you’re out of the house, you’ll want to look a for a smooth, flat area that is large enough to change your child. Do your best to make it as private as possible and as removed from others as you can make it. Ideally, you’ll have a changing mat to make any flat surface into a suitable changing area.
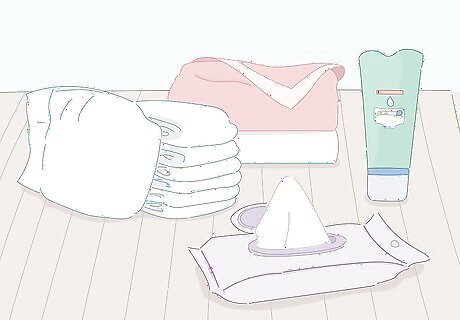
Gather your supplies. Again, you won’t be able to step away from the changing area once you begin, so ensure that everything is within arm’s reach. Be sure to tailor whatever you choose as a changing surface to fit everything you’ll need. Fortunately, it won’t require any more than a few feet or a meter or so of space. Here’s what you’ll need: a new disposable diaper, baby wipes, a cover cloth (for little boys), and a change of clothes (as necessary). If your child is prone to rash, keep some petroleum jelly or diaper rash ointment handy. Keep these objects out of reach of the baby and out of the way of their feet. The last thing you’ll want is to clean up spilled baby powder after changing your child’s diaper.
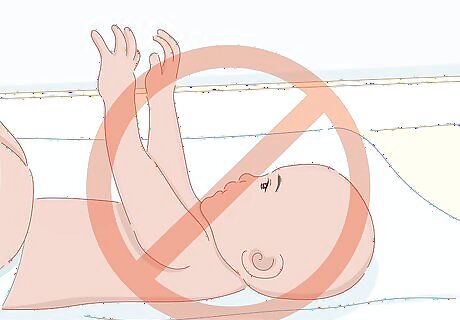
Plan ahead. A child can never be left unattended when changing their diaper –– accidents can occur very easily if they roll over, climb off the changing area or get caught in any items around the changing area. Because of this, you’ll want to be sure the time you have to change your child’s diaper is totally uninterrupted. If you must leave the change area for any reason before completing the change, take the child with you or ask someone else to attend to the diaper change before you walk away from the changing area. You’ll also need to keep one hand on the child at all times unless you’ve got a changing table with some sort of strap. Even if you have the strap, however, never leave the child unattended.
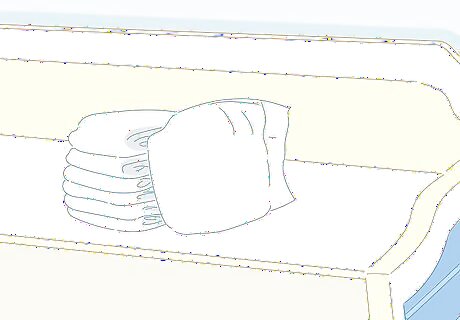
Keep a well-stocked diaper bag for when you’re out of the house. Unfortunately, you won’t always be home when your child needs a change. You may occasionally find yourself in places where no changing table is available. If this seems like a regular possibility, consider picking up a portable changing mat for such occasions. Keep it alongside clean diapers and baby wipes to use as a changing station wherever you are.
Removal of the Used Diaper
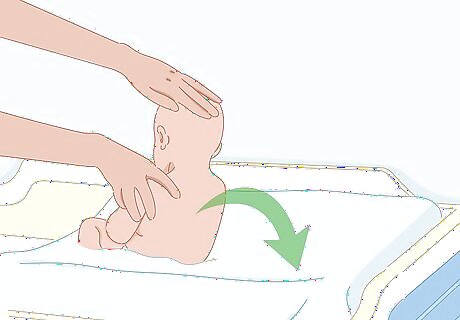
Lay the child on a flat surface. Make sure the surface is clean, dry and not cold to the touch. Stand at the edge closest to your child’s feet, with them lying down in front of you, their toes closest to your body. Remove any clothes that will impede the changing of their diaper. After laying your child down, wait for a second or two before beginning to change their diaper. They’ll usually let you know if they’re feeling uncomfortable. If you haven’t already, invest in a waterproof changing mat. They’re padded, reliable, and incredibly handy considering how often diaper changes will be repeated. If you are changing the child’s diaper on an elevated surface, keep at least 1 hand on the child at all times.
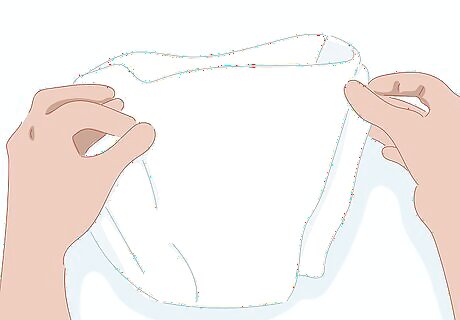
Open the clean diaper and position it. With your child in front of you, take a clean diaper in hand. Notice the two halves (front and back) that make up the diaper. Grab the back half by its tabs on either side, with the front half curving towards yourself. Slide the back half underneath your child’s backside and dirty diaper, up to waist height. This serves as extra padding as well as a buffer between the surface and dirty diaper. When picking up your child’s lower half, grip their ankles with 1 hand (keeping a finger in between the ankles) and lift straight up. If it seems like the dirty diaper will be an exceptional mess, consider using a clean towel or wipes under the dirty diaper and taking care of it entirely before moving on. Double-check that the clean diaper is secure and balanced on either side before moving on. It’s far easier to adjust it now than it will be later.
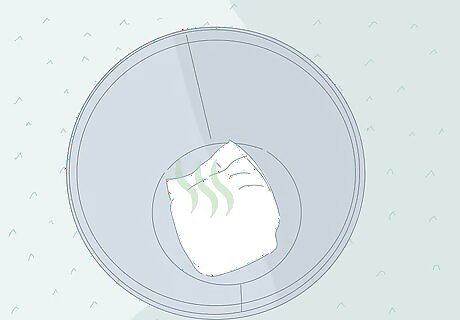
Remove the soiled diaper. Be sure the trash can or diaper pail is close at hand for this step; the less time spent handling the messy diaper, the better. Also remember to keep 1 hand on or close to your child, even when managing their messy diaper. Open the tabs of the soiled diaper and keep them open for use once complete. Pull the front half of the soiled diaper away from the child. If your child is male, lay a clean cloth (such as a small towel or receiving blanket) over his penis to avoid any mess on either of you. Use the front half of the diaper as a wipe, and wipe from front to back if there’s any mess left behind on your child’s bottom. Before moving the diaper away from them, fold it in half so the clean side faces the baby. Use the open tabs to shut the messy diaper, forming a tidy ball. Lift the child again by their ankles and remove the soiled diaper so that any dirty portion does not touch the child. Set the diaper to the side or throw it away if you’re close enough to the receptacle.
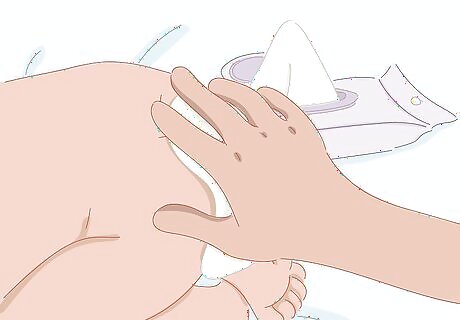
Clean the child’s bottom. If you don’t have baby wipes, use damp cloth or gauze. Don’t use anything that feels especially abrasive. If it feels rough to you, it definitely will for your child. Be sure to be comprehensive when cleaning, check every nook and cranny for remaining mess to prevent infection or rash. When you wipe, do so from front to back (especially with female children) to avoid infection. Keep the child's bottom up while you wipe off the larger bits of stool first, then wipe off the remainder of it. As you use the wipes, place the used wipes inside the soiled diaper that you just removed. Once complete, allow your baby's skin to air dry for a minute or so. Pat them dry with a clean towel if they’re still wet after this time. To prevent rash, you may want to include some cream or petroleum jelly before fastening a new diaper.
Placing the New Diaper
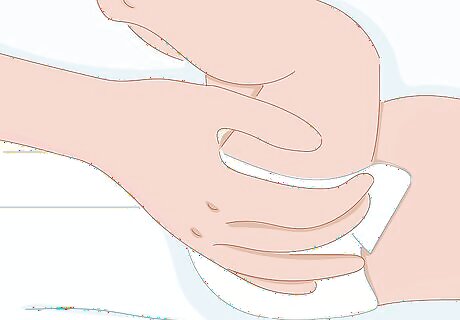
Bring the clean diaper into position. Take the front half of the clean diaper by the side tabs and bring it up to your child’s waist. You’ll want to make sure that the sides are not too tight, and that the ruffle is facing out around the leg to prevent leaks (which can lead to chafing and diaper rash). If your child is male, direct his penis towards his feet to prevent him from urinating over the diaper and onto himself. When your child is a newborn, position the diaper so that it doesn’t cover the umbilical cord stump. There are special diapers made for newborns with folds in this specific place. Before fastening the diaper, make sure their legs are spread and there’s as much space as possible. Doing this will avoid bunching in advance.
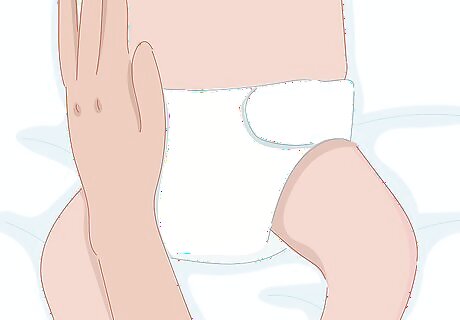
Fasten the new diaper. Use the tabs on both halves and stick them together to fasten the new diaper. Again, make sure the fit is such that it’s not too tight but isn’t about to fall off. Check to see if there’s any bunching before replacing their clothing. Once they’ve got their clothing back on, check to see if they look comfortable as one last check of the diaper’s fit. Make sure their mobility is as it should be.
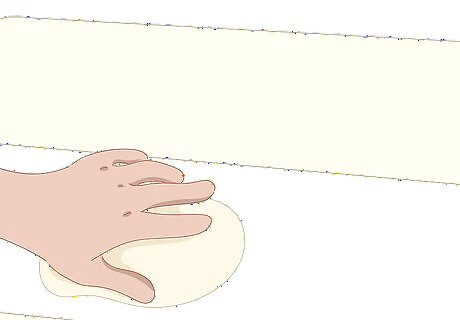
Take the child off the changing surface and clean up. Once the new diaper is secured, move your child from the changing surface to a safe area where they can be left unattended, such as their playpen. Then return to your changing area to clean up whatever has been left behind. If you can, disinfect the changing surface after every use. Wash your hands and the child’s hands with soap and water immediately afterward to rid yourselves of any lingering mess or associated bacteria.


Comments
0 comment