
Create the New Gmail Address

Sign out of your current account. If you're currently logged into your Gmail account, you'll need sign out before proceeding further. From your inbox, click on your user icon in the upper right corner of the page. Click on the "Sign out" button from the resulting pop-up menu to log out of your account. Once you sign out, you should be automatically redirected to the Gmail homepage.
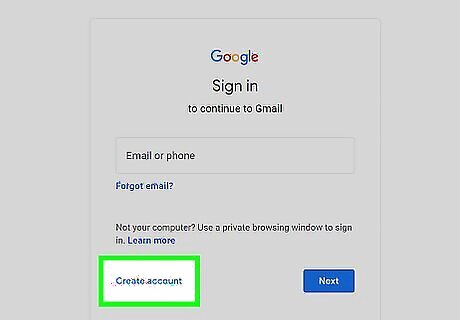
Click on "Create an account." Look for the words "Create an account" on the Gmail website. Click on this button to begin the process of creating a new address. If you are not automatically redirected to the Gmail homepage, you will need to navigate there manually. It can be found at: http://mail.google.com Upon clicking this link, you should be redirected to the "Create your Google Account" page.
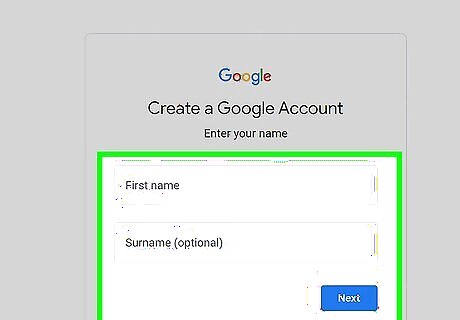
Fill out the required information. On the "Create your Google Account" page, you will need to fill in a form asking for your desired username and other basic information. Your username will be your new Gmail address. You also need to provide your first name, last name, password, birthday, country, and gender. While it isn't necessary, you should also enter a mobile phone number and verification e-mail address. Doing so makes your account more secure. You can use your old Gmail address for your verification address, if desired. Fill out the CAPTCHA text, as well, and mark the checkbox indicating that you agree to Google's privacy policy and terms of service.

Submit your information. Click on the blue "Next step" button beneath the sign up form. Doing so will create your account and redirect you to your Google+ profile page. Since you'll still be using your old account for most Google services, you don't need to spend time customizing the details of your new account.
Finalize the account. Your new Gmail address has already been created at this point. Click on the "Continue to Gmail" button once to visit your new inbox. The first part of the process is complete. After this, you'll need to set things up to redirect e-mail messages from your new address to your old, established account.
Forward Messages from the New Address[2] X Research source

Click on the gear icon. Locate the gear icon in the upper right corner of your inbox. Click on this button and choose "Settings" from the resulting pop-up menu. Note that you should still be signed into your newly created Gmail account at this point. You will change the settings from this account so that any e-mail messages sent to your new address will be forwarded to your established account.
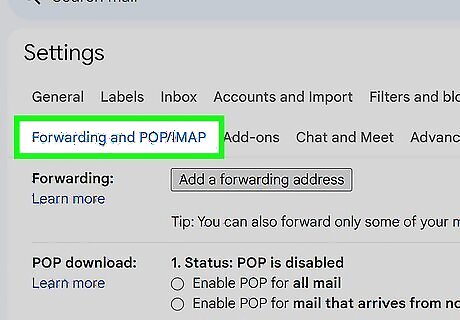
Open the forwarding tab. From the "Settings" page, click on the "Forwarding and POP/IMAP" link near the center top of the page. You'll only need to concern yourself with the first section of this tab, labeled "Forwarding." You can ignore the other sections right now.
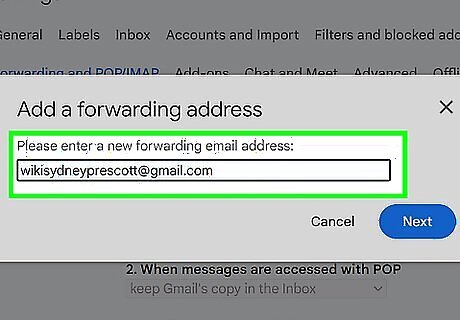
Enter your old address as your forwarding address. Look for the button labeled "Add a forwarding address." Click this button and enter your old Gmail address in the resulting entry box. As soon as you confirm this e-mail address, Gmail will send a verification message to your old address.

Sign into your old address. Log out of your new Gmail account, then log into your old one. Look for the verification e-mail that just went out. The verification message should arrive within a few minutes. If you don't see it in your inbox, check your spam folder.
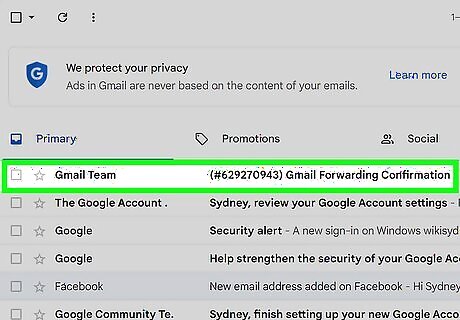
Click on the verification link. Upon opening the verification message, you should see a special verification link. Click on that link to confirm your forwarding request.

Return to your new Gmail account. Log out of your old Gmail account again and back into the new account. Once you return to your new account, return to the same settings page as before. Click on the gear icon, then click on "Settings." Select the "Forwarding and POP/IMAP" tab on the default "Settings" page.
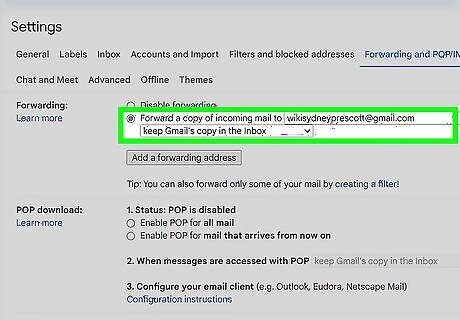
Set up forwarding. If it isn't already checked, check the box beside "Forward a copy of incoming mail." Choose your old Gmail address from the drop-down menu beside that option. You'll also need to indicate what you want Gmail to do with your messages after they've been forwarded. You can either opt to "keep Gmail's copy in the Inbox" or "archive Gmail's copy."
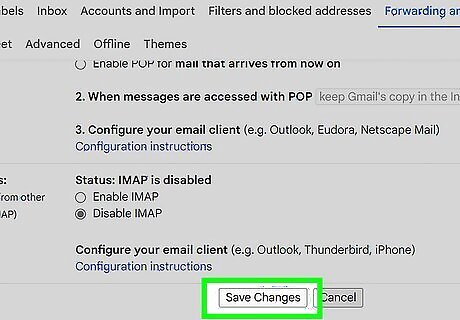
Save your changes. Scroll down to the bottom of the page and click on the "Save Changes" button. After completing this step, you'll be able to check messages sent to your new address from your old account, effectively allowing you to change the address of e-mail being sent to your old account.
Send Mail from the New Address[3] X Research source
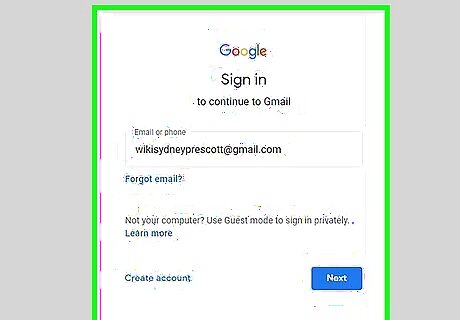
Sign into your old account. Log out of your new Gmail address, then sign back into your established account. You'll need to change the settings in your old account so that messages you send from it will appear to come from your new address when viewed by the recipient.
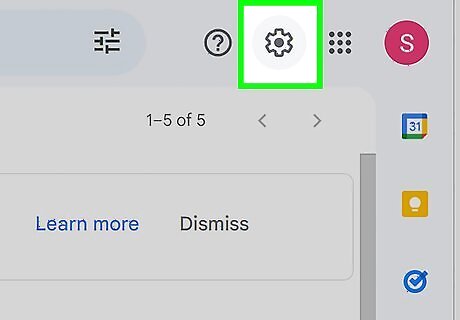
Navigate to your settings. Click on the gear icon in the upper right corner of your inbox. Select "Settings" from the resulting drop-down menu. This should automatically redirect you to the "Settings" page. Once you arrive at this page, click on the "Accounts and Import" tab.

Add your new "Send mail as" address. Locate the "Send mail as" section. Click on the blue "Add another email address you own" link. The "Add another email address you own" pop-up window should appear. Type in your new Gmail address in the "Email address" field and make sure the "Treat as an alias" box is checked. Click on the "Next Step" button, then enter your username and password for the second Gmail account. Click on "Add account" when you're finished. As soon as you do this, Gmail should send a confirmation message to your second account.
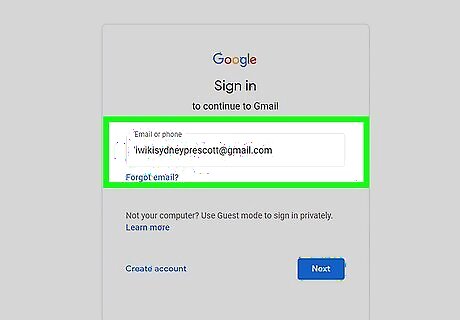
Navigate to your new account. Sign out of your old account and back into your new address. Look for the confirmation message in your inbox. If you don't see the message in your inbox, check the spam folder.
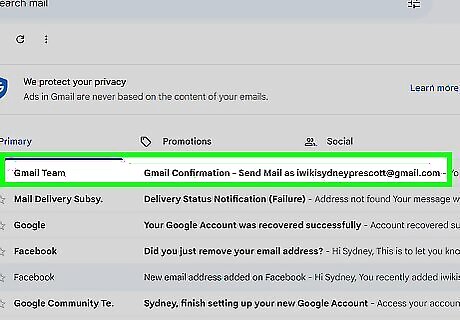
Click on the confirmation link. Open the message and click on the confirmation link listed in the body of the e-mail. At this point, the two accounts should be linked together.

Sign back into your old account. Log out of your second account once more and sign back into your original account.

Create a new message and change the sender. From the inbox of your original account, click on the "Compose" button to start a new message. Click on the "From" link in the new message box. Doing so should cause a drop-down menu to appear. Select your new address from that menu to send the message as your new alias. Note that when you forward or reply to a message, you will need to change the address by clicking in the field where your recipients are listed and clicking "From" in the resulting menu. Select your new address and proceed to write and send your message as usual from that point.


Comments
0 comment