views
Using a Battery Charger
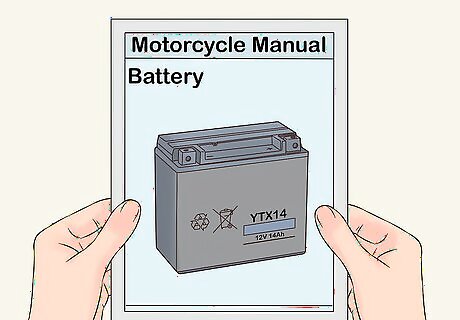
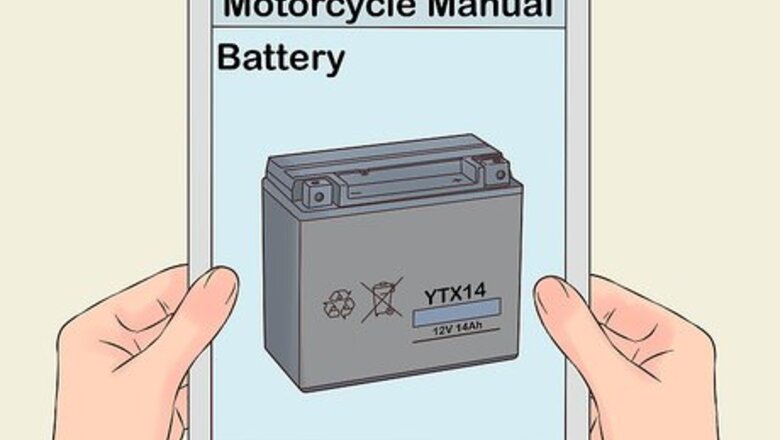
Find out your battery type. Motorbike batteries come in all shapes and sizes. If you’re not sure what kind of battery your bike has, look up this information in the manual. Alternatively, find this information printed on the side of the battery itself.
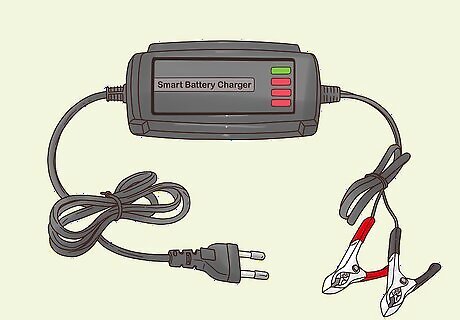
Use either a trickle, float, or smart charger for most battery types. These chargers work best on lead acid, gel, or absorbed glass mat batteries. Do not use these chargers with lithium batteries. Trickle, or fully manual, chargers are the easiest type to use. These chargers take the AC power and convert it to DC. However, you will have to turn these charger off or else they will keep pumping energy into the charger. Float chargers are another common type of charger. They provide a constant, gentle, current to the battery. Smart chargers monitor battery charge progress. This type of charger also minimizes damage to the battery as they stop charging when the battery is full. Unfortunately, smart chargers don’t typically work well with lithium batteries.
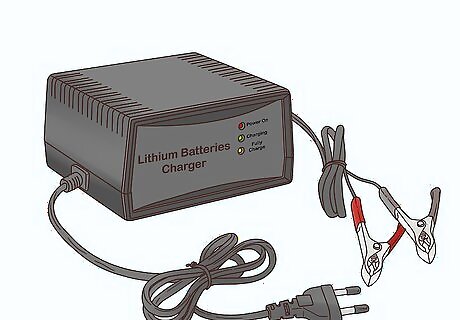
Buy a specialized charger for lithium batteries. Lithium batteries, including lith ion, lith-iron, and lithium phosphate require special chargers depending on which manufacturer made them. Check the manual for more information about which charger you'll need if you have a lithium battery.
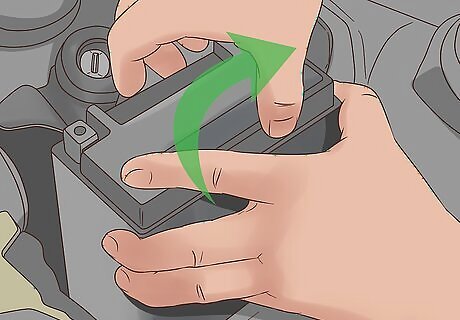
Take the battery out of the motorcycle. Avoid leaving the battery inside the bike while charging it, as this could damage to other components. Generally, to remove a battery you must disconnect the negative cable first and then the positive cable. Then, release the battery from anything connecting it to the motorcycle body and lift it out of the bike. Removing the battery is a tricky operation. Read the manual before you do anything else. The manual will tell you where the battery is, how to access it, and how to disconnect it. Every motorbike is different so reading the manual is a must. Tracy Martin Tracy Martin, Motorcycle Electrical Specialist A discharged motorcycle battery should be removed and charged externally whenever possible. Onboard charging risks overloading sensitive electronics. Use a smart charger to safely bring the battery to full power without overheating. If the battery no longer holds sufficient charge, replacement is the best option, as trying to revive a damaged cell through desulfation has minimal success. When installing the new battery, carefully connect the positive lead last to avoid short circuits.
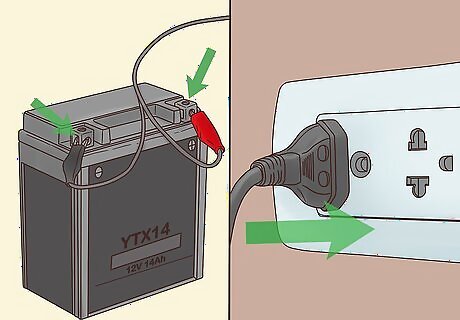
Connect the battery charger. Attach the charger to the battery terminals in any order. Make sure the battery terminals are properly connected to the charger. When properly connected, plug in the charger. The best and safest place to charge the battery is outside or in a well-ventilated area. The process of battery charging creates hydrogen gas, a highly flammable substance. Overcharging also produces hydrogen sulfide, which is incredibly bad for you. Non-smart chargers will need to be constantly monitored so you can make sure they don’t overcharge the battery.
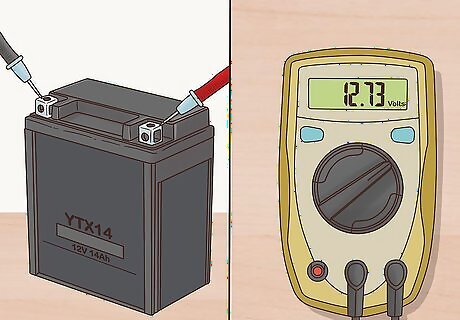
Check to see if the battery is charged. A smart charger will tell you when the battery is fully charged. For other batteries, perform a voltage test. Disconnect the battery terminals from the charger. Then plug the battery leads into a DVOM, also known as a multimeter. Put the black lead into the COM slot, and the red lead into the V slot. Turn the multimeter onto the 20V DC section of the scale. With the bike completely off, touch the black lead to the negative post of the battery and the red lead to the positive post. Then record the voltage. If the voltage measured 12.73 volts or better, then your battery is charged and ready to go. Anything between 12.06 volts and 12.62 volts means you battery needs to be charged for longer. Anything less than 12.06 volts and your battery might be ruined, but you can try charging it more.
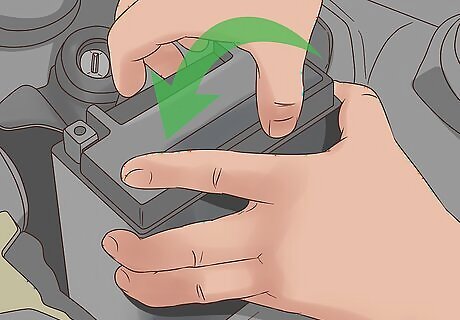
Install the battery. When charging is finished, unplug the charger from the battery. Read the manual again to find out how to put the battery back in the right way. Attach the positive cable first and then the negative. The battery should now be working properly again.
Jump-Starting the Battery
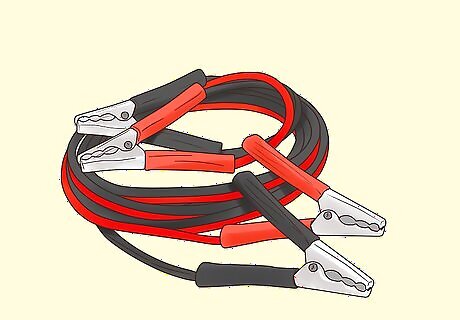
Get jumper cables. Most car drivers tend to always carry a pair of jumper cables with them in the trunk of their car. If you can’t find someone with jumper cables, you can buy a pair at your local hardware store.
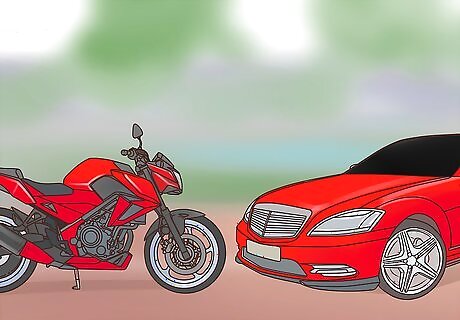
Leave the car off if jump-starting using a car. Car batteries have far more capacity than motorcycle batteries. While it is necessary to have one car running when trying to jump-start another car, motorbike batteries don’t require the same amount of energy, so the car should be left off for the duration of this process. The car battery will not fry your motorcycle battery. For that to happen, the leads would need to be connected and the motorbike would have to be running for a very long time.
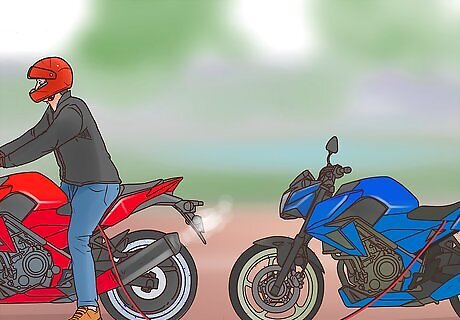
Turn the working bike on if jump-starting with another motorcycle. Jump-starting a motorbike with another motorbike works the same way as jump-starting using a car, except before you start the dead bike, start the other bike.
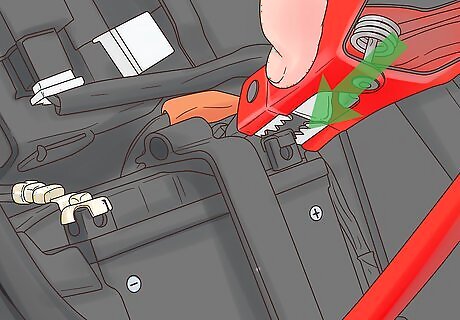
Connect the red clamp to the positive terminal of the dead bike's battery. Ensure that the clamp is not touching any metal. The positive terminal will be marked with a + sign and may be red. Clamps connected to metal parts could cause a spark and the battery could explode. Metal doesn’t just mean parts of either vehicle. It means all metal. Rings, necklaces, hand tools and everything metal.
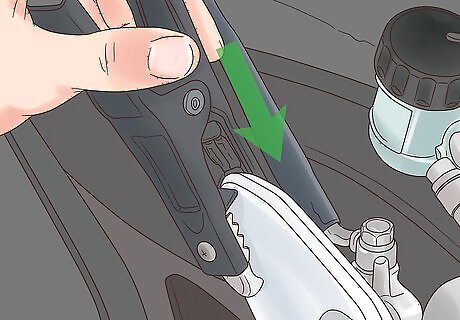
Connect the black clamp to the frame of the dead motorbike. If you don’t want to cause wear and tear or scratches to your motorbike’s exterior, connect the clamp to a part of the frame with no paint or chrome. The reason the black clamp is being connected to the frame and not the battery is because connecting it to the battery could destroy the battery.
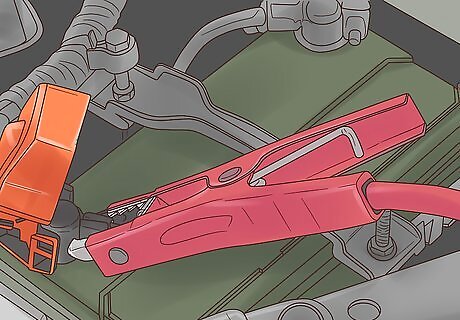
Attach the other red clamp to the positive terminal of the working battery. Again, make sure that the clamp doesn’t come into contact with anything made of metal. Double-check that you are connecting positive to positive before connecting the clamp.
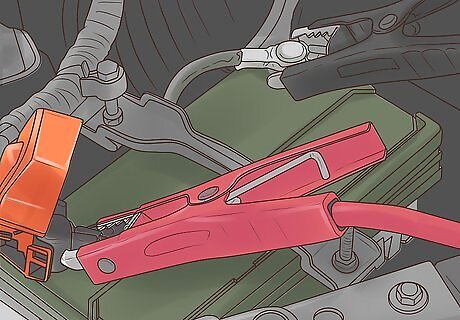
Link the black clamp to the negative terminal of the working vehicle's battery. Be careful and make sure that the black clamp doesn’t make contact with the red clamp while doing this step. You should also make sure the other black clamp is connected to the bike’s frame and not the battery before attaching it to the car.
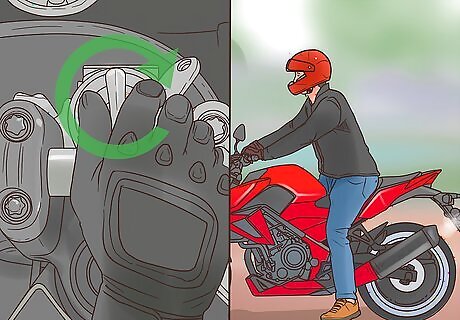
Start your motorcycle. If your motorbike doesn’t work, the battery may be completely drained. However, if there’s any energy at all in it, the bike should start within the first few tries. Leave the bike on for a few minutes so the engine can warm up.
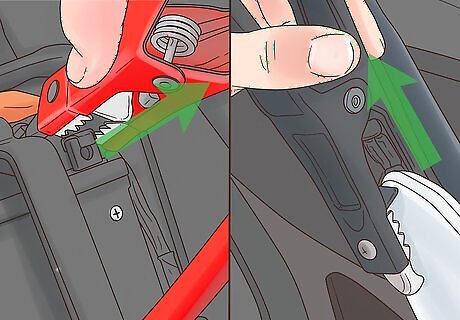
Disconnect the cables. It is vital that you disconnect the cables in the proper order. Disconnect the black (negative) cable on the live battery first and then disconnect the black cable on the other battery. Then do the same with the red (positive) cable. You should also take specific care in making sure that the clamps don’t come into contact with each other until they have been fully disconnected. Leave the bike running until you arrive home or until you can bring it to a mechanic.
Push-Starting the Motorcycle
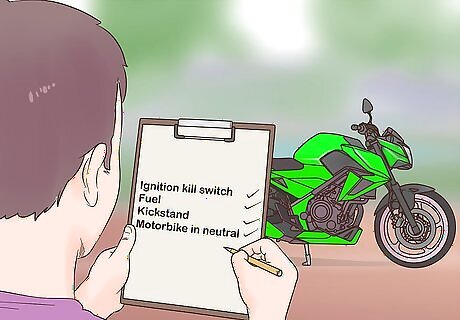
Make sure the battery is the part at fault. When your motorbike won’t start, it could be a number of different things. Check the ignition kill switch is set to “stop” and not to “run.” Make sure you have enough fuel. It seems obvious but these things can be easily missed. If the kickstand is down, an inbuilt safety feature of the bike might be preventing it from starting. If the motorbike isn’t in neutral, it won’t start. If it’s none of these issues, then chances are that it’s the battery at fault.
Determine the best method for a push-start. If you have friends with you, you can push-start the vehicle from any flat area. If you’re on your own, it’s best to push-start the bike at the top of a hill or a slope. If you can’t find a hill or an adequate slope, you’ll need to push the bike at pace before climbing on and releasing the clutch.
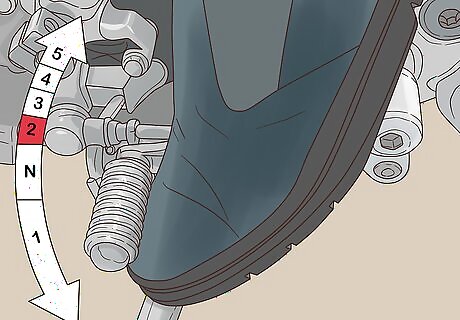
Put the bike in 2nd or 3rd gear. First gear is surprisingly not the best gear to use for push-starting as it can cause the bike to jerk forward and suddenly stop. Using 1st gear also increases the risk of the rear tyres locking up. Putting the gear in second or third allows for the smoothest start and a smaller likelihood of things going wrong.
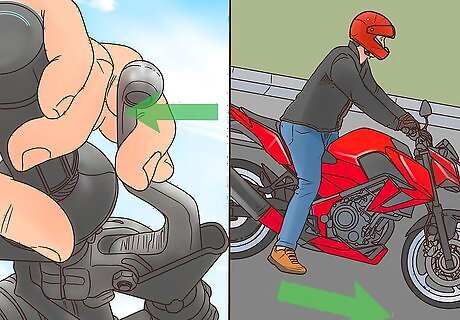
Press the clutch and roll the bike. If on a hill, start from the top and roll the bike downwards. With friends, sit on the bike and hold the clutch and get them to push the bike. By yourself with no hill, you’ll have to push the bike at jogging pace before it can start.
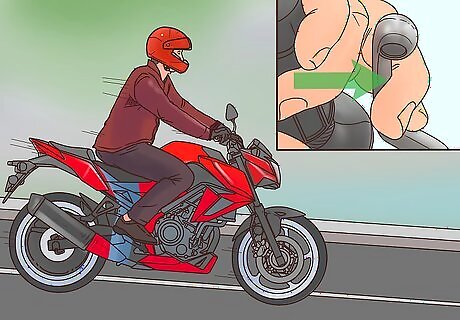
Release the clutch when the bike reaches jogging speed. Try not to release the clutch too soon as it won’t work if the bike isn’t moving fast enough. The bike should be at jogging speed or faster when you release the clutch. If the bike doesn’t start, try again but roll the bike faster. It might take a couple of attempts for it to work.
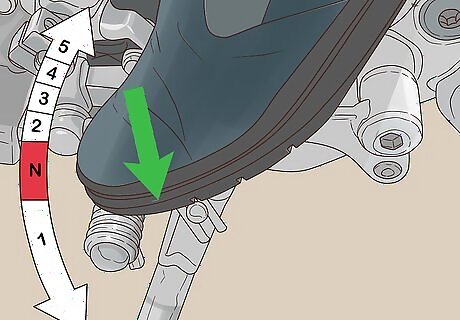
Change the bike's gear back to neutral. Once the bike is up and running, change gears to neutral and push the brakes. Try to rev the bike as much as you can and keep pumping the throttle to make sure the engine doesn’t die.
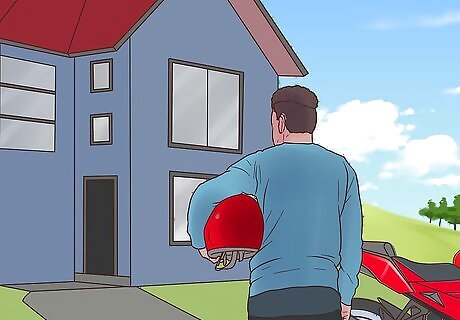
Drive the bike home or to a repair shop. While the bike is working again, the battery is more than likely damaged so get it a bike mechanic as soon as you can.



Comments
0 comment