views
- Using a PSU tester is the easiest way to check a power supply. Just disconnect all internal components from the PSU, attach the tester, and turn on your PC.
- You can use a bent paperclip to check if a power supply is completely dead.
- Once you figure out if the power supply is giving you the right amount of power, make sure it gives you the same readings when components are connected.
- You don't have to remove the power supply from the computer to test it.
Using a Paperclip
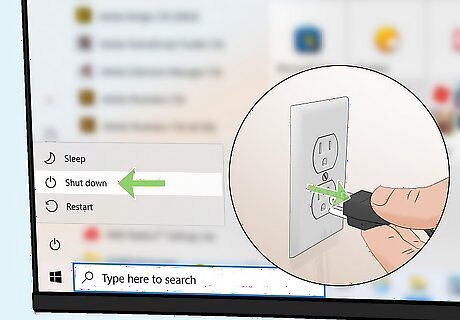
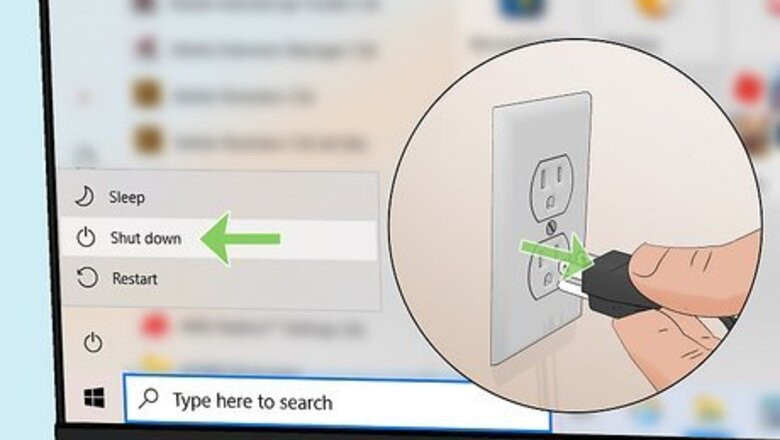
Shut down and unplug your computer. If you haven't already done so, you will need to turn off your computer and completely remove it from power. Use the switch on your desktop PC to flip the power switch to the Off position, and remove the AC power cord.
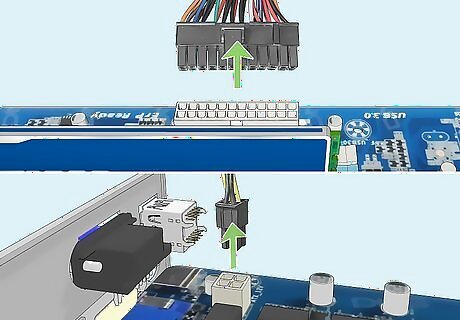
Open your computer case and unplug all cables from the power supply. Disconnect the power supply cables from all of the components inside the case. Follow each cable from the power supply to the component to make sure that everything is completely unplugged. It might be helpful to take a photo of where everything is connected before you start disconnecting wires.

Make a paper clip tester. You can use a paper clip to help test your power supply and trick it into thinking that it has been switched on. To do this, straighten a paperclip, and then bend it into a “U” shape. This paperclip will act as the pins that are inserted into the power supply that gives it the “Power ON” signal.
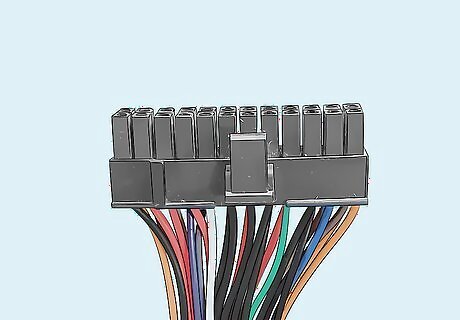
Find the 20/24 Pin connector that normally attaches to your computer’s motherboard. It is typically the largest connector for the power supply.
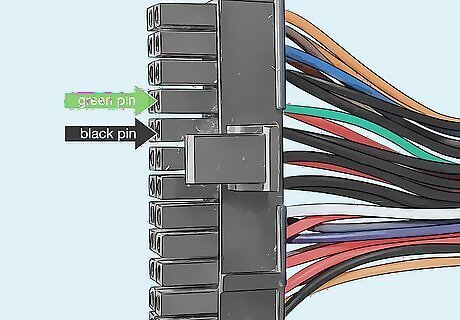
Find the green pin and black pin (make-specific). You will be inserting the ends of the paperclip into the green pin (there should be only one) and a neighboring black pin. This is make-specific. For example, a Corsair PSU requires you to short pins 16 & 17 while an ATX power supply requires you to use pins 15 & 16. Before you do this, double-check to make sure that the power supply is completely disconnected from any power outlet, that it is switched off, and that it is not connected to any computer components. Failing to do so means that you're sticking a metal paperclip into a live power supply that has electricity running through it. You can shock yourself and cause physical harm as well as damage your computer.
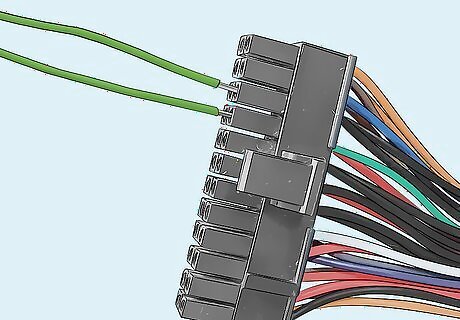
Insert the ends of the paperclip into the pins. Once you have placed the paper clip into each of the pins, place the cable somewhere where it won’t be disturbed.
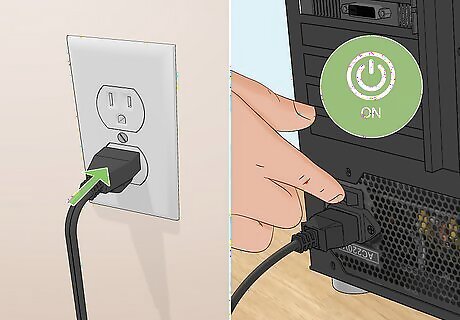
Plug the power supply back into the outlet and turn on the power switch. As long as your paper clip stays in place, the power will run through the device.
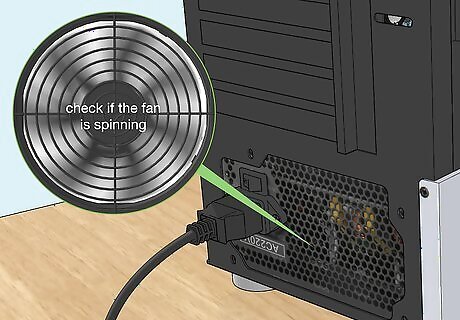
Check the fan. Once the power supply is receiving power, you should be able to hear and/or see a fan moving. This will let you know that the power supply is at least working. If the power supply does not turn on at all, double-check your pins (after unplugging) and try again. If it still does not turn on, then it is most likely dead. Many power supplies run the fan for only a second after it powers on; that is the zero-RAM feature. Don't be alarmed that the fan isn't continuously running! The fan briefly turning on means that your power supply is at least supplying output. This test will not tell you if the power supply is functioning as it should, just that it is turning on. You will need to perform the next test to ensure that it is outputting correctly.
Using a Power Supply Tester
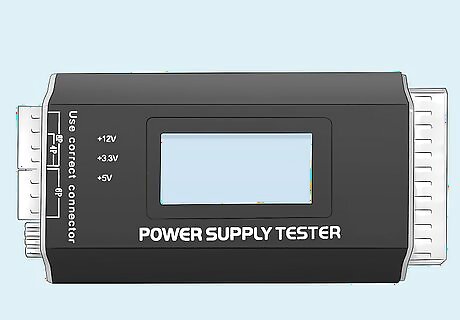
Get a power supply tester from any electronics store. Most stores that sell computer parts also sell PSU testers. You can also find them online easily at retailers like Newegg.com, MicroCenter, and TigerDirect. Unlike poking around with pins using a multimeter, a PSU tester is plug-and-play. All you'll need to do is disconnect the power supply from your computer, connect the PSU tester to the power supply and CPU, and power on your PC to check the power supply.
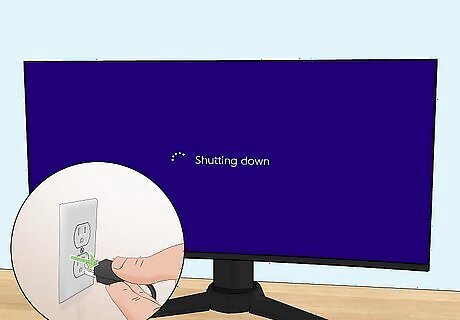
Shut down and unplug your computer. If you haven't already done so, you will need to turn off your computer and completely remove it from power. Use the switch on your desktop PC to flip the power switch to the Off position, and remove the AC power cord.
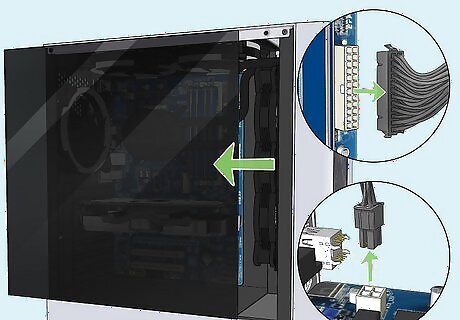
Open your computer case and disconnect all components from the power supply. Follow the cables leading from the power supply to other components, like the motherboard, and disconnect them. Leave the cables connected to the power supply, but disconnected from the other components. It might be helpful to take a photo of where everything is connected before you start disconnecting wires.
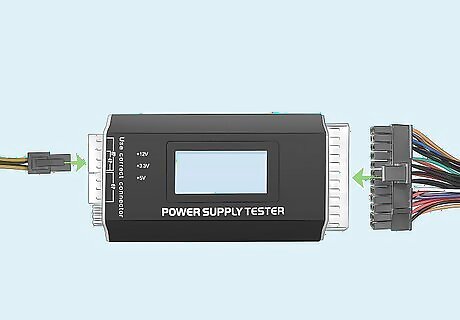
Connect the power supply's 24-pin power connector and 4-pin power connector to the PSU tester. Depending on your power supply, you might actually have a 6-pin or 8-pin secondary connector. If there are multiple, connect the 24-pin connector, and just one of the other connectors, to the matching locations on your PSU tester. The PSU tester should still be turned off at this point.
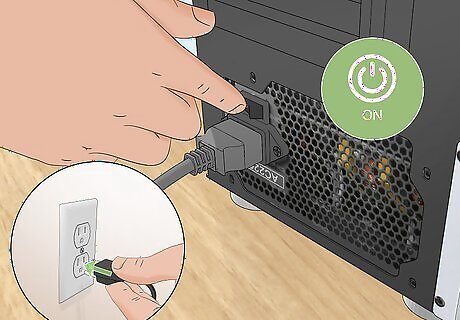
Connect the power supply to a wall outlet and turn on the switch. It's best to plug directly into the wall rather than a power strip or surge protector.
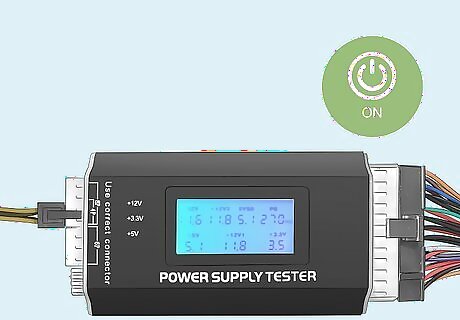
Turn on the PSU tester. Once the tester is on, you should hear the internal power supply fan start to run. Some PSU testers require you to hold down a button to check the power supply.
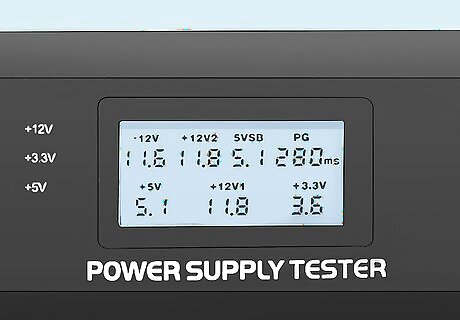
Check the voltage and PG value. It's normal for the voltages recorded not to match the suggested voltages exactly, as long as they are within a 5% range. If any values are outside of the suggested range, the tester will alert you with an LED or sound, depending on the tester. Any out-of-range values would indicate that it's time to replace your power supply unit. The PG value should be within 100-500 MS. If the PG value is way too high, your computer will constantly reboot or shut itself down. A new power supply should fix that problem.
Using a Multimeter
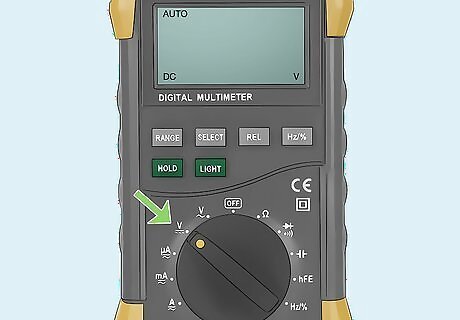
Turn on your multimeter and set it to VDC (Volts DC). If you don't have a power supply tester, you can use a multimeter to check the voltage of your power supply. If your multimeter does not have an auto-range feature, set it to 10.00V.
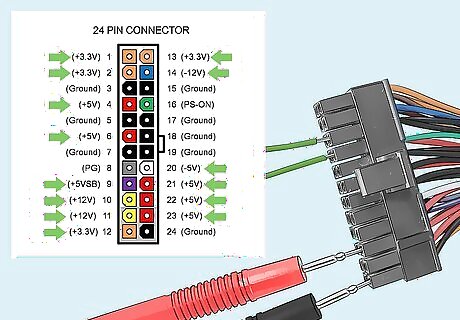
Connect your multimeter to your power supply. Connect the negative probe on the multimeter (it's black) to any ground-wired pin (find them by searching your PSU online), and connect the positive probe (it's red) to the first power line. You should repeat this test for every line that carries a voltage, like pins (for ATX PSUs only) 1, 2, 4, 9, 10, 11, 12, 13, 14, 20, 21, 22, and 23. For Corsair power supplies, test pins 1, 2, 4, 6, 9, 14, 21, and 23.
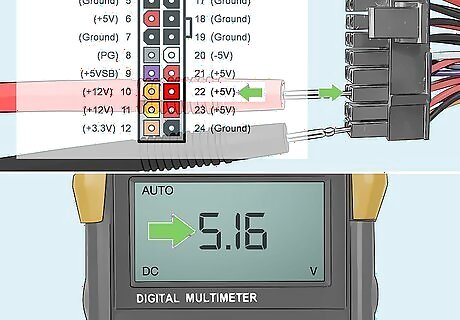
Read the multimeter output. If the voltages shown are within an acceptable range (you can find a list of acceptable ranges for your specific power supply online), then it's ok to use. If there are any outside the range, you probably need to replace it. Even with the readings you have now, you aren't done! You need to test if your PSU performs under pressure.
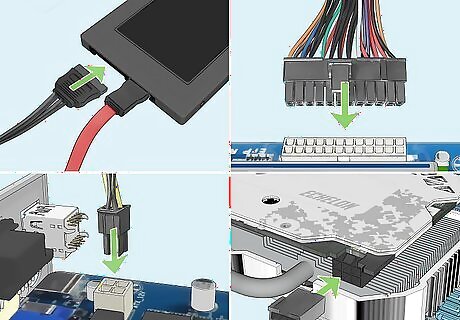
Connect everything to power again and turn your computer on. In the next steps, you'll be turning on your computer and using it normally without the case on the tower. Don't forget to plug in the power to your video card (if it requires one), your hard drive, and optical drives. You can briefly use your computer without the case on, but just be careful not to ruin the insides of your computer! If the computer won't start without the case on, you will need to remove the appropriate jumper on the motherboard. The manual for your computer should explain how you do this. Before you turn the power on, remove the paperclip you previously set up!
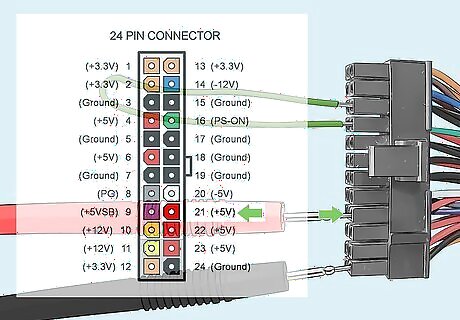
Connect your multimeter to your power supply (again). Connect the negative probe on the multimeter (it's black) to any ground-wired pin (find them by searching your PSU online), and connect the positive probe (it's red) to the first power line.
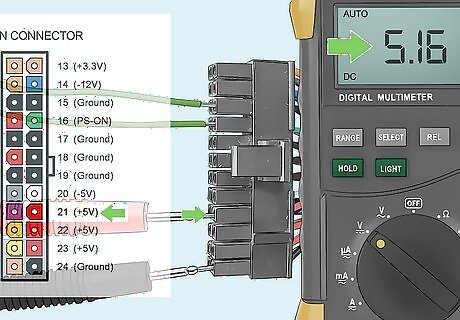
Read the multimeter output. If the voltages shown are within an acceptable range (you can find a list of acceptable ranges for your specific power supply online), then it's ok to use. If there are any outside the range, you probably need to replace it. Repeat this test for every pin that has a voltage.
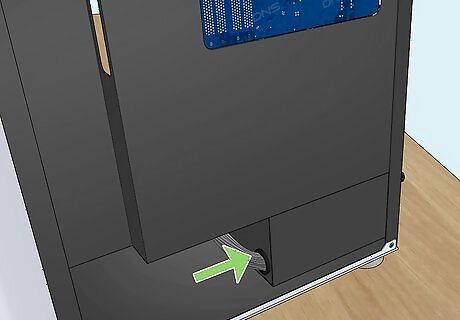
Re-attach the case to your computer tower. Since testing is complete, you can put the case back on your computer tower. If you are still having computer errors, or your computer will not start, move on to other troubleshooting steps. The first place to check will be your motherboard.


Comments
0 comment