
Cleaning the Gutter Hole

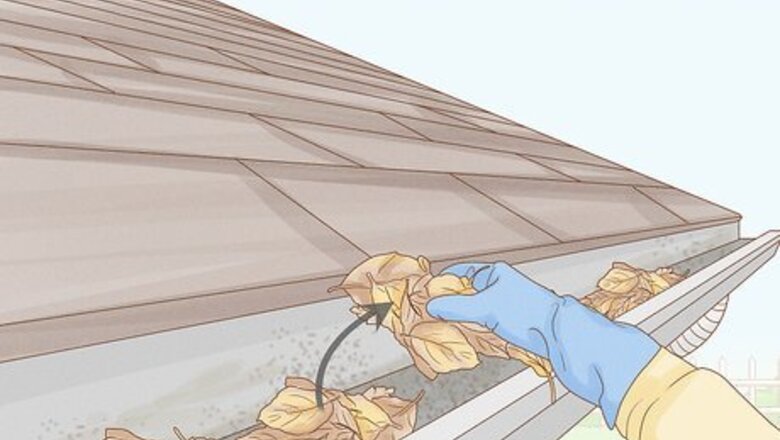
Remove all debris from the gutter with gloved hands. Carefully set up and climb a ladder that lets you safely see and reach into the gutter. Put on a pair of thick work gloves and scoop out the leaves and other debris in the gutter. Use a garden shovel, paint scraper, or ice scooper if you wish. Use thick gloves that offer some protection against any jagged edges surrounding the hole, as well as any exposed screws or sharp pieces of debris.

Spray the gutter channel with water and let it dry. Once you’ve removed the bigger pieces of debris, use a hose to wash the remainder down the gutter’s downspout. Carefully bring the hose up the ladder with you, and move the spray and debris towards the downspout opening. Allow the area around the hole to air dry for a few hours. If you don’t want to wait, or if your gutter won’t dry out completely, soak up the water around the hole with a towel.
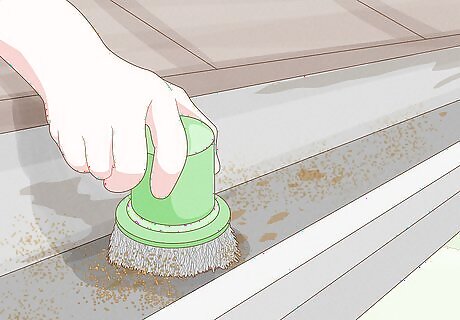
Scrape away any surface rust with a stiff wire brush. Run the brush back and forth vigorously in order to remove as much of the rust as possible. Use a hand broom or paintbrush to sweep the rust particles towards the downspout opening. If you have gutters made of PVC instead of aluminum or steel, you obviously won’t have any rust spots and can skip this step!

Cut away sharp edges and remaining rust with metal snips. Use the snips to remove any bent, jagged edges around the hole. Snip off any remaining rust spots around the edge of the hole as well. Sweep the debris towards the downspout opening. If you have PVC gutters instead of metal, you can still use the snips to cut away any jagged edges. Follow up with a sanding block to smooth out any rough spots around the hole.
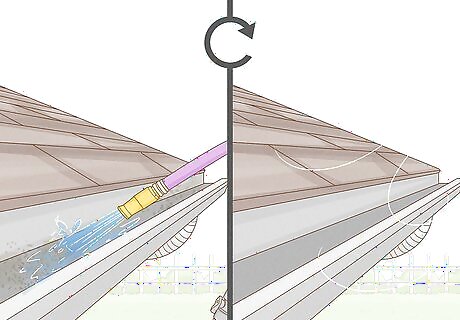
Rinse the gutter and let it dry once again. Spray from just beyond the hole and direct the debris down the downspout opening. Allow the gutter to air dry or dab it with a towel once more. No matter which type of patch you end up using, the gutter needs to be dry to ensure maximum adhesion.
Using a Self-Adhesive Patch
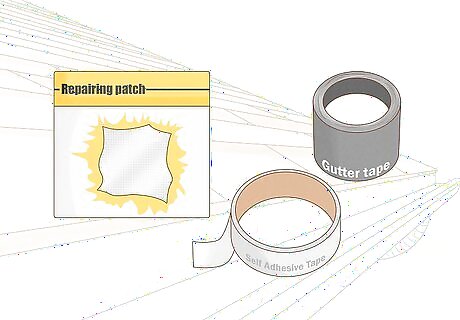
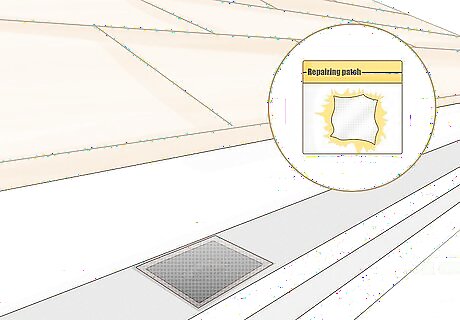
Choose a self-adhesive patch for PVC gutters or small holes. Self-adhesive, flexible gutter repair patches are a good short-term fix choice for holes less than 1 in (2.5 cm) in diameter, regardless of the material your gutters are made of. They’re also the best choice if you have PVC gutters, no matter the size of the hole. Unlike rigid, non-adhesive patches, self-adhesive patches use a bonding agent that won’t interact with and degrade PVC. Search for “gutter tape” or “self-adhesive gutter repair patch” online, or head to your local hardware store.
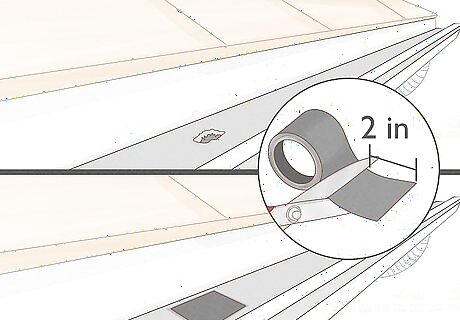
Trim the patch to size with scissors, if desired. So long as the patch fits the inside of your gutter, it’s not necessary to cut it. If you do want to trim it down with scissors, though, make sure it’s at least 1.5 in (3.8 cm) larger than the hole on all sides. Gutter repair patches are made of rubberized asphalt and are typically around 4 by 6 in (10 by 15 cm) in size.
Stick the patch over the hole to complete the repair. It’s really as simple as that—peel the adhesive backing off of the flexible patch, lay it over the hole, and smooth out any air bubbles with your fingers. And that’s it! You may get 1-2 years out of a self-adhesive patch, or maybe only a few months. It’s really the only choice for PVC gutters, but you may want to use a longer-lasting rigid patch instead if you have metal gutters.
Applying a Metal Patch
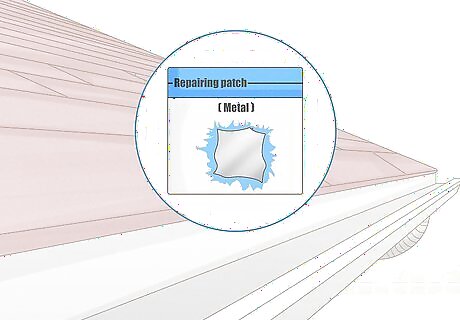
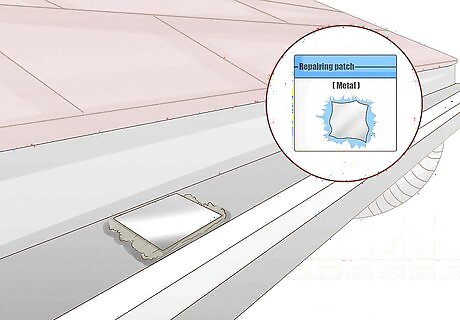
Get a metal repair patch that matches your gutter material. In other words, buy a repair patch made of the same metal as your gutter—steel, aluminum, and copper are the most common materials. If your gutters are made of PVC, follow the directions in this article for applying a flexible self-adhesive patch. Rigid repair patches require the use of roofing cement as an adhesive, but roofing cement doesn’t bond properly with PVC—it may, in fact, even further degrade the PVC around the hole. If you’re not sure what type of metal your gutters are made of, look at the end cap near the downspout for a label. If that doesn’t work, snip off a small piece from the edge of the hole and bring it with you to the hardware store. Mixing metals may cause a galvanic reaction that results in the rapid corrosion of the patch and/or gutter.
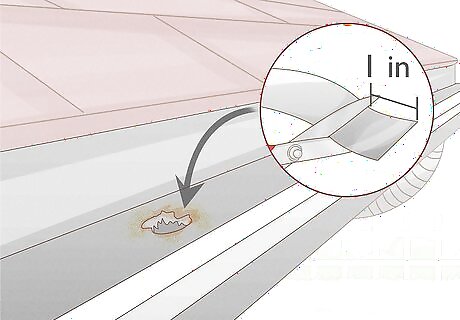
Trim the patch so it’s 1 in (2.5 cm) larger than the hole. If the patch isn’t already small enough to lay flat against the inside of the gutter and over the hole, cut it down to size with your metal snips. Make sure the patch is large enough to overlap the hole by at least 1 in (2.5 cm) on all sides. Keep your thick work gloves on. Once you cut the patch, it may have sharp corners and edges.
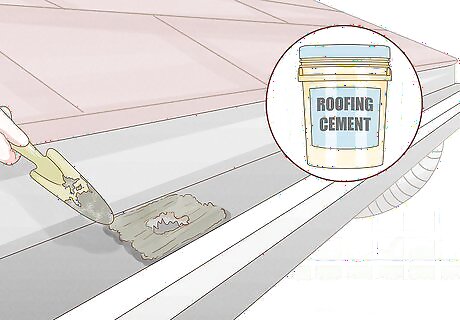
Smooth roofing cement around the hole in the shape of the patch. Squeeze a thick bead of roofing cement around the perimeter of the hole. Use a small putty knife to spread it like cake frosting away from the hole. Aim to replicate the shape of the patch, but err on the side of covering too much area with roofing cement rather than too little. Roofing cement is available at hardware stores and online. Buy a small tube that you can squeeze by hand, or a larger tube that inserts into a caulking gun.
Press the patch firmly into the roofing cement. Line up the patch over the spread-out cement and push it down with your fingers. Wiggle the patch back and forth a few times to help set it in place. You should see some of the roofing cement squeeze out around the edges of the patch.

Scoop and wipe away the excess roofing cement. Use your putty knife to scoop up any larger globs of excess cement around the edges of the patch. Follow up with a damp rag or wad of paper towels to wipe up the rest. Don’t worry if there are still thin streaks of roofing cement smeared around the edges of the patch. Nobody will be looking at the inside of your gutter! If you leave thick globs of extra cement in place, leaves and other debris will get caught up in it and block the water flow.
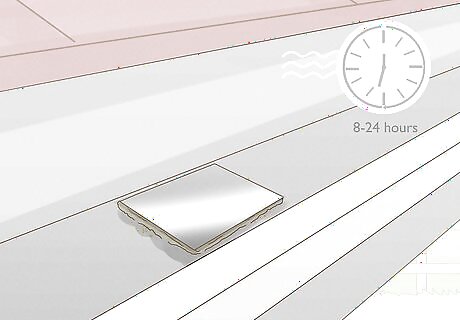
Allow any streaks of excess roofing cement to dry to the touch. Roofing cement typically takes 8-24 hours to fully cure, but you don’t have to wait that long at this point. Check on any smears of extra cement around the edges of the patch after 30-60 minutes. If they’re dry, proceed to the next step; if not, check in another 30 minutes.

Apply a bead of silicone caulk around the edge of the patch. Squeeze the caulk around the entire perimeter of the patch. Dip your finger in water and use it to smooth out the bead of caulk. Wipe your finger and any excess caulk in the gutter with a damp rag or paper towels. Once the caulk dries, your repair is complete! Silicone caulk should be allowed to dry for 24 hours before being exposed to water. If rain is in the forecast, wait to apply the caulk until you have a stretch of dry weather. Use an outdoor-grade silicone caulk. As with roofing cement, you can use a smaller tube of caulk that you squeeze by hand, or a larger tube that loads into a caulking gun.


Comments
0 comment