views
Open Adobe After Effects.
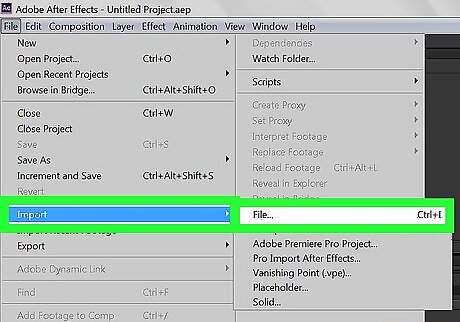
Import your music file. Using a .mp3 file is recommended, but any audio file type will work.
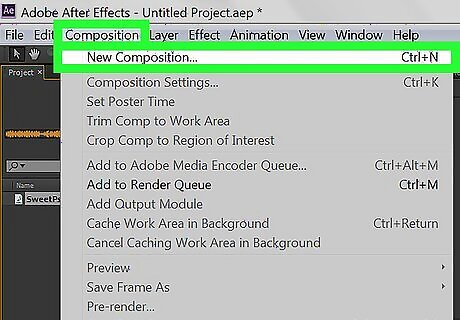
Create a new composition. Click on "Composition > New Composition > OK" which is located at the top of your program screen. (Shortcuts: ⌘ Cmd+N or Ctrl+N)
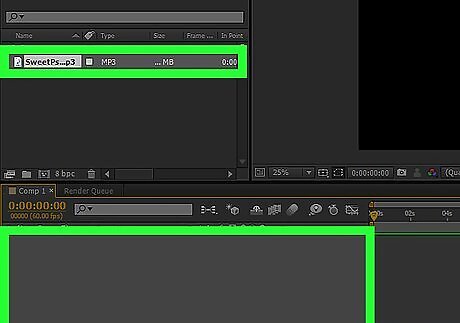
Drag your music file into the composition.
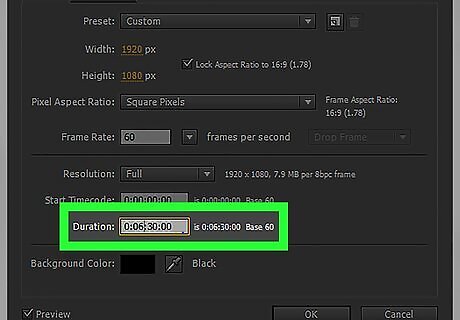
Adjust composition duration. Record how long your music file is. Click on "Composition > Composition Settings". Under "Duration", change the current duration to one second longer than your music file. (Shortcuts: ⌘ Cmd+Kor Ctrl+K)
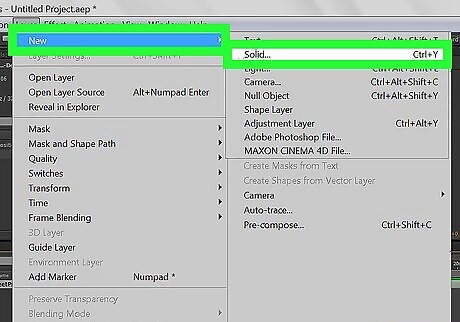
Add a new layer. Click on "Layer > New > Solid > Ok". (Shortcuts: ⌘ Cmd+Y or Ctrl+Y)
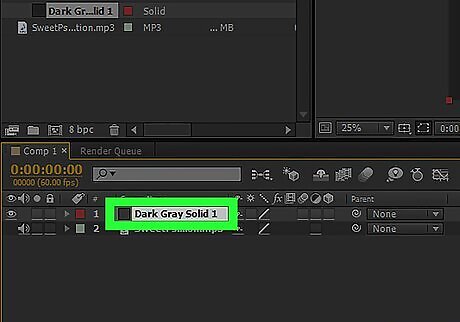
Select the new layer in your Composition assets.
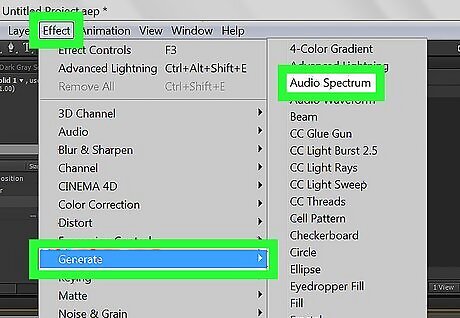
Click on "Effect > Generate > Audio Spectrum".
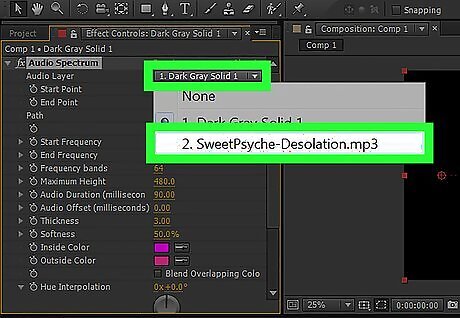
In the Effect Controls window, change the Audio Layer property to the name of your music file. For example, if the name of my music file was "Toze - Jurassic Love (ft. Sarah Abad)" then you would select that file from the list.
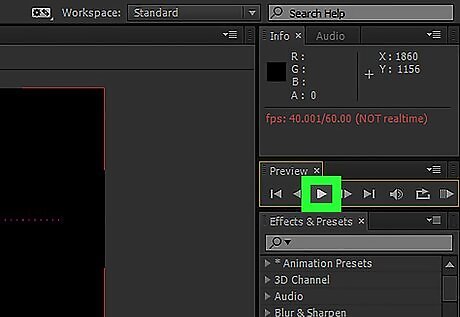
You are done! Play your composition to see the visualizer.


Comments
0 comment