views
Using Barcode Fonts in Word
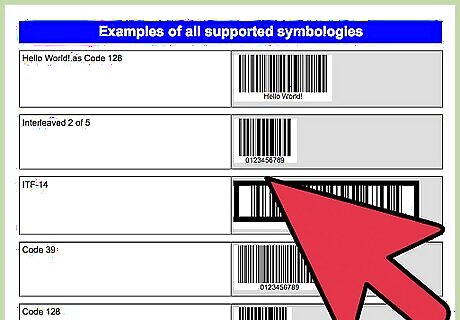
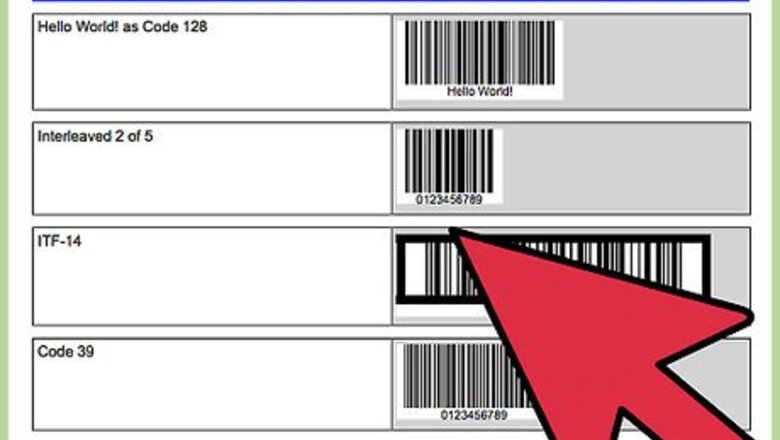
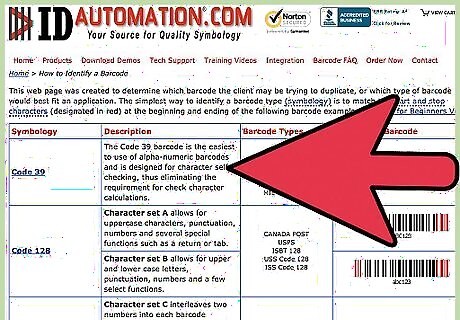
Choose your barcode symbology. You may have noticed that there are a wide variety of barcodes, some appearing like thin lines and others, like QR codes, which are more blocky in appearance. These barcode types are called symbologies, some of which include: Plessey: Used for catalogs, store shelves, inventory UPC: Used for North America retail EAN-UCC: Used for international retail Codabar: Used for libraries, blood banks, airbills Code 39: Used for various purposes Code 128: Used for various purposes Code 11: Used for telephones Code 16K: 1D version of Code 128. QR Code: Public domain code from Nippon Denso ID Systems. Has the ability to encode Japanese Kanji and Kana characters.
Choose your data to convert. The information you want contained in your barcode will need to be translated to a suitable barcode format, like an alphanumeric string, for it to be properly read by scanners. You should have a general format in mind for how you will structure all barcodes for your particular purpose. Many different kinds of information can be included in your barcode, but generally this information pertains to: identification, tracking, and inventory. Consistent formatting will help make the translated information easier to read, and will make human processing of barcode information more efficient. "Alphanumeric" refers to a system that uses both letters and numbers.
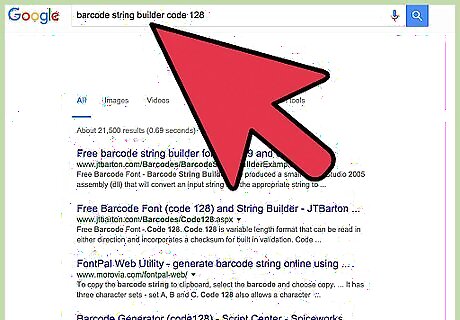
Convert your data into proper barcode format with an online service. Now that you have your data properly organized, do an online search for a "String builder" for the barcode symbology you will be using. This will give you the converted text that you will need to use with a barcode font. For example, you might search, "barcode string builder code 128." Some symbologies may use other inputs than simple alphanumeric. Do an online search of your chosen symbology to find how to convert your data to a suitable barcode format.
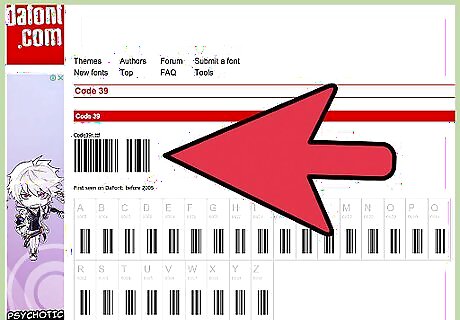
Download the right font for your barcode. To have the text you've converted to show up properly as a barcode, you'll need to input your barcode string into your Word document in the font for your symbology. There are many online sources for fonts, some free and some for pay, which you can find by searching your symbology (e.g. Code 39 font). Always exercise caution when downloading anything from the Internet. There is always the risk that you may get a virus or some other kind of malware.
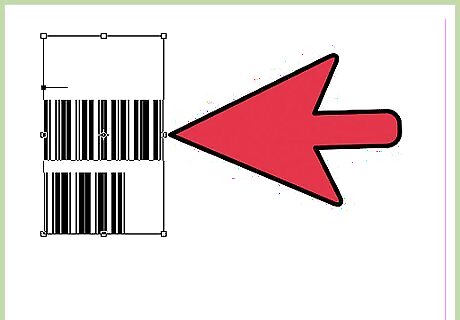
Convert your barcode string into your word document. Cut and paste your converted barcode string into your word document. Highlight this text, and then change the font to the appropriate barcode font and your barcode should appear.
Using a MS Word Add-in
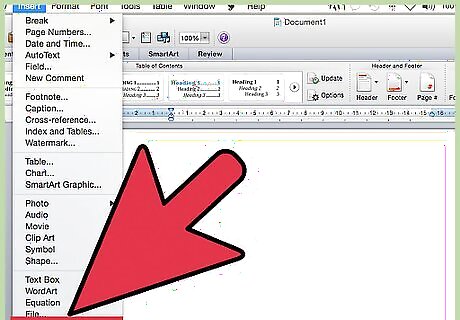
Navigate to your add-in interface. Some ad-ins might have a separate pane while some might be located under a general word setting option, like the "Insert Object" button. The add-in you have decided upon will determine where you will find your add-in interface. For the purposes of offering a guided example, this process will be outlined with the barcode add-in StrokeScribe, which is available to individual users for free. To access StrokeScribe's interface, click on the "Insert" tab, then click the "Insert Object" button and select "StrokeScribe Document" from the list provided.
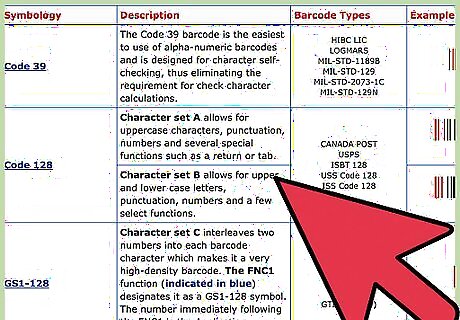
Find your symbology in the barcode add-in interface. Barcodes have many different types, and these are referred to as symbologies. There should be an extensive list of barcode symbologies in a submenu of your add-in interface. Search through this until you find the symbology that best suits your purposes. Continuing with the guided example, you should right-click the barcode image after selecting "StrokeScribe Document" and from the following menu choose StrokeScribe Control → Properties. Be sure that your barcode reading software/equipment has the capability of reading the symbology you have chosen for your code. Some common symbologies: UPS, Code 39, Code 128, QR
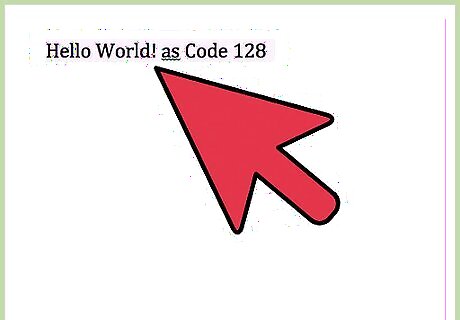
Input the appropriate information. You'll need to input the text that you want to be converted to barcode format and the Alphabet you want the text to be converted into, which will be the same as the symbology you've already decided upon. In the guided example, after clicking "Properties" you should see the Control Properties window, in which you can type your data to be converted into barcode by the "Text" field, and you can select your symbology with the "Alphabet" dropdown menu.
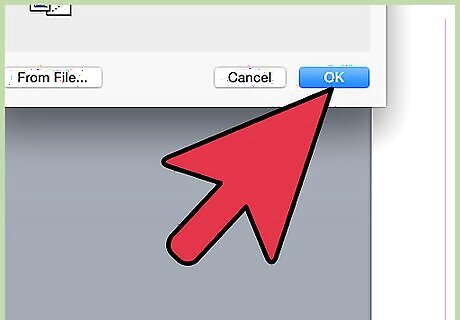
Insert and position your barcode. Some add-ins might have a specific Insert Barcode button, or you may only need to press Ok. With most add-ins, the barcode you create will be treated like an image. For the guided example, you only need to click Ok to insert the image. To make the barcode a floating image, right click it, select "Format Object," and change the text wrapping under the "Layout" tab. Right-click the barcode, select the "Format Object" option, and click the Layout tab in the following menu. This should list different styles in which your barcode will be wrapped with in-document text.
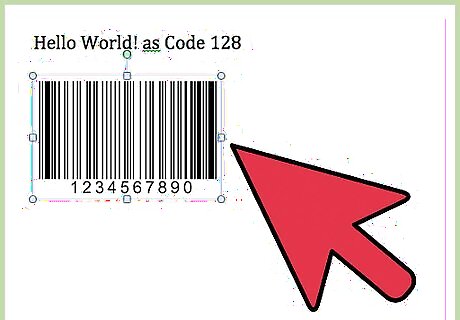
Adjust the size. Using the white manipulator boxes occupying the corners and midpoints around the border of your barcode, alter the size of your barcode until it is satisfactory. You may also be able to change the size within a "Properties" window associated with your barcode add-in. To complete the guided example, use the manipulator boxes to adjust width and height until it is positioned and sized best for your purposes.


Comments
0 comment