views
Using an Embroidery Hoop
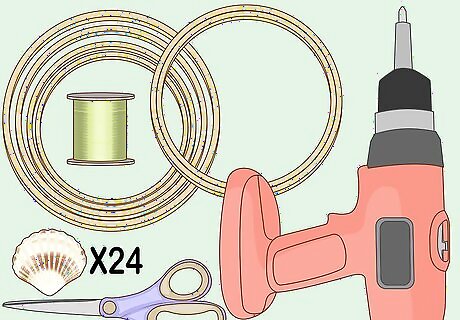
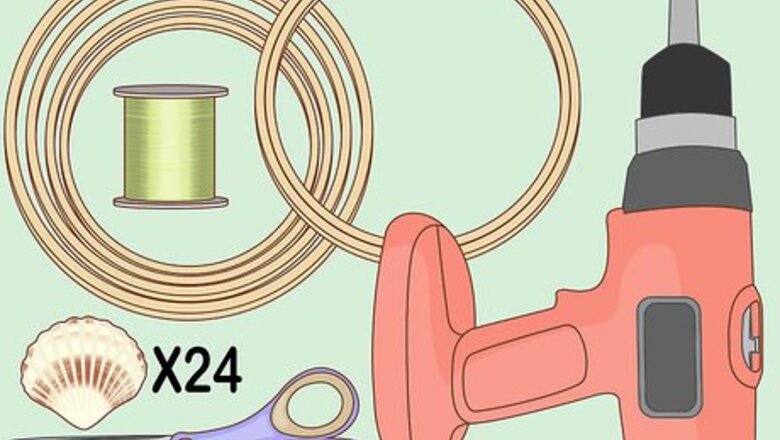
Gather your materials. For this project, you will need 24 shells of relatively uniform size, string or fishing line, the inner wood hoop from an embroidery hoop, a power drill with a 1/32 in (0.8 mm) or smaller drill bit, and a pair of scissors. You can stain or paint your embroidery hoop if you wish to change the color of the wood.
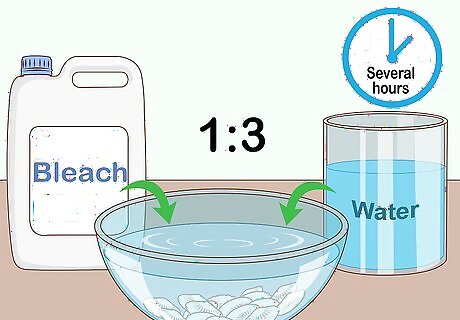
Wash your seashells. If your seashells were gathered from a beach, it is best to clean them before using. Mix 1 part bleach with 3 parts water in a large bowl and soak your seashells in the mixture for several hours. If necessary, use an old toothbrush to remove grime and calcium buildup from the shells. Rinse them thoroughly with warm water and allow them to dry completely.
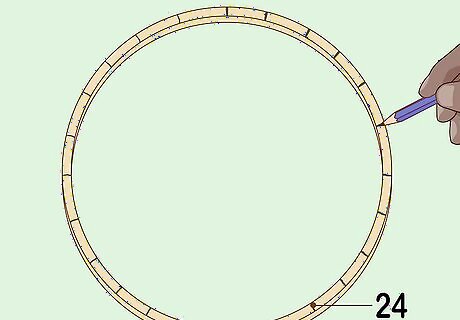
Mark 24 holes on the embroidery hoop. Place the hoop on a flat surface and use a pencil to mark out 24 evenly spaced points around its circumference. Do this by marking 1 point each at the top, bottom, left, and right areas of the hoop. Then add 4 more points at the midpoints between the first 4. Finally, fill each remaining space in with 2 equally spaced points.
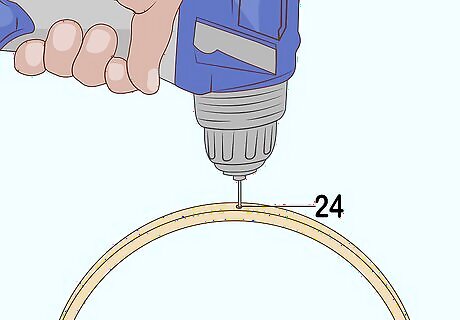
Drill 24 holes in the hoop. Fit your drill with a small drill bit and create 24 holes in the hoop where you marked the points. The holes should be large enough to pass your string or fishing line through.
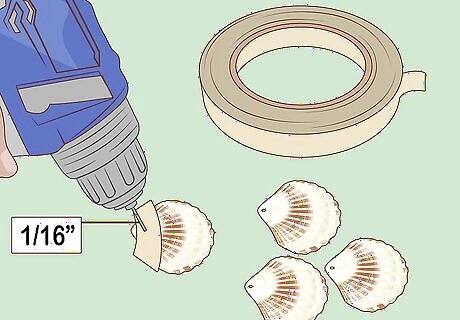
Drill holes in the shells. Drill a small hole through each shell using the same size drill bit as before. To help prevent the shell from cracking, you can cover the hole's location with a strip of masking tape before drilling. Remove the tape after making the hole. The hole can be placed anywhere on the shell, keeping in mind that the position in which the shell hangs will be dictated by the hole's location. It's important to use a very small drill bit so that the string will fit but the shell won't crack. Be sure to drill slowly so the shells don't break. Alternatively, you might be able to simply glue gun the shells to a string.
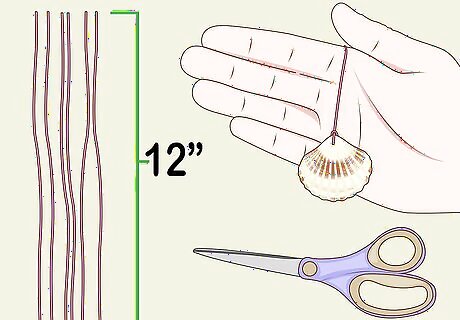
Tie string to the shells. Cut your string into 24 separate pieces that are about 12 in (30 cm) long. Tie one end of each piece of string through the hole in each seashell using a triple knot. Cut off any excess string to neaten the appearance.
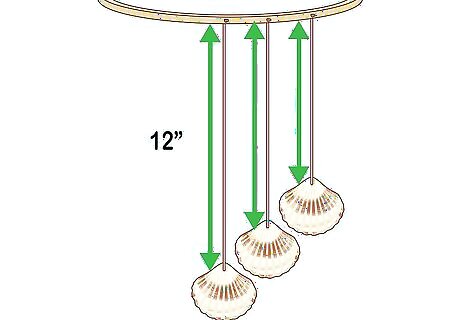
Hang the seashells from the embroidery hoop. Begin by tying the first seashell to a hole in the wooden hoop using the full 12 in (30 cm) of string. Tie the next shell to the loop, this time positioning the knot so that the new shell hangs just higher than its neighbor. Make sure that each seashell is hung closely enough to its neighbor to strike against it in the breeze. This may require using greater or fewer than 24 shells depending on the size of your shells and your embroidery hoop.
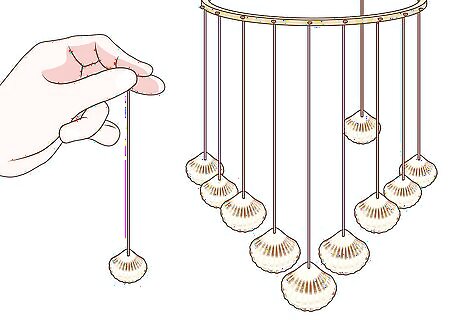
Repeat this process for all 24 shells. Hang each one slightly higher than the last. This will create a pleasant cascading appearance. Once all of the strings are tied to the loop, you can cut off the excess string using your scissors.
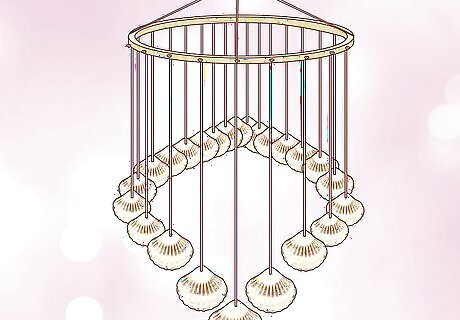
Hang your seashell creation. You can use the same string or fishing line to hang the wooden hoop from a hook. The string can be looped through the same holes used to hang the shells if the holes are wide enough. If not, you can drill 4 new equally spaced holes to suspend the hoop from 4 pieces of string.
Creating a Base with a Starfish
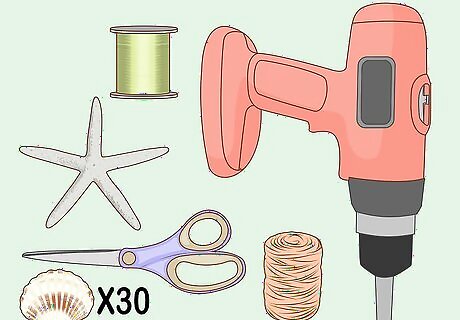
Round up your supplies. For this project, you will need 30 seashells, a starfish, clear stretchy jewelry cord (or fishing line), a power drill with 1/16 in (1.6 mm) drill bit, a 12-in (30.5-cm) piece of twine, and scissors.
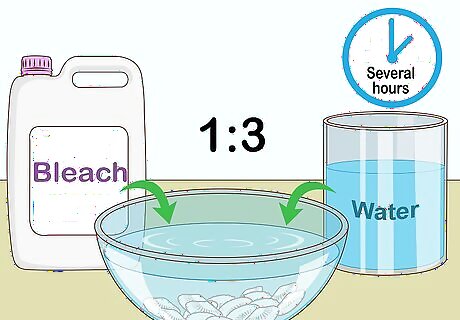
Wash your seashells. If your seashells were found on the beach, you'll need to clean them first. In a bucket, combine 1 part bleach with 3 parts water. Soak your seashells in the mixture for several hours. If grime and calcium has built up on the shells, try removing it with a toothbrush. Thoroughly rinse your shells in warm water and let them dry completely.
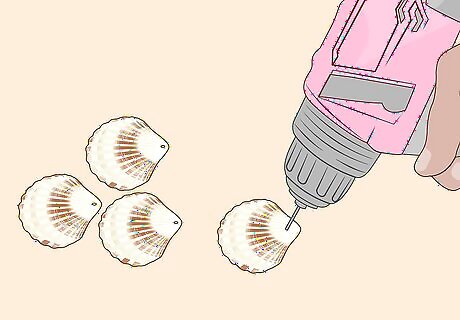
Drill a hole in the center of each seashell. Use your power drill and 1/16 (1.6 mm) drill bit to drill a small hole in the center of each seashell.
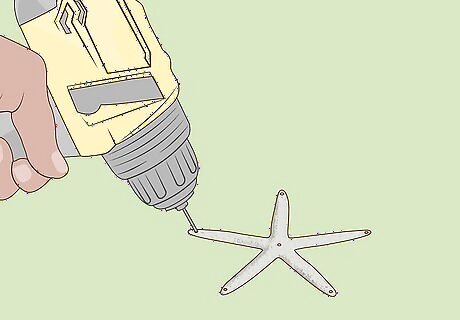
Drill holes in the starfish. Make 6 holes in your starfish, one in the center, and one on each corner/point, using your power drill and 1/16 (1.6 mm) drill bit.
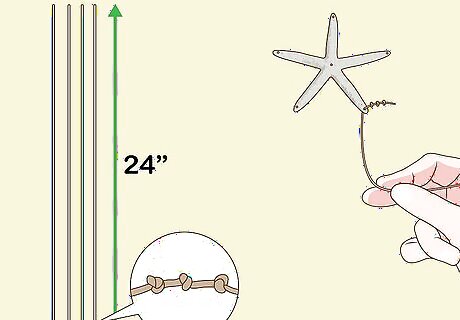
Tie cord through each hole in the starfish. Cut 5 pieces of stretch cord (or fishing line) to a length of 24 in (60 cm). Tie a triple knot at the end of each cord. Thread your cord from the outside of your starfish, in, so the knot catches at the point and seashells can be hung from the cord. Repeat for all 5 corners.
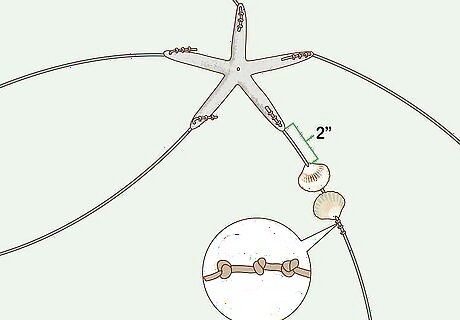
Thread shells onto your cord. Thread a seashell onto the cord and tie a triple knot to prevent it from sliding down the cord. Thread another seashell onto the cord 1-2 in (2.5-5.1 cm) from the first one. Tie another triple knot to secure the shell.
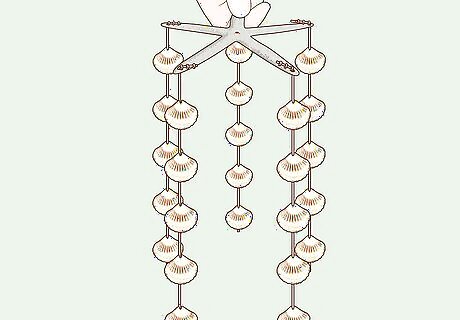
Continue adding shells until all the cords are full. Repeat the process until each cord is full of shells. You may want to vary the starting point for the shells on different cords so that the shells will bump into each other and create a pleasing sound.
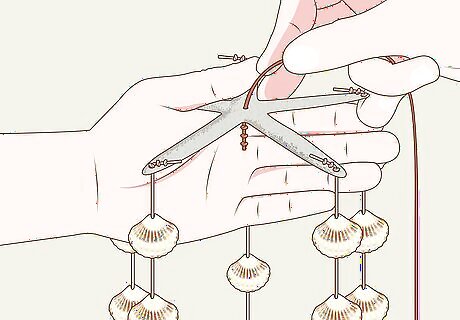
Create a loop to hang your wind chime. Cut a 12-in (30.5-cm) piece of twine. Thread it from inside through to the outside of the hole in the center of your starfish. Tie a triple knot on the inside to secure the twine. Then, make a loop and tie another knot.
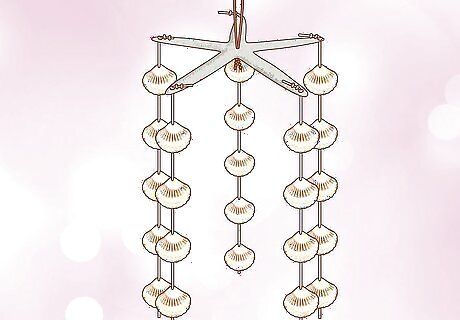
Display your wind chime. Hang your new seashell wind chime from a hook either outdoors or indoors. Enjoy your unique and beautiful chimes.
Making a Wind Chime from Driftwood
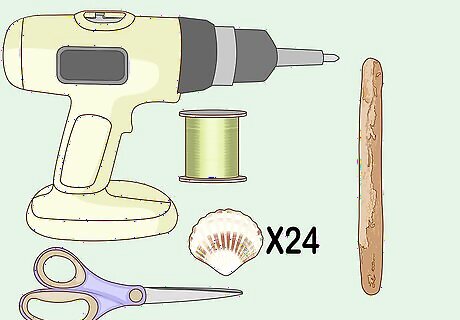
Collect your materials. You'll need 24 seashells, string or fishing line, a piece of driftwood, a power drill with 1/32 in (0.8 mm) drill bit, and scissors.
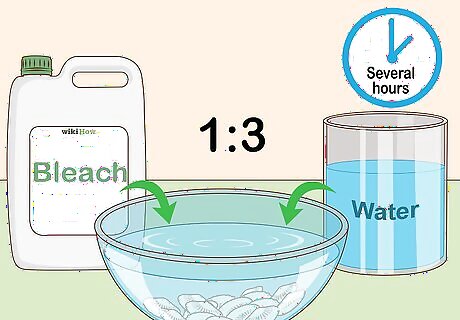
Wash your seashells. Unless you purchased sanitized or fake seashells, they need to be cleaned. Soak your seashells in a large bowl or bucket for several hours in a mixture of 1 part bleach and 3 parts water. If dirt and calcium remain on the shells, scrub them with an old toothbrush. Soak or rinse your shells in warm water and allow them to dry completely.
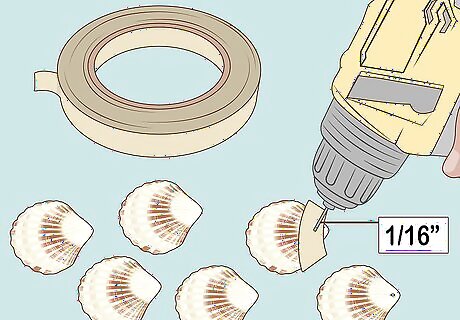
Drill holes in the shells. Use the power drill with 1/16 in (1.6 mm) drill bit to drill one hole in each shell. You can place masking tape over the spot before drilling to prevent the shells from breaking. The hole can be placed anywhere on the shell, just keep in mind it will affect the orientation of the hanging shell.
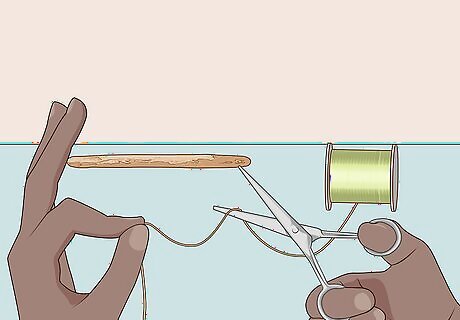
Cut your string. Cut your fishing line or thread into pieces. The number of pieces depends on the size of the driftwood. You can cut all the pieces of thread at the same length, or vary the lengths for a more eclectic look.
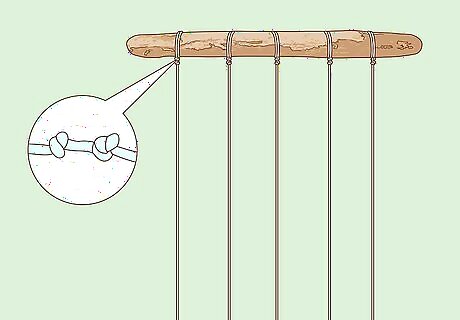
Tie the string to the driftwood. Wrap the thread around the driftwood and tie a double knot to keep it from coming off. Keep in mind you want each piece close enough to its neighbor that the shells will bump into each other. You can hide the string and knots by decorating the top of the driftwood with shells that you hot-glue on.
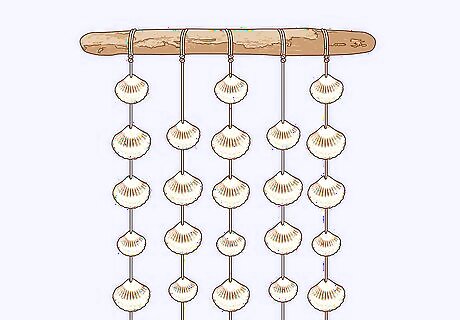
Add shells to the string. Thread a seashell up the string and tie a knot under it to prevent it from slipping down. Continue until all the strings are filled with seashells.
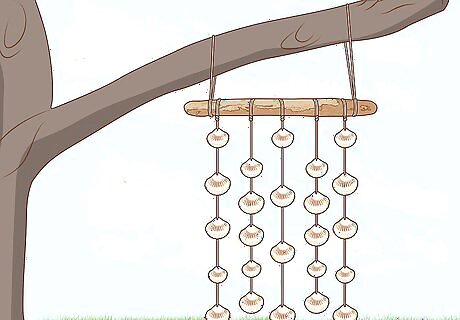
Hang your driftwood. Tie string to each end of the wood and anchor it to the ceiling or hang the strings from a tree branch. Enjoy your seashell creation.


Comments
0 comment