views
Cutting Straight Lines with an Electric Saw
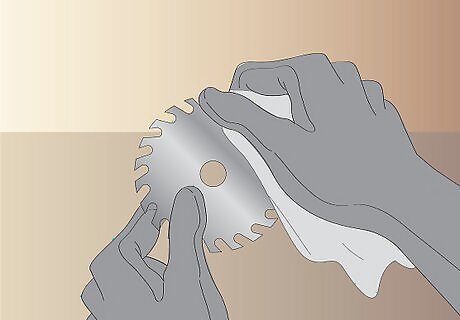
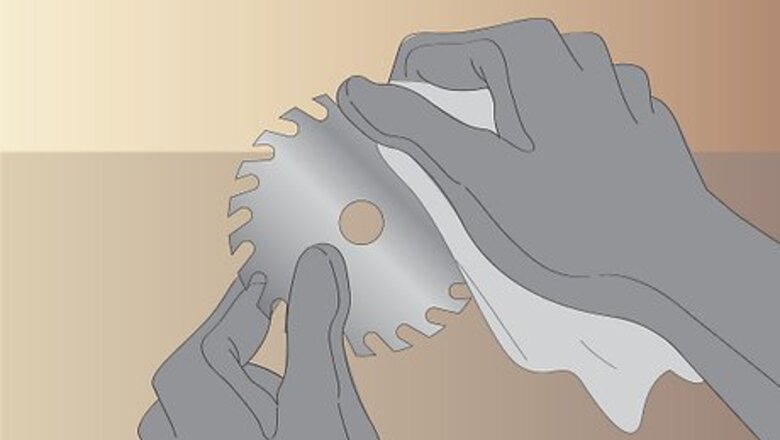
Wax your saw blade before cutting sheet metal. Metal is difficult for saws to cut, and rubbing wax along the blade helps prolong its sharpness. Apply a thin layer of paraffin or saw wax to the blade, just enough to cover the surface, before making any cuts in the metal. Put on a pair of work gloves before you wax the saw to protect your hands. Choose a saw with a tooth number of at least 24tip (teeth per inch) to ensure even cuts in the metal.
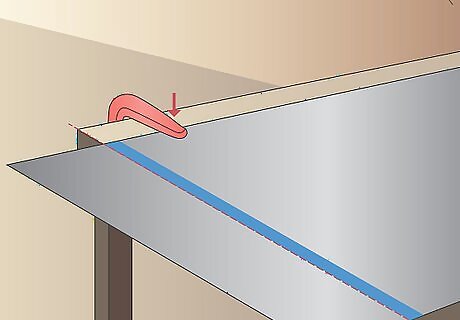
Tape the sheet metal and secure it in place. Apply masking tape to both sides of the sheet metal directly over the line you want to make. This ensures a cleaner cut and prevents metal chips from scratching the sheet while you cut. Clamp the sheet metal against your desk to hold it in place while you work. Electric saws are best for making straight cuts only. If you need to make a curved cut, try tin snips, a dremel, or a metal nibbler instead.
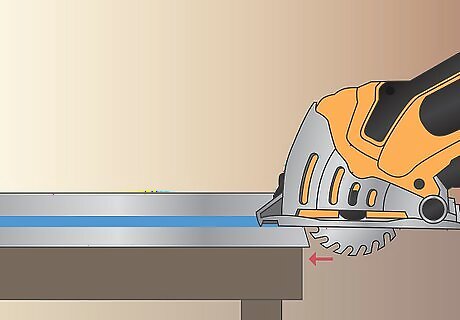
Press the saw blade against the sheet metal. Position the saw blade against the metal's edge so the teeth point forward. If you're not sure where the teeth are pointed, run your finger carefully against the blade. The teeth should lightly touch or "grip" your finger if they point in the right direction. If the teeth are dull and you can't feel them no matter how you touch the blade, replace the blade first. Before making the first cut, put on a pair of safety goggles, a respirator, and earplugs for protection.
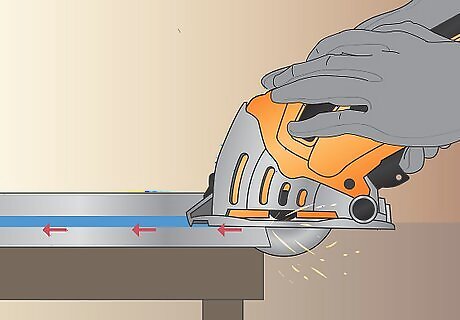
Begin your stroke in the metal. Grip the saw with both hands and push the blade forward with your dominant hand. Push slowly, especially if you're unfamiliar with electric saws, to prevent injuries or an uneven cut. Do not use your non-dominant hand to push. It should only be used to steady the blade and guide its direction.
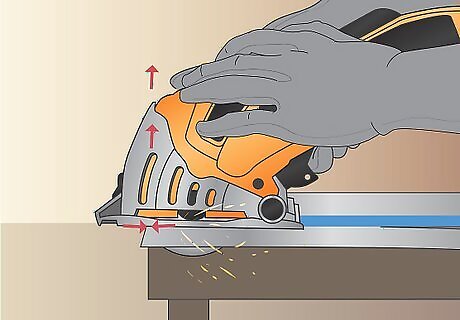
Continue making the stroke and pull your blade back at the end. Push your saw through the blade until you reach the end of the line. After finishing the first stroke, pull the saw back with your dominant hand and remove it from the metal sheet. One stroke should be enough to cut through the metal. If not, repeat the process by following the first cut you made with your saw. Don't put any pressure on the saw during the return stroke, as this can wear out the blade.
Using Tin Snips for Thin Sheets
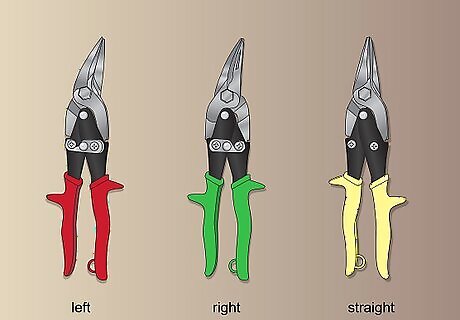
Choose between red, blue, or yellow snips based on the cut direction. Most tin snip manufacturers color-code their products based on the direction that you need to cut. Depending on your project, prepare 1 or several of the following tin snips: Red-handled snips: Cutting left Green-handled snips: Cutting right Yellow-handled snips: Cutting straight
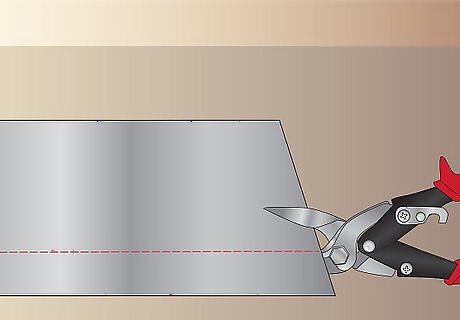
Align the tin snips with the sheet metal. Clamp the sheet metal in place on your work table to hold it in place while you work. Align the snips with the line you want to cut, with the upper blade of the tin snips touching the sheet metal. Tin snips are primarily used for cutting thin sheet metal like tin, aluminum, brass, and thin-gauge stainless steel. Before cutting, put on a pair of safety goggles and work gloves to prevent injuries.
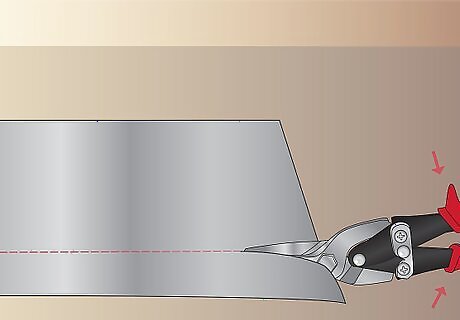
Make your first cut in the sheet metal. Once your tin snips make contact with the sheet metal, squeeze the handles with your fingers to make the first cut. Work slowly and inspect the metal afterward for an even cut before making subsequent cuts in the metal.
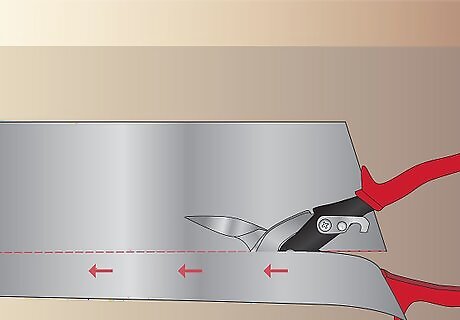
Continue cutting through the sheet metal as needed. Hold your tin snips level against the sheet metal and keep making cuts in its surface until you reach the end of the prospective cut's line. If you need to change directions, switch your pair of tin snips for the corresponding direction. If you need to switch from straight to left, for example, swap your yellow-handled snips for a pair of red-handled snips.
Making Detailed Cuts with Dremels
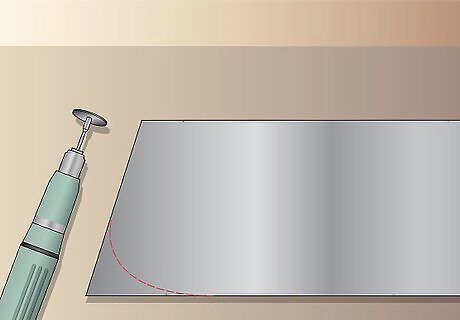
Use a dremel for short, detailed cuts. Because dremel blades are small and easy to maneuver, they're best at cutting small or detailed incisions in metal. If you want to make larger cuts, however, you may be better off with tin snips or an electric saw—dremels generally take too much time for big cuts. Dremels are also great for making both straight and curved cuts.
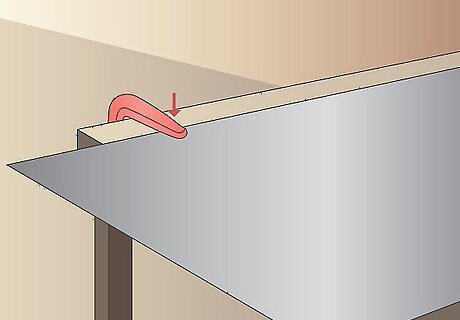
Place the metal on a secure surface and turn on the dremel. Secure the metal to your table with clamps to keep it from moving around. Turn your dremel on to a medium or high speed so it has enough power to cut through the metal. Put on safety goggles, respirator, and earplugs before handling the dremel to protect your eyes, ears, and lungs.
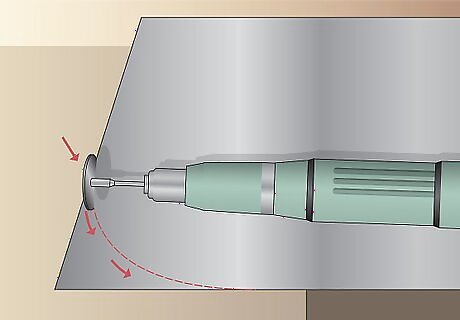
Press the dremel blade against the sheet metal. Hold the blade down on the sheet metal's surface at the edge of the intended cut. Using firm pressure, dig into the surface until you reach the ideal depth of your cut, then move forward along the line of your intended incision.
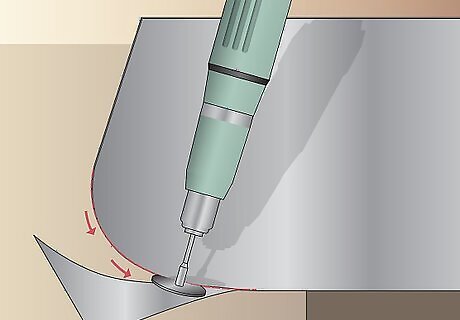
Continue working from one end of the cut to the other. Move your blade along the intended line until you reach the end end of your cut. Use slow, steady pressure to prevent accidents and keep your lines as precise as possible. If you notice any light smoking coming from the dremel, turn it off and, after contacting the manufacturers, turn the machine to a lower setting. Most of the time, smoking indicates that the pressure setting is too high.
Trying a Metal Nibbler for Small Cuts
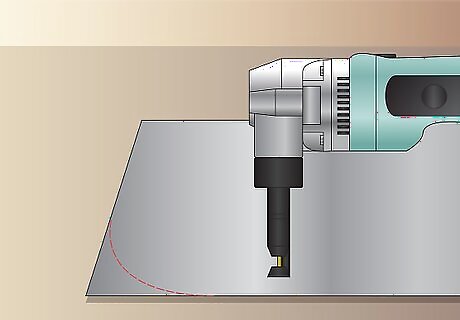
Use nibblers for thin, short cuts. Nibblers can allow a better range of control over the cut but with a thinner line width than other methods. Because it is a more methodical tool than some methods, it is also best for smaller cuts. Metal nibblers are the best option for making curved cuts because of its increased range of control. Although you can use a metal nibbler for long cuts in sheet metal, it takes more time and is generally less convenient.
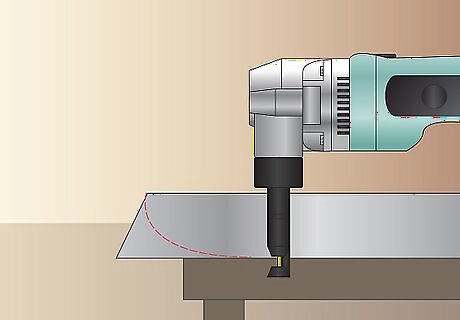
Secure the sheet metal and position the metal nibbler against the line edge. Use clamps to secure the sheet metal on your work bench. Align the nibbler so the blade is level and the middle just touches the edge of the line you want to cut. Put on a pair of safety goggles and ear plugs before turning on the metal nibbler to protect your eyes and ears.
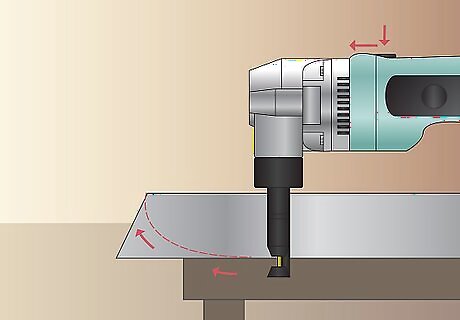
Turn on the nibbler and begin the cut. Switch the nibbler on and push the nibbler slowly through the line. Nibblers generally cut more slowly than other methods, so avoid putting too much pressure on the instrument as you work. Keep the blade upright while you cut, and avoid leaning it at an angle. In general, nibblers may take several minutes longer than other methods to cut metal.
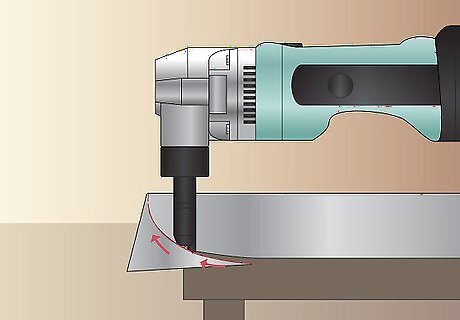
Work your way slowly to the end of the line. Continue putting pressure on the nibbler as you push through the metal until you reach the end of the line. If you need to change direction, do so slowly to avoid making an accidental cut in the wrong direction. If you've never worked with a metal nibbler before, you can also cut the line in short spurts and turn it off between sections in the cut.


Comments
0 comment